78
OEM6 Family Installation and Operation User Manual Rev 7
Chapter 6
Ethernet Configuration
6.2.4
Confirming Ethernet Setup
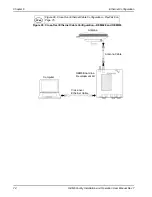
1. Connect the computer to the OEM6 receiver using an Ethernet cross-over cable.
See
Figure 28, Cross-Over Ethernet Cable Configuration—OEM628 and OEM638
Figure 29, Cross-Over Ethernet Cable Configuration—FlexPak6
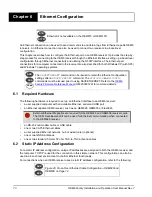
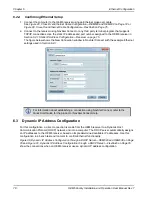
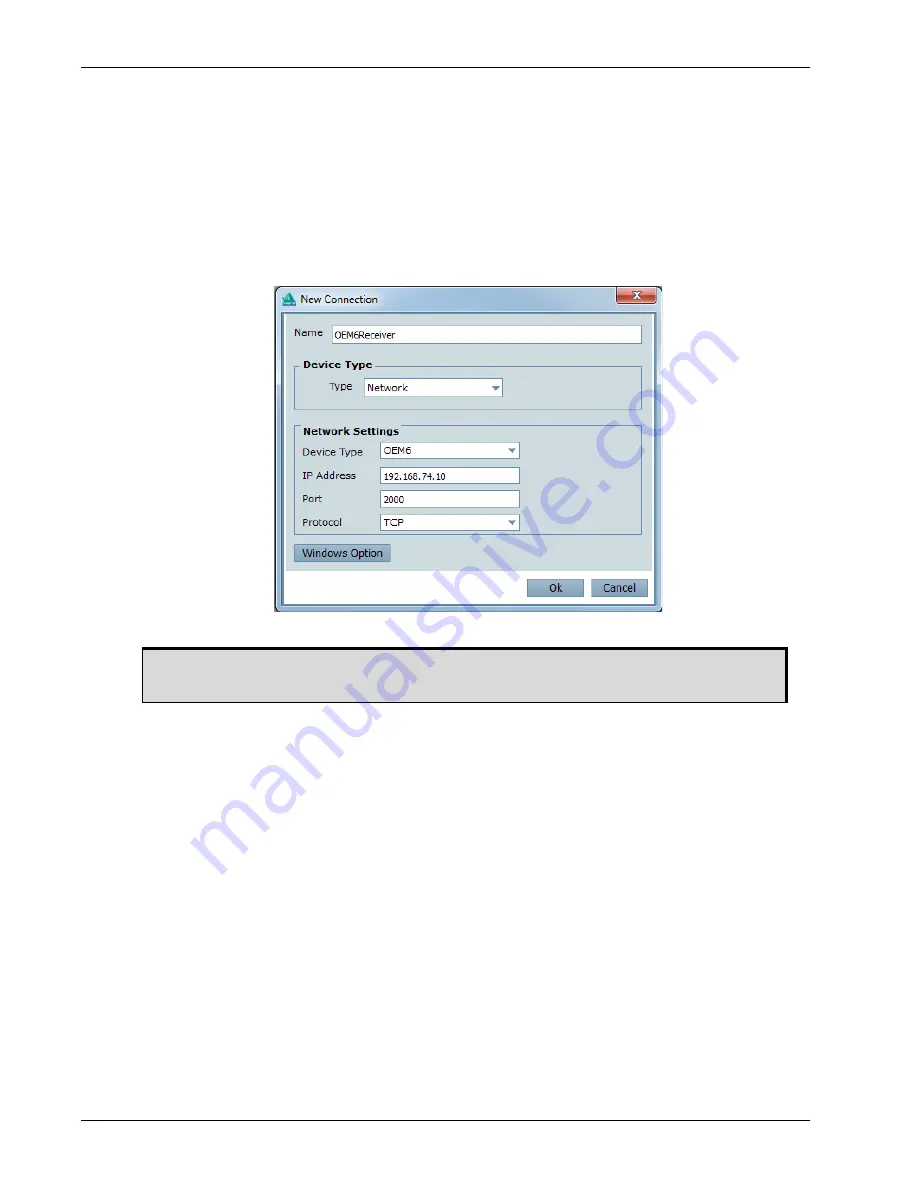
2. Connect to the receiver using NovAtel Connect or any third party terminal program that supports
TCP/IP connections. Use the static IP address and port number assigned to the OEM6 receiver in
Section 6.2.1 Static IP Address Configuration—Receiver on page 75
.
The figure below shows the New Connection window in NovAtel Connect with the example Ethernet
settings used in
6.3
Dynamic IP Address Configuration
For this configuration, a direct connection is made from the OEM6 receiver to a Dynamic Host
Communication Protocol (DHCP) network and into a computer. The DHCP server automatically assigns
an IP addresses to the OEM6 receiver, based on its predetermined available IP addresses. Use this
configuration in a bench test environment to confirm Ethernet functionality.
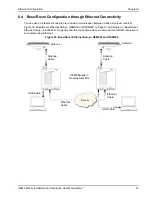
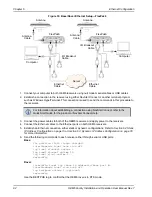
Figure 30, Dynamic IP Address Configuration through a DHCP Server—OEM628 and OEM638
and
Figure 31, Dynamic IP Address Configuration through a DHCP Server—FlexPak6
show the connections when an OEM6 receiver uses a dynamic IP address configuration.
For information about establishing a connection using NovAtel Connect, refer to the
Quick Start Guide for the product or NovAtel Connect Help.


