17
Norsonic Nor140
Instruction Manual
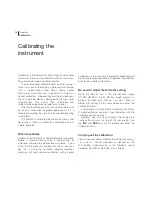
The sound calibrator
should be mounted
onto the microphone
as shown here.
1
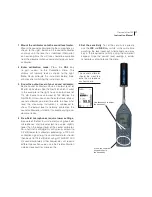
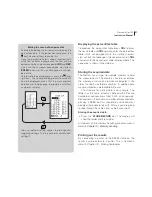
Mount the calibrator onto the sound level meter.
Mount the sound calibrator onto the microphone as
shown to the right. Switch on the sound calibrator
and wait until the level has stabilised. Information
on how long time this will take should be available
from the documentation accompanying your sound
calibrator.
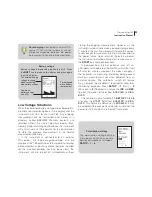
2 Enter calibration mode.
Press the
CAL
key
to gain access to the Calibration menu. The
display will typically look as shown to the right.
Note
: Never calibrate the instrument before three
minutes after switching the instrument on.
3 Know the output level of your sound calibrator.
Some sound calibrators have an output level of
94 dB, while others (like the Nor1251 which is used
in the example to the right) have an output level of
114 dB. Some have an output of 124 dB (like the
Nor1253). Unless you know the output level of your
sound calibrator you won’t be able to know what
level the measuring instrument is supposed to
show. The output level is normally printed on the
sound calibrator or stated in its accompanying user
documentation.
4 Free-field microphones require lower settings.
Be aware of the fact that instruments using free-field
microphones shall be adjusted to a value slightly
lower than the output level of the sound calibrator.
For a half-inch cartridge this will typically amount to
0.2 dB lower for calibrators producing a 1000 Hz
calibration signal (e.g. the sound level meter should
then be set to 113.8 dB when using a 114 dB @ 1 000
Hz sound calibrator) Other frequencies will require
different correction values, see the Field calibration
side bar (overleaf) for more on this.
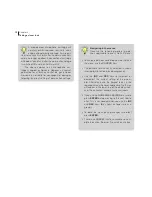
Use these keys to adjust
the sensitivity…
or, use the numerical
keypad to key in
the sensitivity
5 Set the sensitivity
. To set the sensitivity correctly
use the
INC
and
DEC
keys while at the same time
watching the level read-out. Alternatively, you may
key in the required sensitivity using the numerical
keypad. Once the correct level reading is estab-
lished press enter to leave the menu.
Summary of Contents for nor140
Page 4: ......
Page 16: ......
Page 17: ...nor140 SOUND ANALYSER ...
Page 18: ......
Page 212: ...194 ...
Page 218: ......


