111
Norsonic Nor140
Instruction Manual
Reverberation Setup
Reverberation Ready
Reverberation Menu
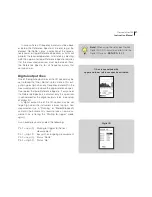
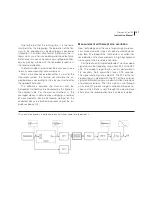
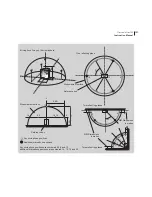
The level above which trigger will take place (pro-
vided that a level transition takes place) is shown as
a horizontal dotted line. This line is always located 30
dB below the display top scale. To “move” the line up
and down (what you do is to change the display top
scale) use the
INC
and
DEC
keys. The position of the
graph cursor (the frequency cursor) determines the
frequency band to be used as trigger band
Display
top scale
The
instrument
is in
Reverberation
time mode
Measuring according to the integrated
impulse response method
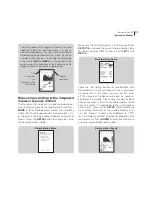
The instrument has to be set in a special mode of oper-
ation in order to measure the reverberation time. Press
MODE > 2
for Reverberation. Select the frequency
mode
“On”
and the appropriate filter bandwidth – 1/1-
or 1/3-octave. (See the chapter Frequency analysis for
details.) Press the
SETUP
button to change the set up
for the reverberation mode.
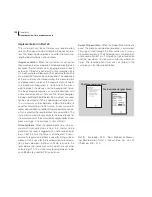
Make sure the excitation type is set to Impulse. Press
SETUP
> 2
and move the cursor filed to excitation type
(Ex.type) and select “IMP” by the use of the
INC
or the
DEC
key.
There are two storing options for reverberation time
measurements. The result table will always be stored,
of course, but in this menu you may also turn on or
off the storage of the decay curve and the audio re-
cording of the impulse. Please note that both of these
alternatives takes a lot of the available memory so do
not use it unless it is needed for further investigations
and analysis. (You can use
SETUP > 5
to activate the
menu where the quality of the audio recording is set
up.) Set “Decay”, “Audio” and “ImpResp” to “OFF”
for the simplest and most effective reverberation time
measurements. Press
ENTER
twice to leave the menu
and enter reverberation ready mode.
Summary of Contents for nor140
Page 4: ......
Page 16: ......
Page 17: ...nor140 SOUND ANALYSER ...
Page 18: ......
Page 212: ...194 ...
Page 218: ......

