115
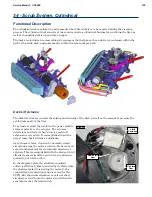
34 - Scrub System, Cylindrical
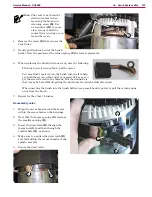
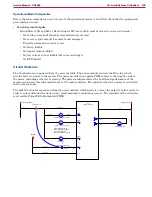
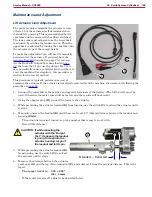
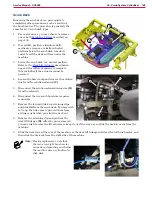
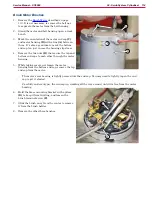
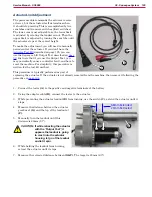
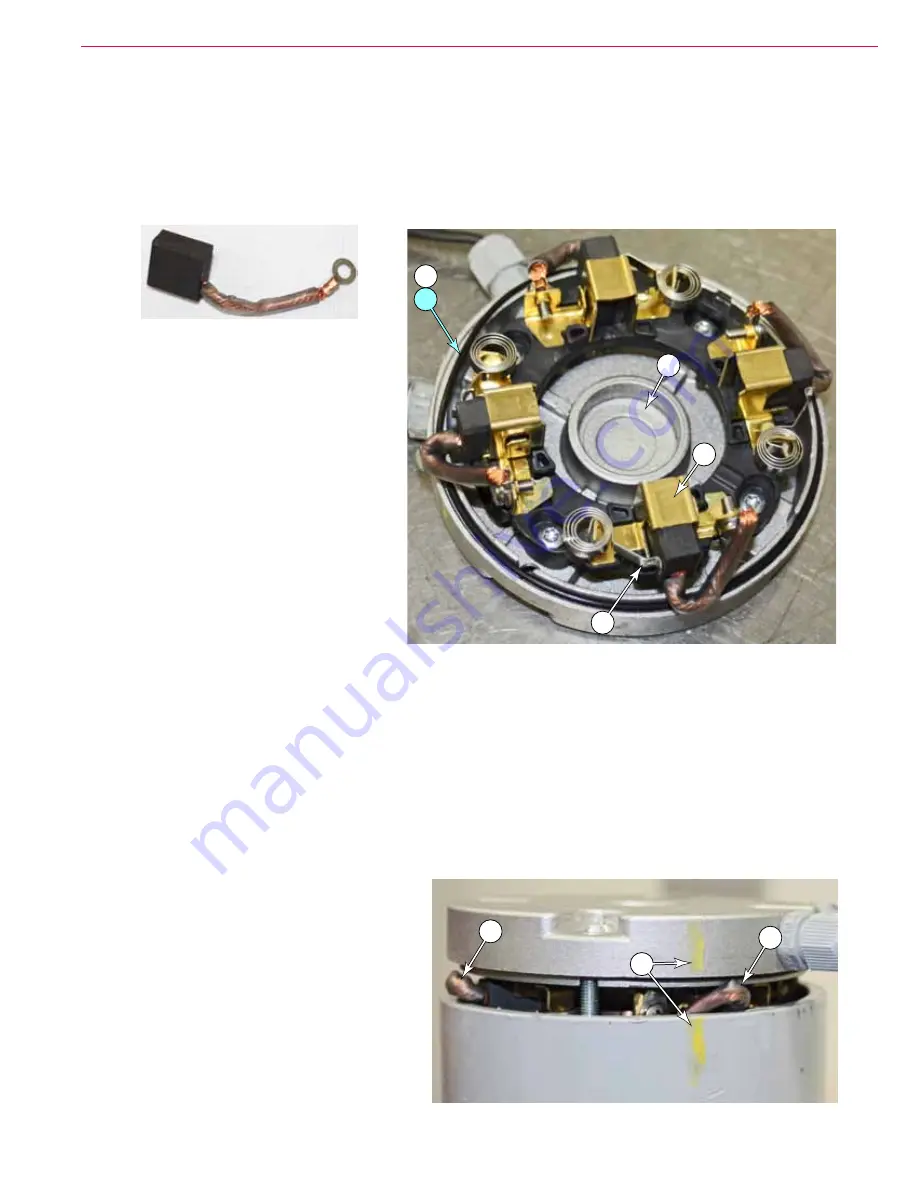
9 Gently retract the brush spring
(G)
, and insert the new brush into the brush holder
(H)
Note that the
brush wire is closest to the end cap body
10 Release the brush spring and allow it to push the brush all the way in toward the bearing pocket
(J)
to
verify that the spring is properly positioned (The brushes will later be retracted as shown in the image
below )
11 Reinstall the terminal screw
(F)
, and then repeat for the other 3 brushes
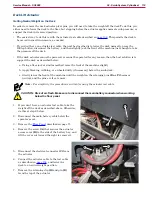
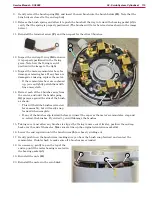
12 Inspect the end cap O-ring
(K)
to ensure
it is properly positioned in the O-ring
grove Note how the O-ring is out of
position in the image to the right
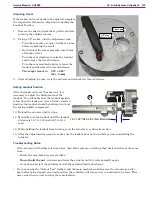
13 Inspect the motor commutator bars for
damage or missing bars If any bars are
damaged or missing, replace the motor
•
If the commutator bars are carboned
up, you can lightly polish them with
fine emery cloth.
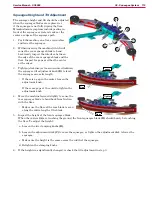
14 Retract each of the 4 brushes away from
the center, and until the brush spring
(G)
presses against the side of the brush,
as shown
•
This will hold the brushes retracted
for reassembly, but will easily snap
forward when complete
•
If any of the brushes slip forward before you insert the cap over the motor’s commutator, stop and
re-retract the brushes If you don’t, you will damage the brushes
15 Taking care to not allow any brushes to slip or the O-ring to move out of its slot, position the end cap
back over the end of the motor Make sure to line up the original orientation marks
(A)
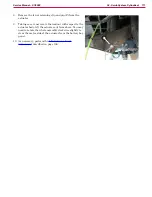
16 Lower the end cap down until the brush wires
(L)
are barely sticking out
17 Gently push in on the brush wires, making sure you hear the brush snap forward and contact the
commutator Double check to make sure all 4 brushes are extended
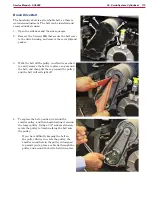
18 As necessary, gently tap on the top of the
end cap until the motor bearing is seated in
the bearing pocket
(J)
19 Reinstall the nuts
(B)
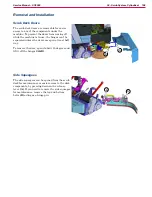
20 Reinstall the motor in the scrub deck
G
H
J
!
K
L
A
L

