109
Chapter 8 - LAN Client Settings
Multi-Tech Systems, Inc. RouteFinder RF802EW User G
uide
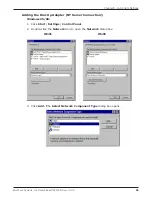
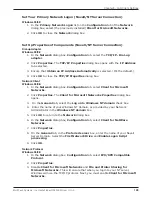
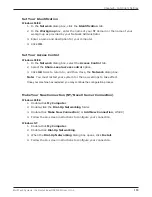
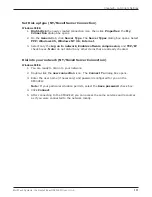
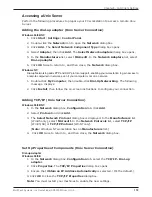
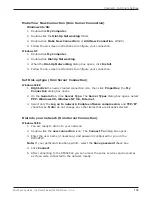
Set Your Primary Network Logon (Novell/NT Server Connection)
Windows 95/98:
1. In the
Primary Network Logon
list on the
Configuration
tab of the
Network
dialog box, select (the previously installed)
Client for Microsoft Networks
.
2. Click
OK
to close the
Network
dialog box.
Set Up Properties of Components (Novell/NT Server Connection)
Dial-up Adapter
Windows 95/98
1. In the
Network
dialog box,
Configuration
tab, select the
TCP/IP - Dial-up
adapter
.
2. Click
Properties
. The
TCP/IP Properties
dialog box opens with the
IP Address
tab selected.
3. Ensure that
Obtain an IP Address Automatically
is selected. (Its the default.)
4. Click
OK
to close the
TCP/IP Properties
dialog box.
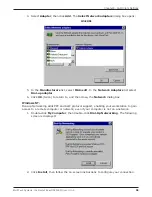
Network Client
Windows 95/98:
1. In the
Network
dialog box,
Configuration
tab, select
Client for Microsoft
Networks
.
2. Click
Properties
. The
Client for Microsoft Networks Properties
dialog box
opens.
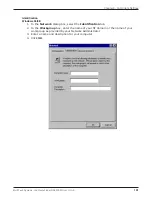
3. On the
General
tab, select the
Log on to Windows NT domain
check box
.
4. Enter the name of your Windows NT domain, as provided by your Network
Administrator in the
Windows NT domain
box.
5. Click
OK
to return to the
Network
dialog box.
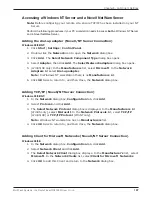
6. In the
Network
dialog box,
Configuration
tab, select
Client for NetWare
Networks
.
7. Click
Properties
.
8. On the
General
tab, in the
Preferred server
box, enter the name of your Novell
Server Domain. Select the
First Network Drive
and
Enable Logon Script
processing
.
9. Click
OK
.
Network Protocol
Windows 95/98:
1. In the
Network
dialog box,
Configuration
tab, select
IPX/SPX Compatible
Protocol
.
2. Click
Properties
.
3. Disable
Client for Microsoft Networks
and
File and Printer Sharing for
Microsoft Networks
. This will ensure that when you log into your NT server,
Windows will use the TCP/IP protocol. Next, you must enable
Client for Microsoft
Networks
.
Summary of Contents for RouteFinder RF802EW
Page 1: ...Model RF802EW Wireless Router Access Point User Guide ...
Page 5: ...Chapter 1 Introduction ...
Page 10: ...Chapter 2 Hardware Installation ...
Page 13: ...Chapter 3 Software Installation and Configuration ...
Page 24: ...Chapter 4 Web Browser Configuration and Management ...
Page 47: ...Chapter 5 Telnet ...
Page 54: ...Chapter 6 RouteFinder Manager ...
Page 84: ...Chapter 7 RouteFinder Monitor ...
Page 93: ...Chapter 8 LAN Client Settings ...
Page 116: ...Chapter 9 LAN to LAN Settings ...
Page 119: ...Chapter 10 Troubleshooting ...
Page 123: ...Chapter 11 Service Warranty and Technical Support ...
Page 130: ...Appendixes Appendix A Appendix B Appendix C ...
Page 135: ...Glossary ...

