- 5-5 -
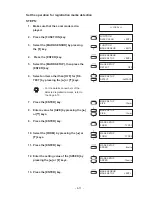
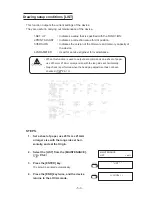
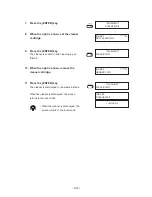
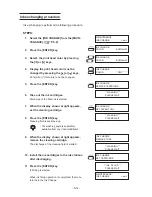
4.
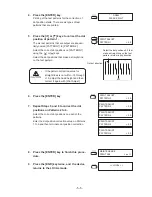
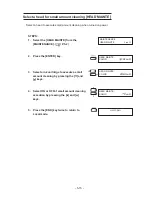
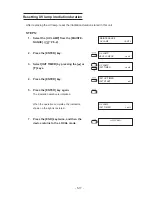
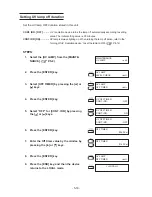
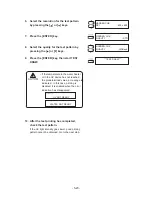
Press the [ENTER] key.
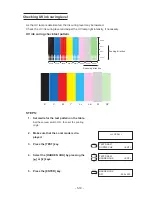
Printing of the test patterns for the correction of
dot position starts. There are six types of test
patterns that are printed.
5.
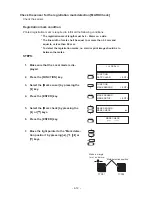
Press the [ ] or [ ] keys to correct the dot
position of pattern 1.
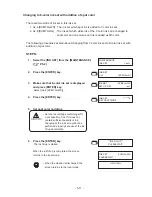
The six test patterns that are output are sequen-
tially named [PATTERN 1] to [PATTERN 6].
Select the correct dot positions on [PATTERN 1]
using the [ ] or [ ] keys.
Select the dot positions that make a straight line
on the test pattern.
•
If the pattern correction value for
straight lines is not within -15 through
+15, adjust the head height and then
correct it again with [Print Adjust].
6.
Press the [ENTER] key.
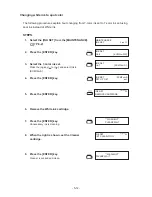
7.
Repeat Steps 5 and 6 to correct the dot
positions on Patterns 2 to 6.
Select the correct dot positions on each of the
patterns.
Enter the dot position correction value on Patterns
1 to 6 and then terminate dot position correction.
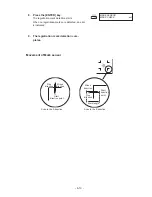
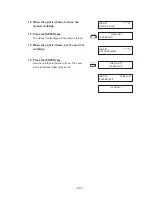
8.
Press the [ENTER] key to finish this proce-
dure.
9.
Press the [END] key twice, and the device
returns to the LOCAL mode.
PRINT ADJUST
PATTERN 2
= 0.0
MAINTENANCE
PRINT ADJ
< ent >
PRINT ADJUST
PATTERN 3
= 0.0
PRINT ADJUST
PATTERN 4
= 0.0
PRINT ADJUST
PATTERN 5
= 0.0
PRINT ADJUST
PATTERN 6
= 0.0
* * DRAW * *
PLEASE WAIT
PRINT ADJUST
PATTERN 1
= 4.0
Out put direction
Select the dot positions 4.0 that
make a straight line on the test
pattern in two printing direction.
<< LOCAL >>
Summary of Contents for UJF-605C
Page 2: ......
Page 68: ...2 30...
Page 88: ...3 20...
Page 104: ...4 16...
Page 148: ...A 6...
Page 153: ......
Page 154: ...Printed in Japan MIMAKI ENGINEERING CO LTD 2012 IT FW 3 2...

