


Using Strokes and Fills
187
7
Select Objects Only to apply the lens effect to objects, not empty areas, under the lens.
Invert fill with Objects Only selected (left) and deselected (right)
8
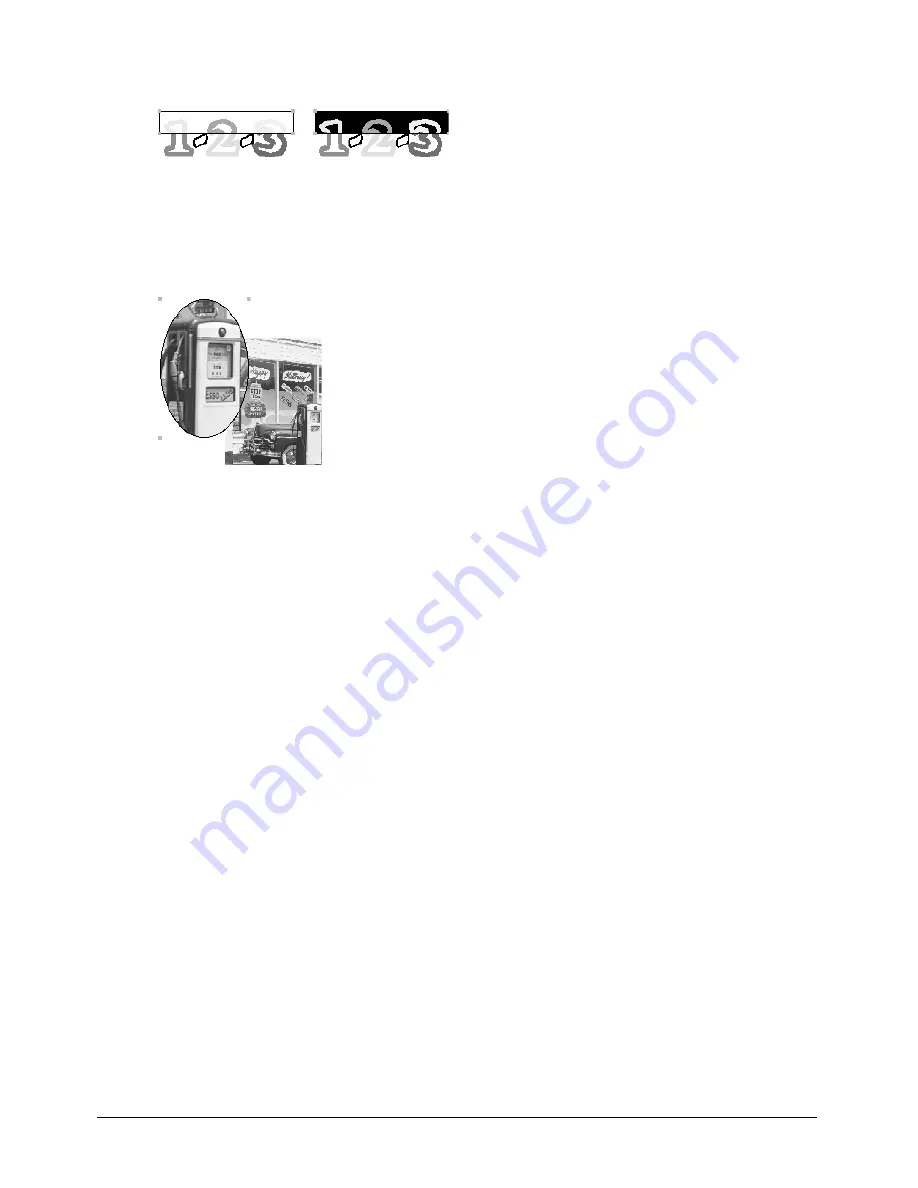
Select Snapshot to capture the current contents of the lens, so that the lens can be moved
anywhere in the Document without changing the lens contents.
Magnify fill at 3x with Snapshot selected to retain the fill contents
Note:
Choosing a new lens type automatically deselects the Centerpoint, Objects Only, and Snapshot options.
Using pattern fill attributes
You can choose from 64 predefined pattern fill attributes. You can also edit each pattern. The
lower portion of the Object panel displays an editable version of the pattern on the left, and a
preview to the right updates as you edit the pattern. A pattern fill prints at one size on PostScript
output devices and does not scale with the object it fills.
Note:
Pattern stroke attributes print based on the resolution of the printer, and therefore look best when printed at
300 dpi or lower.
For an example of the patterns available, see “To apply a Custom stroke attribute to a selected
stroke in the Object panel:” on page 175.
To apply a pattern fill attribute to a selected fill in the Object panel:
1
Select Pattern from the fill type pop-up menu.
2
Select a color for the fill.
3
Click a pattern in the lower right corner of the panel. Use the slider to scroll through the
available patterns.
Summary of Contents for FREEHAND MX 11
Page 1: ...Using FreeHand MX Macromedia FreeHand MX...
Page 42: ...Chapter 1 42...
Page 192: ...Chapter 6 192...
Page 232: ...Chapter 7 232...
Page 288: ...Chapter 8 288...
Page 308: ...Chapter 9 308...
Page 340: ...Chapter 11 340...
Page 362: ...Chapter 12 362...
Page 374: ...Chapter 13 374...
Page 388: ...Chapter 14 388...


