


Working with Objects
113
To move selected objects using the Object panel:
1
Select Window > Object to display the Object panel if it’s not already displayed.
2
Select the object name in the Properties list of the Object panel if it’s not already selected.
3
In the bottom half of the panel, enter a positive value in the X text box to move the object to
the right or a negative value to move it to the left.
4
Enter a positive value in the Y text box to move the selection up or a negative value to move
it down.
For more information on using this panel, see “Using the Object panel” on page 107.
Snapping to points and other objects
When you move objects and points, you can “snap” them to the points or paths of other objects,
provided this feature is turned on. How close an object or point must be to another object before
it snaps is determined by the Snap Distance setting in FreeHand preferences.
To snap a selected object or point to a point:
1
Do one of the following:
•
Click the Snap to Point button in the Tools panel if it’s not already selected.
•
Select View > Snap to Point if it’s not already enabled. (A check mark beside this command
means it’s enabled.)
Note:
Snap to Point is a toggle; selecting it when it’s already enabled turns it off.
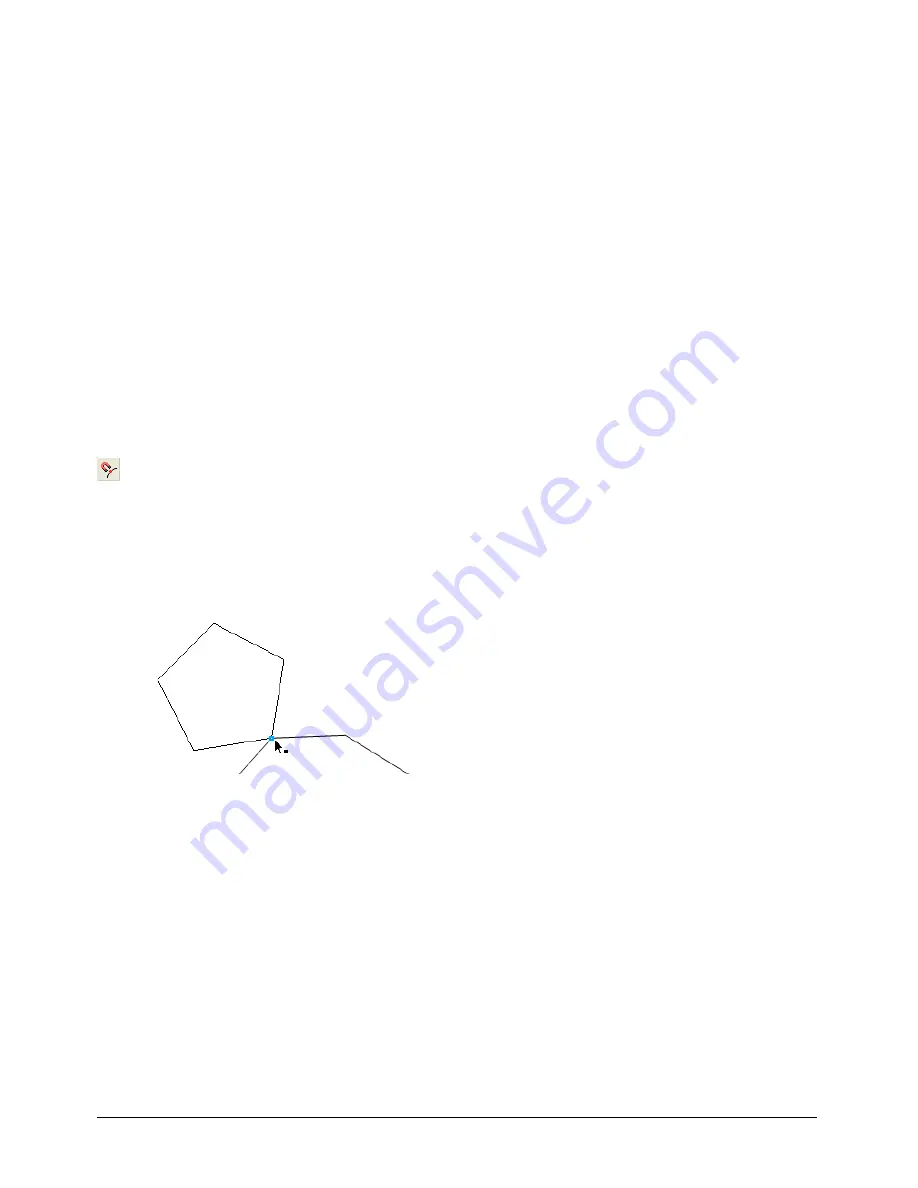
2
Using the Pointer tool, drag the selected object near or onto the target point. When the tool is
within the snap distance, the pointer changes.
3
Release the mouse button to drop the object in the desired location.
Summary of Contents for FREEHAND MX 11
Page 1: ...Using FreeHand MX Macromedia FreeHand MX...
Page 42: ...Chapter 1 42...
Page 192: ...Chapter 6 192...
Page 232: ...Chapter 7 232...
Page 288: ...Chapter 8 288...
Page 308: ...Chapter 9 308...
Page 340: ...Chapter 11 340...
Page 362: ...Chapter 12 362...
Page 374: ...Chapter 13 374...
Page 388: ...Chapter 14 388...


