36
6.
Select the
Full Calibration
field.
The
Calibration Test
window opens.
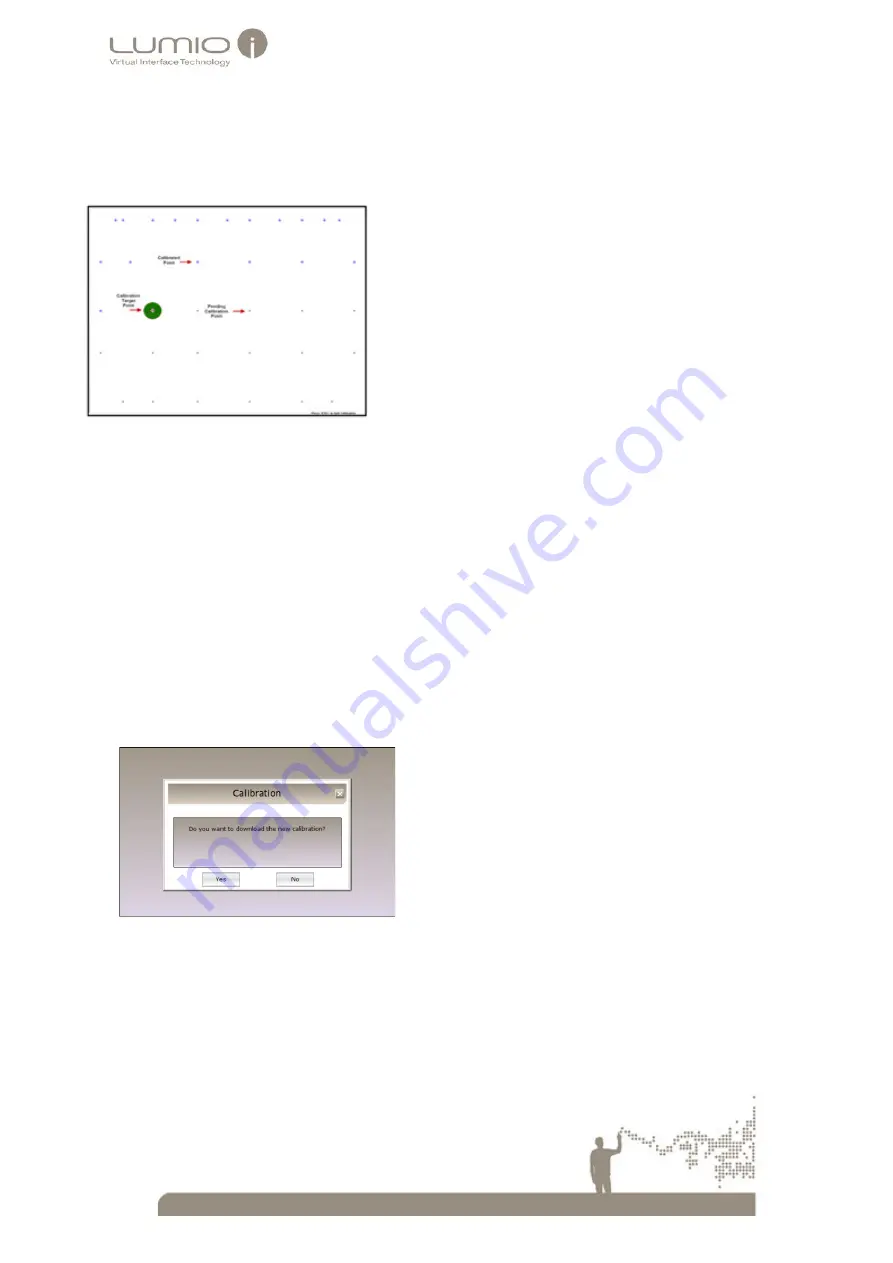
Figure 39: Calibration Test Window
The
Calibration Test
window consists of a series of calibration points (small crosses). Positioned over the
first calibration point is a target icon with a flashing cross-hair in the middle.
7.
Place a finger or supplied Calibration Tool directly and continuously on the cross-hair of the target icon.
Note:
•
When touching the screen, the cross hair becomes gray. The cross hair turns green when the touch is
stable.
Calibration for the selected point is successful if the point turns blue and the calibration target moves to the next
calibration point. If the point turns red, the calibration point is not stable, although the calibration process
continues.
•
When calibrating, touch only the part of the screen you are calibrating.
8.
Repeat step 7 for each calibration point.
9.
After the last point is calibrated, the Save File Calibration Prompter window opens.
Figure 40: Save File Calibration Prompter Window
10.
Select
Yes
.
The
Windows Explorer
Save As
window opens.


