73
206-4334
(Continued from previous page)
4. Use the Website Shortcut, Hotel Directory, and Portal Editor options
to create and/or modify the customized portal content, as applicable.
You may add up to five website shortcuts and up to seven hotel
directories. Follow on-screen instructions to complete the setup.
Note:
For further information on the portal settings and options, please
contact your LG representative.
Pre-loaded Applications
This option allows you to select which of the pre-loaded application
icons to display in the TV’s Smart Launcher, which appears along the
bottom of the screen in the TV’s default Portal Mode.
When the Pro:Centric application is disabled, the Smart Launcher is
available to end users via the PORTAL key on the remote control. The
Smart Launcher is also available to end users via the button on the
remote control.
1. With the IP Environment Menu on display, use the arrow keys on
the Installer Remote to select the
Portal Settings
menu option.
Then, press the Wheel (
OK
) button.
2. Make sure the Portal Mode is set to “Default Portal.” If necessary,
select/highlight the
Portal Mode
field and press
the Wheel (
OK
)
button on the Installer Remote to display the drop-down list of
options. Then, use the Up/Down arrow keys to select
Default Portal
.
3. Use the arrow keys on the Installer Remote to select
Pre-loaded
Apps
. Then, press the Wheel (
OK
) button.
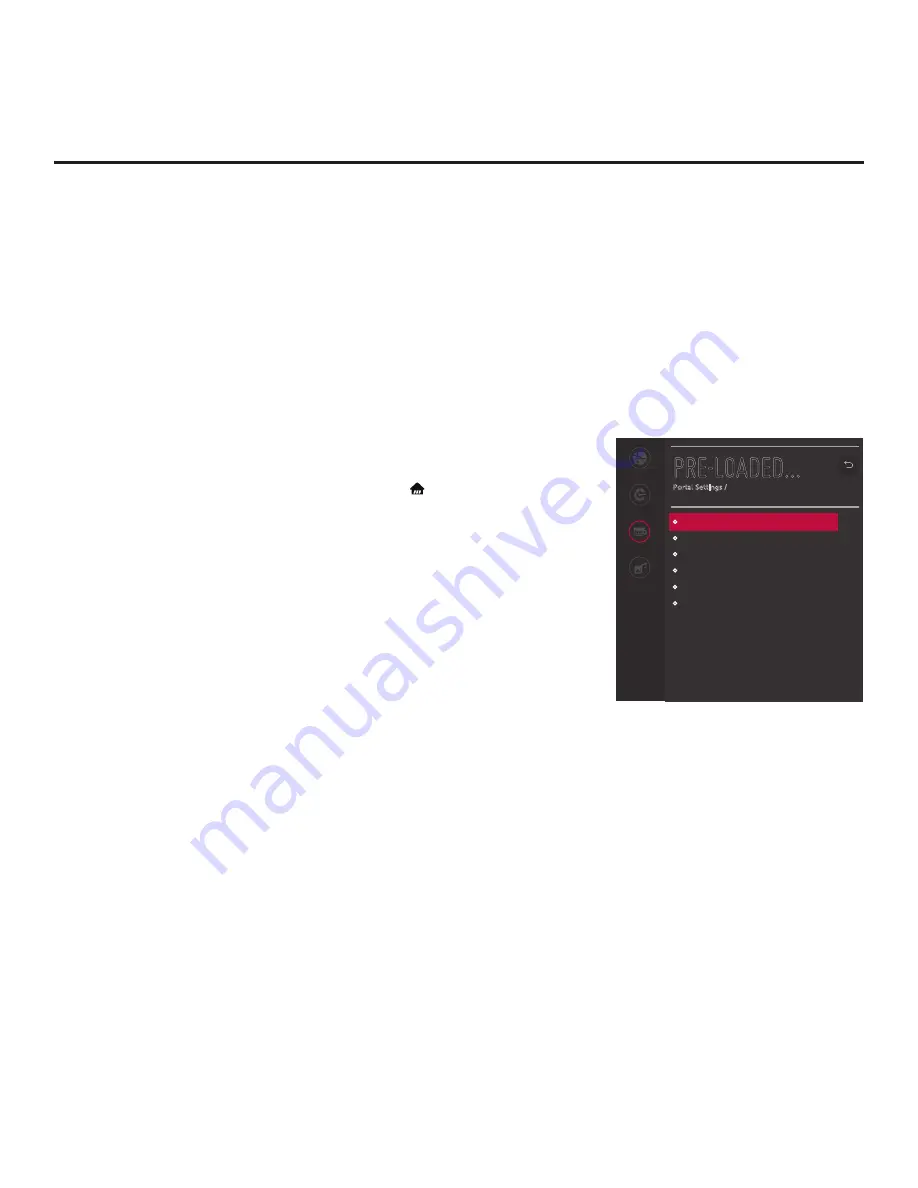
4. In the Pre-loaded Apps Menu (see example at right), a list of avail-
able application options is displayed. Use the Up/Down arrow keys to
highlight each application you wish to select or de-select, and press
the Wheel (
OK
) button on the Installer Remote. When an application
is selected, the radio button at the left of the application name is red.
Note:
Though not included in the application list on this screen,
Screen Share and SoftAP (as Wi-Fi Service) applications are
available in the Smart Launcher once they are enabled in the
Media Share Menu. See “Media Share Setup” below.
5. When you are done selecting the pre-loaded application icons to
be displayed in the Smart Launcher, as required, use the arrow
keys on the Installer Remote to return to the IP Environment Menu,
as necessary, or press
BACK/EXIT
to exit the IP Environment Menu.
Note:
While pre-loaded application selections are clonable, it is not possible
to edit pre-loaded application selections in the Cloud Configuration Tool.
Thus, if a TV has already been configured for FTG Mode via CPU and you
would like to add or remove applications, you will need to import a new “.tlx”
file with the appropriate model profile. That is, you will need to use a Master
TV of the same model to create
and export a “.tlx” file with the desired
pre-loaded application selections (along with any other applicable Installer
Menu settings), which can be transferred (imported) to the Target TV.
IP Environment Setup (Cont.)
Notes:
•
Make sure to select any application(s)
that may be used in conjunction with
the DIAL feature, if applicable.
•
If desired, with the Web Browser
application, you may specify the
default home page.
PRE-LOADED...
Portal Settings /
Network
Pro:Centric
Portal Settings
Media Share
^
Application1
Application2
Application3
Application4
Application5
Web Browser
Default Home


