57
206-4334
Cloning Procedures (Cont.)
(Continued from previous page)
8. If more than one USB memory device is currently connected to the TV, be sure to select the
USB device that contains the “.tlx” file you wish to use. If necessary, use the arrow keys on
the Installer Remote to select/highlight the
USB DEVICE
button in the top right corner of the
screen and press the Wheel (
OK
) button. Then, use the Up/Down arrow keys to select the
appropriate USB device from the pop-up list of USB devices.
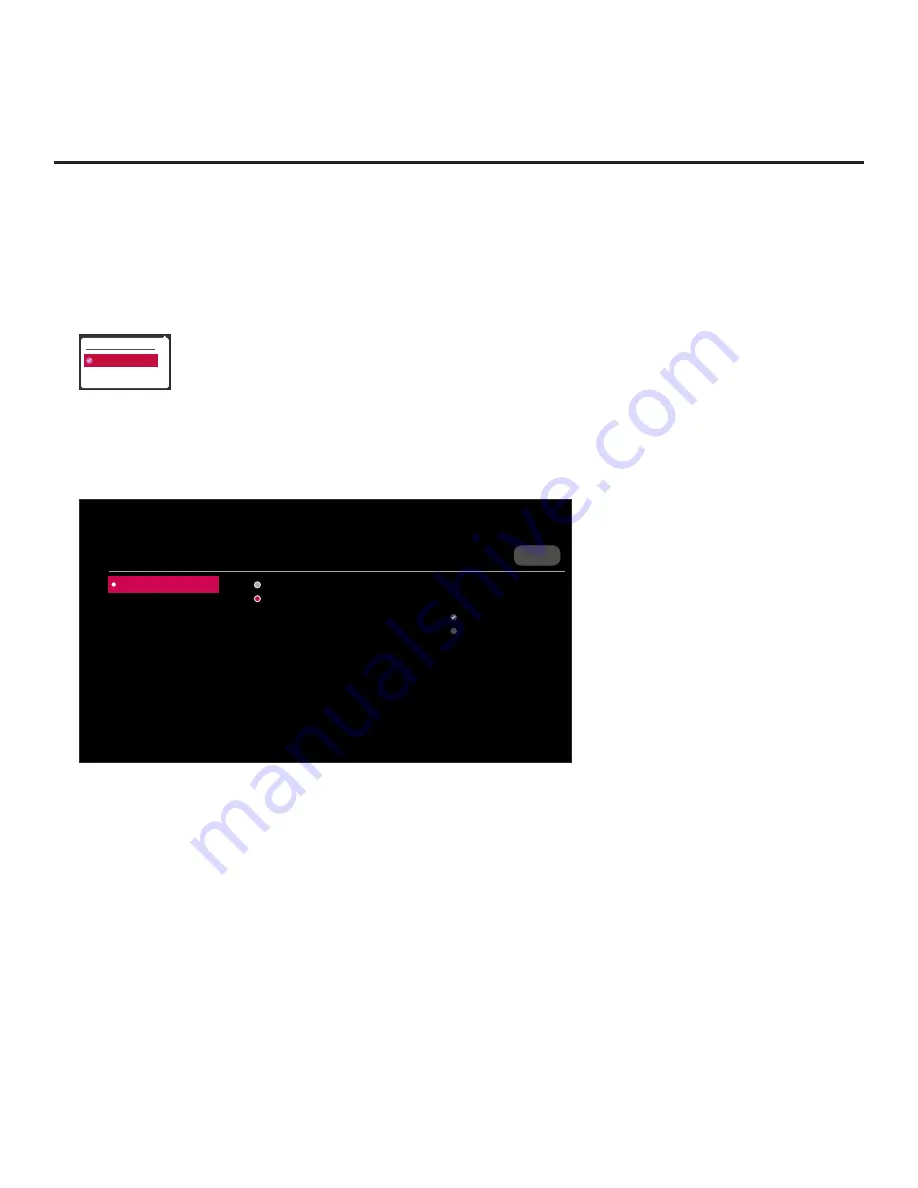
USB DEVICE
USB 1: Device 1
USB 2: Device 2
9. Use the arrow keys to select
Data Cloning
, and then press the Wheel (
OK
) button.
When the Data Cloning screen is initially displayed, the “Import Clone File” option is selected
by default, and a list of the “.tlx” files stored in the root folder of the USB memory device is
displayed on the screen.
X
UPDATE
None
ChMap_IM.tlx
< 01
Channel Tuning / Channel
Banner Display
Logical
Physical
DATA CLONING
USB 1:
Device Name
Select the file to download, and then select UPDATE.
Import Clone File
10. Use the arrow keys on the Installer Remote to select/highlight the “.tlx” file to import, and then
press the Wheel (
OK
) button.
Note:
Filenames of exported Clone files are comprised of the TV model and a numeric element,
for example, xxEU960H-UA_1.TLX.
11. If the
Clone/Configuration (.tlx) file includes an FTG Channel Map with RF channels and Aux
inputs
only
, you can choose the format for the channel tuning/banner display. Use the arrow
keys to select the desired Channel Tuning / Channel Banner Display option—either Logical
or Physical—at the right side of the screen. A checkmark will appear at the left of the selected
option. Logical tuning is selected by default.
Note:
If an FTG Channel Map includes IP channels, only logical tuning is available. Also, if the
“.tlx” file does not include an FTG Channel Map, the
message, “No Channel Map in Clone
file,”
will be displayed at the right of the screen.
(Continued on next page)


