


Cleaning printer parts
Cleaning the printer
CAUTION—SHOCK HAZARD:
To avoid the risk of electrical shock when cleaning the exterior of the
printer, unplug the power cord from the electrical outlet and disconnect all cables from the printer before
proceeding.
Notes:
•
Perform this task after every few months.
•
Damage to the printer caused by improper handling is not covered by the printer warranty.
1
Turn off the printer, and then unplug the power cord from the electrical outlet.
2
Remove paper from the standard bin and multipurpose feeder.
3
Remove any dust, lint, and pieces of paper around the printer using a soft brush or vacuum.
4
Wipe the outside of the printer with a damp, soft, lint
‑
free cloth.
Notes:
•
Do not use household cleaners or detergents, as they may damage the finish of the printer.
•
Make sure that all areas of the printer are dry after cleaning.
5
Connect the power cord to the electrical outlet, and then turn on the printer.
CAUTION—POTENTIAL INJURY:
To avoid the risk of fire or electrical shock, connect the power cord
to an appropriately rated and properly grounded electrical outlet that is near the product and easily
accessible.
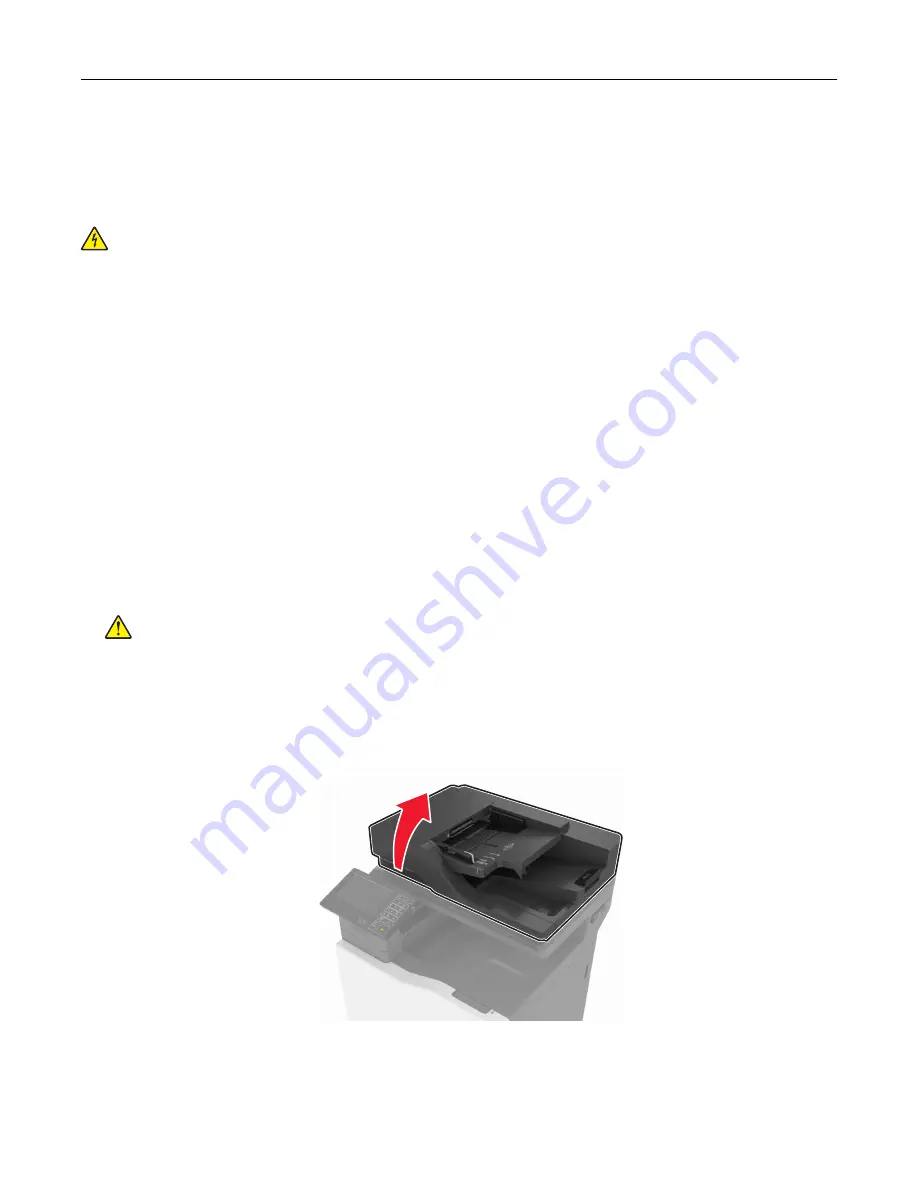
Cleaning the scanner glass
1
Open the scanner cover.
Maintaining the printer
58
Summary of Contents for CX820 Series
Page 1: ...XC8100 Series User s Guide March 2016 www lexmark com Machine type s 7564 Model s 596 598 ...
Page 64: ...2 Open door A 3 Remove the waste toner bottle Maintaining the printer 64 ...
Page 69: ...2 Open door A 3 Remove the waste toner bottle Maintaining the printer 69 ...
Page 72: ...2 Open door A 3 Remove the waste toner bottle Maintaining the printer 72 ...
Page 76: ...3 Remove the pick roller 4 Unpack the new pick roller Maintaining the printer 76 ...
Page 95: ...2 Open door G 3 Pull out the staple cartridge holder Maintaining the printer 95 ...
Page 119: ...2 Open door G 3 Pull out the staple cartridge holder Clearing jams 119 ...
Page 123: ... Area J1 Areas J3 and J4 Areas J5 and J6 3 Close door J Clearing jams 123 ...
Page 127: ...Staple jam in door J 1 Open door J 2 Remove the staple cartridge holder Clearing jams 127 ...
Page 129: ...5 Insert the staple cartridge holder 6 Close door J Clearing jams 129 ...


