•
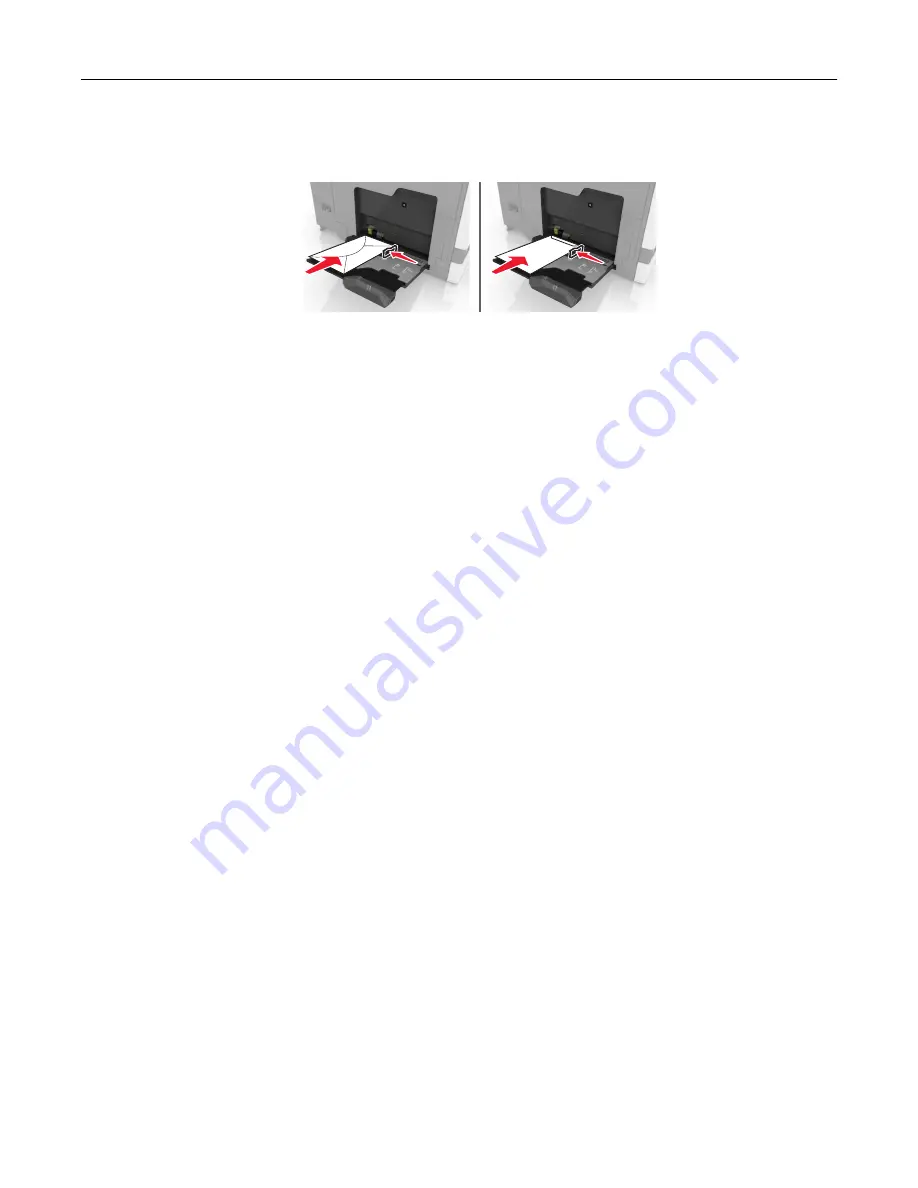
Load envelopes with the flap side up and against the left side of the paper guide. Load European
envelopes with the flap side up and entering the printer first.
Warning—Potential Damage:
Do not use envelopes with stamps, clasps, snaps, windows, coated
linings, or self
‑
stick adhesives.
5
From the control panel, set the paper size and type to match the paper loaded in the tray.
Linking trays
1
Open a Web browser, and then type the printer IP address in the address field.
Notes:
•
View the printer IP address on the printer home screen. The IP address appears as four sets of
numbers separated by periods, such as 123.123.123.123.
•
If you are using a proxy server, then temporarily disable it to load the Web page correctly.
2
Click
Settings
>
Paper
.
3
Match the paper size and type for the trays you are linking.
Note:
To unlink trays, make sure that no trays have the same paper size or type.
4
Save the settings.
Note:
You can also change the paper size and type settings from the printer control panel.
Warning—Potential Damage:
The temperature of the fuser varies according to the specified paper type. To
avoid printing issues, match the paper type settings in the printer with the paper loaded in the tray.
Loading paper and specialty media
26
Summary of Contents for CX820 Series
Page 1: ...XC8100 Series User s Guide March 2016 www lexmark com Machine type s 7564 Model s 596 598 ...
Page 64: ...2 Open door A 3 Remove the waste toner bottle Maintaining the printer 64 ...
Page 69: ...2 Open door A 3 Remove the waste toner bottle Maintaining the printer 69 ...
Page 72: ...2 Open door A 3 Remove the waste toner bottle Maintaining the printer 72 ...
Page 76: ...3 Remove the pick roller 4 Unpack the new pick roller Maintaining the printer 76 ...
Page 95: ...2 Open door G 3 Pull out the staple cartridge holder Maintaining the printer 95 ...
Page 119: ...2 Open door G 3 Pull out the staple cartridge holder Clearing jams 119 ...
Page 123: ... Area J1 Areas J3 and J4 Areas J5 and J6 3 Close door J Clearing jams 123 ...
Page 127: ...Staple jam in door J 1 Open door J 2 Remove the staple cartridge holder Clearing jams 127 ...
Page 129: ...5 Insert the staple cartridge holder 6 Close door J Clearing jams 129 ...


