•
Disconnect the attached power cords, telecommunications systems, networks, and modems
before you open the device covers, unless instructed otherwise in the installation and configuration
procedure
s.
•
Connect and disconnect cables as described in the following tables when installing, moving, or
opening covers on this product or attached devices.
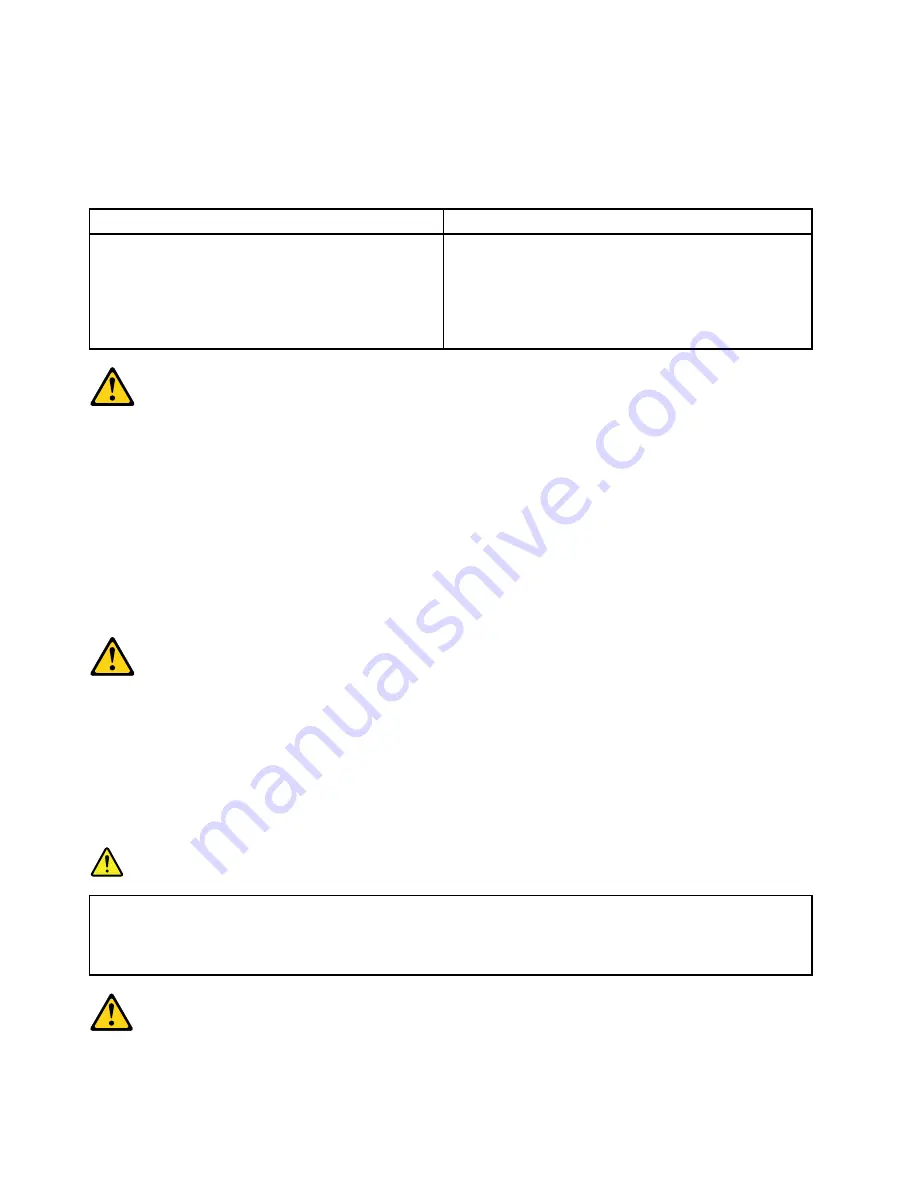
To Connect
To Disconnect
1. Turn everything OFF.
2. First, attach all cables to devices.
3. Attach signal cables to connectors.
4. Attach power cords to outlet.
5. Turn device ON.
1. Turn everything OFF.
2. First, remove power cords from outlet.
3. Remove signal cables from connectors.
4. Remove all cables from devices.
CAUTION:
When replacing the lithium battery, use only Part Number 45C1566 or an equivalent type battery
recommended by the manufacturer. If your system has a module containing a lithium battery, replace
it only with the same module type made by the same manufacturer. The battery contains lithium and
can explode if not properly used, handled, or disposed of.
Do not:
• Throw or immerse into water
• Heat to more than 100°C (212°F)
• Repair or disassemble
Dispose of the battery as required by local ordinances or regulations.
CAUTION:
When laser products (such as CD-ROMs, DVD-ROM drives, fiber optic devices, or transmitters) are
installed, note the following:
• Do not remove the covers. Removing the covers of the laser product could result in exposure to
hazardous laser radiation. There are no serviceable parts inside the device.
• Use of controls or adjustments or performance of procedures other than those specified herein
might result in hazardous radiation exposure.
DANGER
Some laser products contain an embedded Class 3A or Class 3B laser diode. Note the following:
Laser radiation when open. Do not stare into the beam, do not view directly with optical
instruments, and avoid direct exposure to the beam.
6
P910 Hardware Maintenance Manual
Summary of Contents for ThinkStation P910
Page 1: ...P910 Hardware Maintenance Manual Machine Types 30B8 and 30B9 ...
Page 14: ...8 P910 Hardware Maintenance Manual ...
Page 18: ...12 P910 Hardware Maintenance Manual ...
Page 19: ...1 2 Chapter 1 Read this first Important safety information 13 ...
Page 20: ...1 2 14 P910 Hardware Maintenance Manual ...
Page 25: ...1 2 Chapter 1 Read this first Important safety information 19 ...
Page 26: ...1 2 20 P910 Hardware Maintenance Manual ...
Page 29: ...Chapter 1 Read this first Important safety information 23 ...
Page 39: ...b f d c e Chapter 2 Product overview 33 ...
Page 52: ...46 P910 Hardware Maintenance Manual ...
Page 64: ...58 P910 Hardware Maintenance Manual ...
Page 84: ...78 P910 Hardware Maintenance Manual ...
Page 98: ...92 P910 Hardware Maintenance Manual ...
Page 106: ...100 P910 Hardware Maintenance Manual ...
Page 224: ...218 P910 Hardware Maintenance Manual ...
Page 226: ...220 P910 Hardware Maintenance Manual ...
Page 228: ...222 P910 Hardware Maintenance Manual ...
Page 236: ...230 P910 Hardware Maintenance Manual ...
Page 240: ...4 Follow the instructions on the screen 234 P910 Hardware Maintenance Manual ...
Page 243: ......
Page 244: ......


