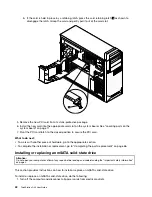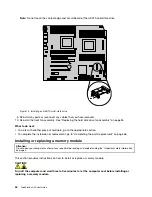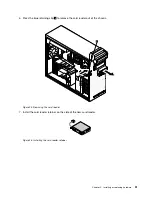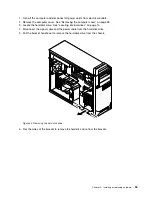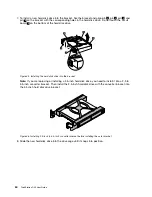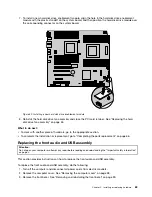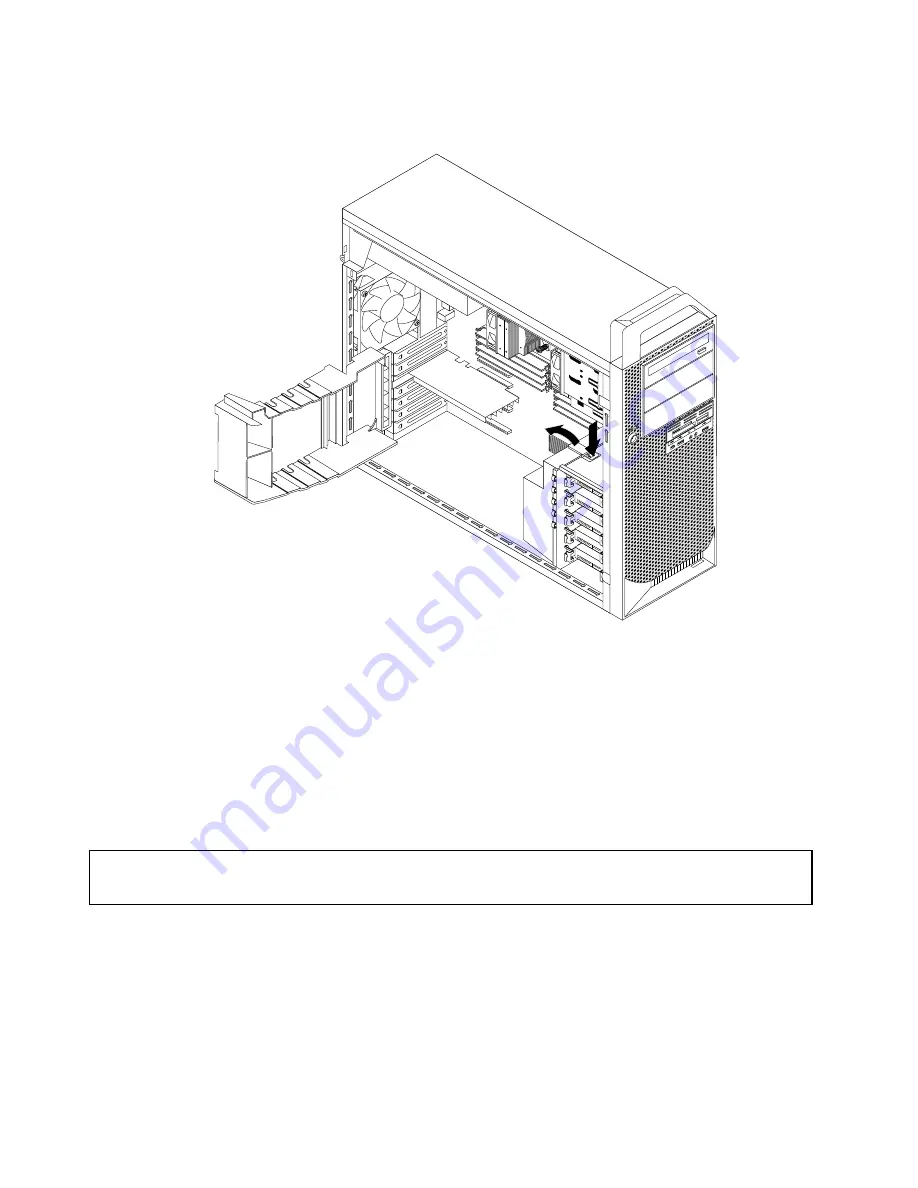
5. Press the tab and then pivot the hard disk drive fan outward to remove it from the chassis.
Figure 31. Removing the hard disk drive fan assembly
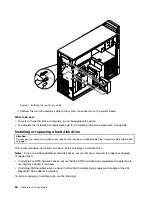
6. Position the hard disk drive fan, and then pivot the fan to insert the tab into the chassis.
7. Reconnect the hard disk drive fan cable to the system board.
What to do next:
• To work with another piece of hardware, go to the appropriate section.
• To complete the installation or replacement, go to “Completing the parts replacement” on page 66.
Replacing the rear fan assembly
Attention:
Do not open your computer or attempt any repair before reading and understanding the “Important safety information”
on page v.
This section provides instructions on how to replace the rear fan assembly.
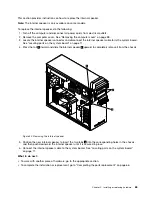
To replace the rear fan assembly, do the following:
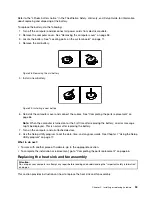
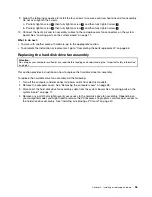
1. Turn off the computer and disconnect all power cords from electrical outlets.
2. Remove the computer cover. See “Removing the computer cover” on page 38.
3. Locate the rear fan assembly. See “Locating components” on page 10.
4. Disconnect the rear fan assembly cable from the system fan connector on the system board. See
“Locating parts on the system board” on page 11.
56
ThinkStation D30 User Guide
Summary of Contents for ThinkStation D30
Page 1: ...ThinkStation D30 User Guide Machine Types 4353 and 4354 ...
Page 6: ...iv ThinkStation D30 User Guide ...
Page 12: ...x ThinkStation D30 User Guide ...
Page 28: ...16 ThinkStation D30 User Guide ...
Page 45: ...Figure 8 Installing a padlock Chapter 4 Security 33 ...
Page 48: ...36 ThinkStation D30 User Guide ...
Page 80: ...68 ThinkStation D30 User Guide ...
Page 94: ...82 ThinkStation D30 User Guide ...
Page 104: ...92 ThinkStation D30 User Guide ...
Page 130: ...118 ThinkStation D30 User Guide ...
Page 138: ...126 ThinkStation D30 User Guide ...
Page 142: ...130 ThinkStation D30 User Guide ...
Page 146: ...134 ThinkStation D30 User Guide ...
Page 150: ...138 ThinkStation D30 User Guide ...
Page 151: ......
Page 152: ......

