2-14
Installing and Setting up the Machine > Installing Software
Installing Printer Driver in Windows
The following procedure is an example for installing the software in Windows 7 using [
Express Install
].
You can use either [
Express Install
] or [
Custom Install
] can be selected for the installation method. [
Express Install
]
automatically detects connected machines and installs the required software. Use [
Custom Install
] if you want to
specify the printer port and select the software to be installed. For details, refer to Custom Installation in the
Printer
Driver User Guide
on the DVD.
1
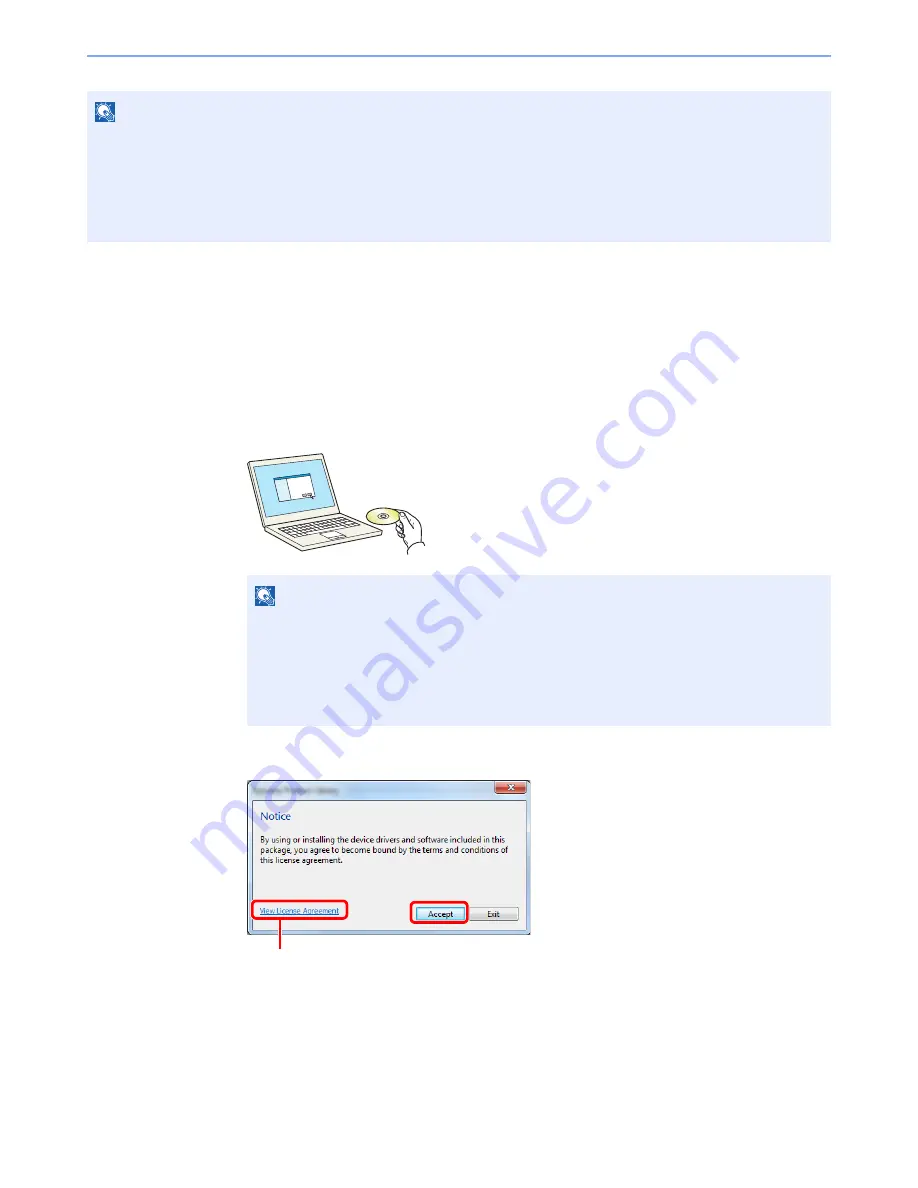
Insert the DVD.
2
Display the screen.
NOTE
Installation on Windows must be done by a user logged on with administrator privileges.
When connected by USB cable, Plug and Play is disabled on this device when in Sleep mode or the power saving state.
To continue the installation, press the [
Power
] key to wake the device from Low Power Mode or Sleep before continuing.
The optional FAX Kit is required in order to make use of fax functionality.
WIA driver and KX XPS DRIVER cannot be installed on Windows XP.
NOTE
Installation on Windows must be done by a user logged on with administrator privileges.
If the "
Welcome to the Found New Hardware Wizard
" dialog box displays, select
[
Cancel
].
If the autorun screen is displayed, click [
Run Setup.exe
].
If the user account management window appears, click [
Yes
] ([
Allow
]).
Click [
View License Agreement
] and read the License Agreement.
1
2
Summary of Contents for TASKalfa 3051ci
Page 1: ...3051ci 3551ci 4551ci 5551ci OPERATION GUIDE ...
Page 17: ...xvi About the Operation Guide this Guide ...
Page 44: ...xliii Menu Map ...
Page 62: ...1 18 Legal and Safety Information Notice ...
Page 108: ...2 46 Installing and Setting up the Machine Transferring data from our other products ...
Page 164: ...3 56 Preparation before Use Registering Destinations in the Address Book ...
Page 182: ...4 18 Printing from PC Printing Data Saved on the Printer ...
Page 459: ...10 7 Troubleshooting Regular Maintenance 3 4 5 6 CLICK ...
Page 462: ...10 10 Troubleshooting Regular Maintenance 4 5 6 7 1 2 CLICK CLICK ...
Page 502: ...10 50 Troubleshooting Troubleshooting Large Capacity Feeder 1 500 sheet x 2 1 2 3 4 1 2 B1 B2 ...
Page 503: ...10 51 Troubleshooting Troubleshooting Multi Purpose Tray 1 2 3 4 ...
Page 505: ...10 53 Troubleshooting Troubleshooting Duplex unit 1 2 ...
Page 506: ...10 54 Troubleshooting Troubleshooting Duplex Unit and Cassette 1 1 2 3 CLICK ...
Page 508: ...10 56 Troubleshooting Troubleshooting Fixing unit 1 2 3 A1 ...
Page 510: ...10 58 Troubleshooting Troubleshooting Optional Job Separator Inner Job Separator 1 2 3 A1 ...
Page 511: ...10 59 Troubleshooting Troubleshooting Right Job Separator 1 2 3 Bridge Unit Option A1 1 2 ...
Page 512: ...10 60 Troubleshooting Troubleshooting 1 000 Sheet Finisher Option 1 2 3 D1 D2 2 1 D3 ...
Page 515: ...10 63 Troubleshooting Troubleshooting Tray B 1 2 3 Tray C 1 D2 D3 ...
Page 516: ...10 64 Troubleshooting Troubleshooting Conveyor 1 2 Mailbox Option 1 D2 D3 1 2 ...
Page 519: ...10 67 Troubleshooting Troubleshooting 5 Cassette 5 Option Side Feeder 3 000 sheet 1 2 2 1 ...
Page 526: ...10 74 Troubleshooting Troubleshooting Staple cartridge holder B C 1 2 3 4 2 1 CLICK ...
Page 574: ...Index 10 ...
Page 575: ......
Page 578: ...Rev 1 2013 6 2N4KDEN101 ...


