


9-32
User Authentication and Accounting (User Login, Job Accounting) > Job Accounting Setting
Accounting List
Adding an Account
Manage accounts.
1
Display the screen.
1
Referring to
Job Accounting Setting on page 9-27
, display the job accounting access
screen.
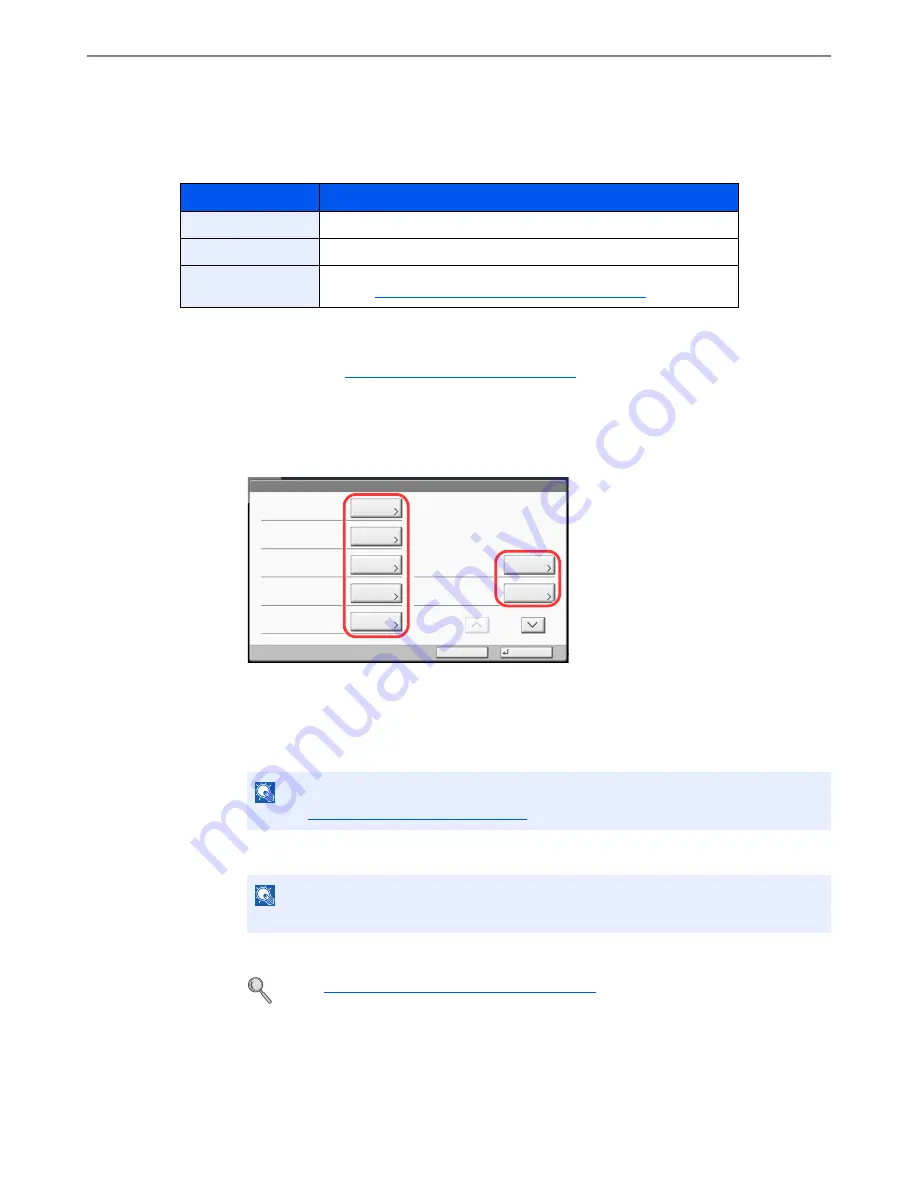
2
Press [Next] of "Job Accounting (Local)", [Add/Edit] of "Accounting List", and then [Add].
2
Enter the account information.
1
Press [Change] of "Account Name".
2
Enter the account name and press [OK].
The "Account" screen reappears.
3
Similar to steps 1 and 2, enter the "Account ID".
4
Activate or deactivate restriction.
5
Press [Save].
A new account is added on the Account List.
Item
Descriptions
Account Name
Enter the account name (up to 32 characters).
Account ID
Enter the account ID as many as eight digits (between 0 and 99999999).
Restriction
This prohibits printing/scanning or restricts the number of sheets to load.
Refer to
Restricting the Use of the Machine on page 9-34
.
NOTE
Refer to
Entering Characters on page 11-13
for details on entering characters.
NOTE
Any "Account ID" that has already registered cannot be used. Enter any other account ID.
Refer to
Restricting the Use of the Machine on page 9-34
.
Account:
Print Restriction (Total):
Copy Restriction (Total):
Save
Copy Restr. (Full Color):
Account ID:
Cancel
Off
Off
Off
00001000
Print Restr. (Full Color):
Off
Account Name:
01
㪚㪿㪸㫅㪾㪼
Copy Restr. (SingleColor):
Off
㪚㪿㪸㫅㪾㪼
㪚㪿㪸㫅㪾㪼
㪚㪿㪸㫅㪾㪼
㪚㪿㪸㫅㪾㪼
㪚㪿㪸㫅㪾㪼
㪚㪿㪸㫅㪾㪼
1/2
Account
01
Summary of Contents for TASKalfa 3051ci
Page 1: ...3051ci 3551ci 4551ci 5551ci OPERATION GUIDE ...
Page 17: ...xvi About the Operation Guide this Guide ...
Page 44: ...xliii Menu Map ...
Page 62: ...1 18 Legal and Safety Information Notice ...
Page 108: ...2 46 Installing and Setting up the Machine Transferring data from our other products ...
Page 164: ...3 56 Preparation before Use Registering Destinations in the Address Book ...
Page 182: ...4 18 Printing from PC Printing Data Saved on the Printer ...
Page 459: ...10 7 Troubleshooting Regular Maintenance 3 4 5 6 CLICK ...
Page 462: ...10 10 Troubleshooting Regular Maintenance 4 5 6 7 1 2 CLICK CLICK ...
Page 502: ...10 50 Troubleshooting Troubleshooting Large Capacity Feeder 1 500 sheet x 2 1 2 3 4 1 2 B1 B2 ...
Page 503: ...10 51 Troubleshooting Troubleshooting Multi Purpose Tray 1 2 3 4 ...
Page 505: ...10 53 Troubleshooting Troubleshooting Duplex unit 1 2 ...
Page 506: ...10 54 Troubleshooting Troubleshooting Duplex Unit and Cassette 1 1 2 3 CLICK ...
Page 508: ...10 56 Troubleshooting Troubleshooting Fixing unit 1 2 3 A1 ...
Page 510: ...10 58 Troubleshooting Troubleshooting Optional Job Separator Inner Job Separator 1 2 3 A1 ...
Page 511: ...10 59 Troubleshooting Troubleshooting Right Job Separator 1 2 3 Bridge Unit Option A1 1 2 ...
Page 512: ...10 60 Troubleshooting Troubleshooting 1 000 Sheet Finisher Option 1 2 3 D1 D2 2 1 D3 ...
Page 515: ...10 63 Troubleshooting Troubleshooting Tray B 1 2 3 Tray C 1 D2 D3 ...
Page 516: ...10 64 Troubleshooting Troubleshooting Conveyor 1 2 Mailbox Option 1 D2 D3 1 2 ...
Page 519: ...10 67 Troubleshooting Troubleshooting 5 Cassette 5 Option Side Feeder 3 000 sheet 1 2 2 1 ...
Page 526: ...10 74 Troubleshooting Troubleshooting Staple cartridge holder B C 1 2 3 4 2 1 CLICK ...
Page 574: ...Index 10 ...
Page 575: ......
Page 578: ...Rev 1 2013 6 2N4KDEN101 ...


