Section 7 DOCUMENT MANAGEMENT FUNCTIONS
7. Set the originals.
8. Make sure that “Place originals then press Start.” is displayed.
* Make sure that “Auto” is displayed under “Original”.
* If you want to change the size of the copy paper, touch the “Paper” key and select the
size of paper that you want.
9. Press the Start key. Scanning of the originals will begin.
10. Once scanning is finished, touch the “End” key. The touch panel will return to the basic
screen.
To continue registering originals, set the new originals and touch the “Continue” key.
2
Printing out more than one set of originals from a synergy print box
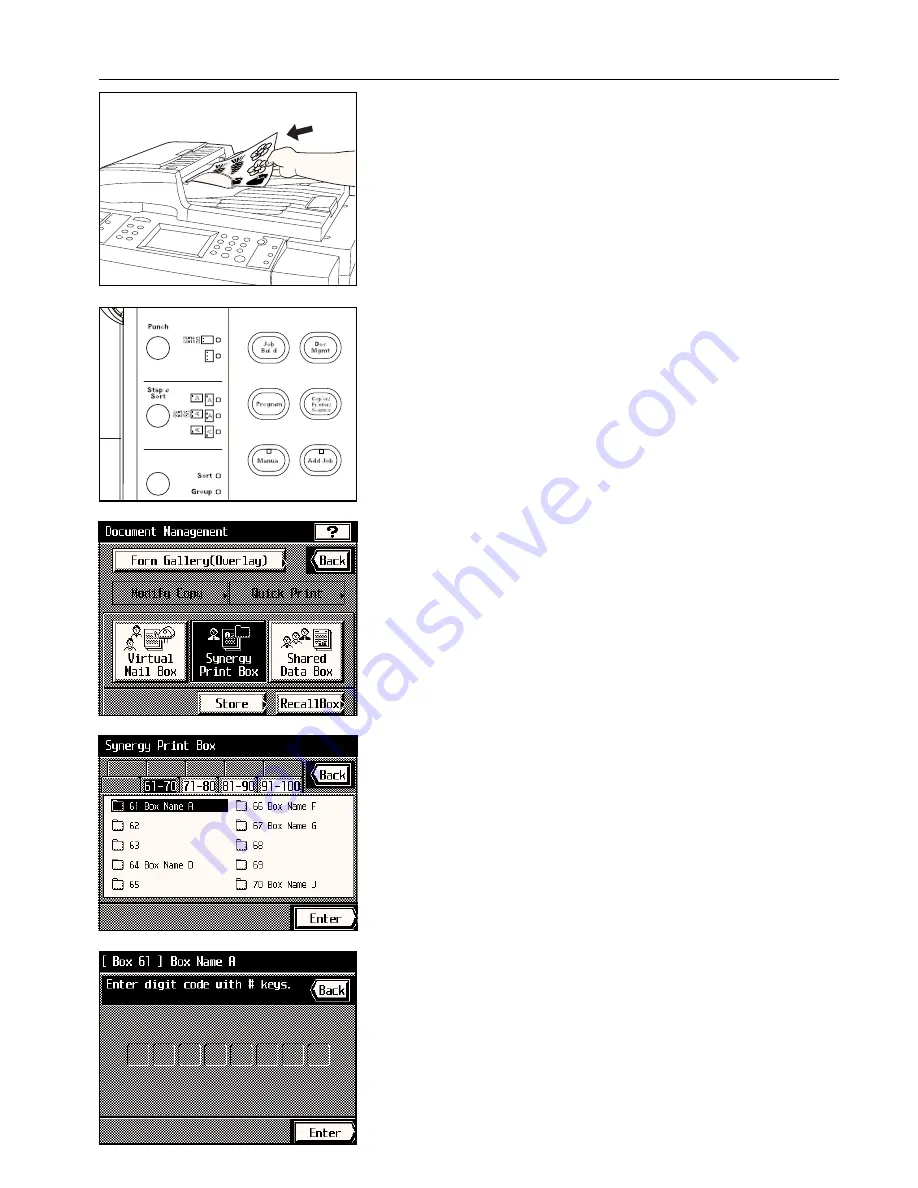
1. Press the Doc. Mgmt. key.
The document management screen will appear.
2. Touch the “Synergy Print Box” key.
3. Touch the “Recall Box” key.
The available synergy print boxes will be displayed in blocks of 10.
4. Select the box that contains the corresponding originals.
* The example in the illustration shows that 40 synergy print boxes, from no. 61 to no. 100,
are available. If you want to select a box number other than those currently displayed,
touch the key on the touch panel that corresponds to the block of ten boxes which con-
tains that number.
5. Touch the “Enter” key.
6. If a password was registered for the selected box, the password input screen will appear.
Enter the registered password (8 digits or less) and touch the “End” key.
If there was no password registered for that box, go directly to the next step.
7-12
Summary of Contents for KM-6230
Page 12: ...Section 2 NAMES OF PARTS Section 2 NAMES OF PARTS 2 1 ...
Page 154: ...12 4 ...
Page 158: ...12 8 A ...


