12-3
Backing Sequence operating mode
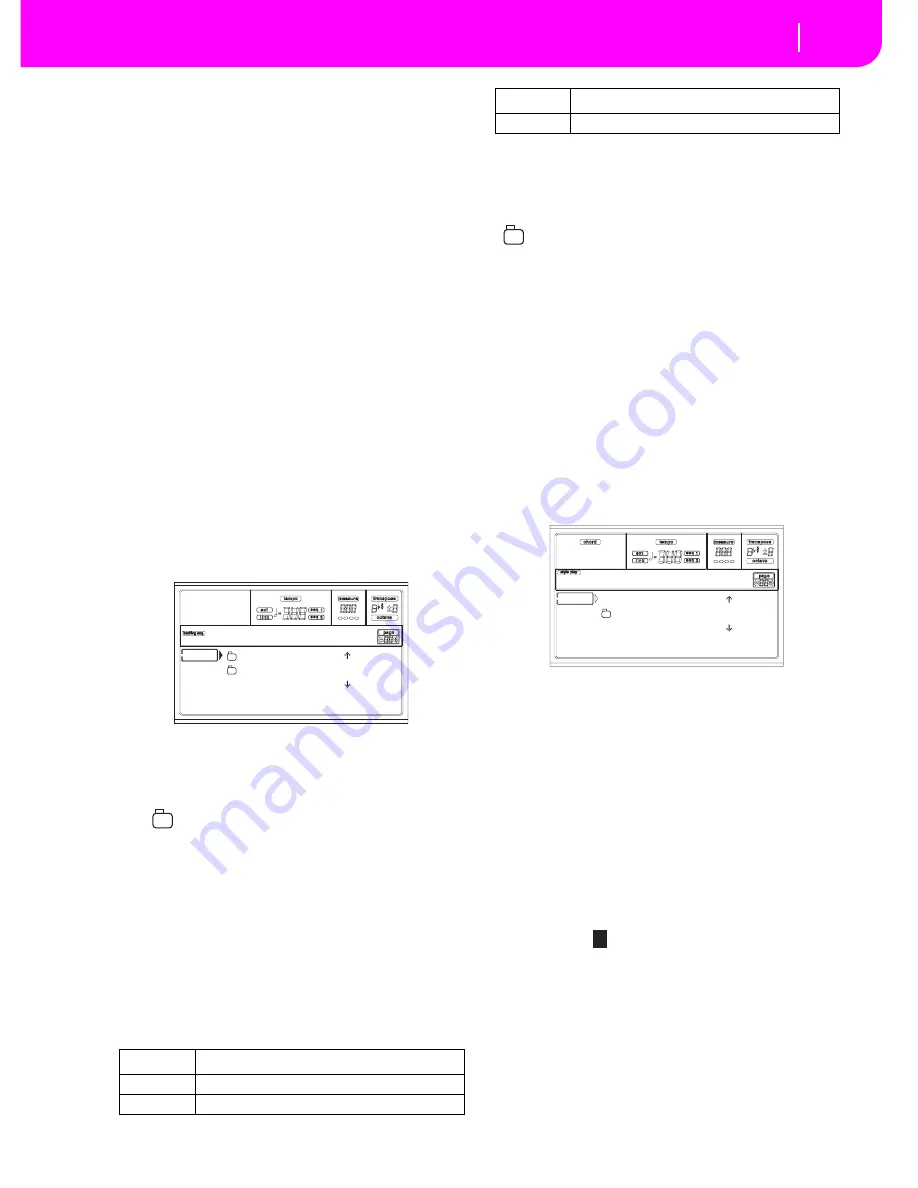
Load Song page
After pressing this command, the Save Song page appears
(see “Save Song page” on page 12-3).
D (
S
elect Tempo)
Select this parameter to use the TEMPO/VALUE section to
select the Tempo. When you select this parameter, the VALUE
LED turns off.
F (Metro)
Use these buttons to turn the metronome on/off during play-
back.
G
(Meter)
This non-editable parameter shows the starting meter (or
time signature) of the selected Song.
H (Tempo mode)
This sets the Tempo change mode.
Man(ual)
When the cursor is on the “D (Select Tempo)”
parameter, you can change the Tempo using
the TEMPO/VALUE section controls. The
Song will be played back using the manually
selected tempo.
Auto
The Tempo recorded into the Song will be used
instead.
LOAD
S
ON
G
PA
G
E
This page appears when you press PAGE+ or either the B
(Load Song) buttons while you are in the main page.
Press EXIT to go back to the main page of the Backing
Sequence operating mode, without selecting a Song.
A-C (File, folder)
Move the file or folder to be selected to the first line of the
display. To select a file, press the F2 (Select) button. To open a
folder, press the F3 (Open) button.
The “
” symbol identifies a folder.
E-F (
S
croll Up)
Scroll the list up. Keep SHIFT pressed and press one of these
buttons to jump to the previous alphabetical section.
G
-H (
S
croll Down)
Scroll the list down. Keep SHIFT pressed and press one of
these buttons to jump to the next alphabetical section.
TEMPO/VALUE section
These controls scroll the list up or down.
F
1
(Disk device)
Selects a different disk device. Devices are selected in this
order: HD
➛
FD
➛
HD…
F2 (Load)
Load the Song at the first line of the display.
F3 (Open)
Opens the selected folder (file whose name begins with the
“
” symbol).
F4 (Close)
Closes the current folder, returning to the parent (“upper”)
folder.
S
AVE
S
ON
G
PA
G
E
The recorded Song is contained in RAM, and is lost when
turning the instrument off. The Song is also lost when you
overwrite it in Record mode, or when switching to the Song
Play mode. You must save on disk any Song you wish to pre-
serve.
1
.
If you are in Record mode (RECORD LED on), stop the
sequencer and press RECORD to go back to the Backing
Sequence Playback page.
2.
Select the Save Song button. The Save Song page
appears.
3.
Move the folder where you wish to save your Song to the
first line of the display, using the E-F (Scroll Up) and G-
H (Scroll Down) VOLUME/VALUE buttons, or the
TEMPO/VALUE controls. Press F3 (Open) to open it.
Close the current folder by pressing F4 (Close).
4.
When in the selected folder, you can save the Song over
an existing file, or create a new file.
• To
overwrite
an existing file, move it to the first line of
the display.
• To
create
a new file, move the “NEW_NAME.MID”
item to the first line of the display.
5.
When the “NEW_NAME.MID” item is selected, press
one of the A VOLUME/VALUE buttons. You are
prompted to assign a name to the new folder:
Move the cursor using the DOWN/- and UP/+ buttons.
Select a character using the DIAL. Insert a character at
the cursor position by pressing the INSERT button.
Delete a character at the cursor position by pressing the
DELETE button.
6
.
When you have finished writing a name for the new
midifile, press F2 (Save) to confirm. The “Are you sure?”
message will appear. Press ENTER to confirm, or EXIT
to abort.
Device
Type
HD
Hard disk
FD
Floppy disk
BALLADS |
MYSONGS
MYSONG.MID |
FD LOAD OPEN CLOSE
Load Song
CRD
Flash Card
Device
Type
NEW_NAME.MID |
MYSONGS
MYSONG.MID |
FD SAVE OPEN CLOSE
BS:Save Song
N
EW_NAME.MID
Summary of Contents for PA80
Page 1: ...USER S MANUAL ENGLISH Ver 3 06 MAN0001064 E ...
Page 10: ...TOC 6 ...
Page 11: ...INTRODUCTION ...
Page 12: ......
Page 28: ...4 4 Display and User Interface Grayed out non available parameters ...
Page 31: ...BASIC GUIDE ...
Page 32: ......
Page 38: ...6 6 Basic operations Shortcut to see the original bank for a Style Performance or Program ...
Page 46: ...7 8 Tutorial 6 The Arabic Scale ...
Page 51: ...REFERENCE GUIDE ...
Page 52: ......
Page 66: ...9 14 Style Play operating mode Page 25 Preferences controls ...
Page 150: ...15 10 Sampling operating mode The Write window ...
Page 181: ...APPENDIX ...
Page 182: ......
Page 218: ...19 32 Factory Data MIDI Setup ...
Page 270: ...20 52 Effects Mono Mono Chain ...
Page 274: ...21 4 Assignable parameters Scales ...
Page 280: ...23 4 Parameters ...
Page 288: ...25 6 Vocal Guitar Processor Board VHG1 Assembling the board without a HD drive installed ...
Page 292: ...26 4 Video Interface VIF1 Connections and setup ...
Page 300: ...28 6 Error messages Troubleshooting Troubleshooting ...
Page 302: ...29 2 Technical specifications ...
Page 306: ...30 4 Alphabetical Index ...
Page 307: ......


