10-7
Style Record mode
Style Record procedure
S
TYLE RECORD PROCEDURE
There are two different methods for recording a Style: Real-
time and Step.
•
Realtime Recording allows you to record Style patterns
in realtime.
•
Step Recording allows you to create a new Style by enter-
ing the single notes or chords in each track. This is very
useful when transcribing an existing score, or needing a
higher grade of detail, and is particularly suitable to cre-
ate drum and percussion tracks.
Preparing to record
1
.
If you like to edit an existing Style, select that Style.
2.
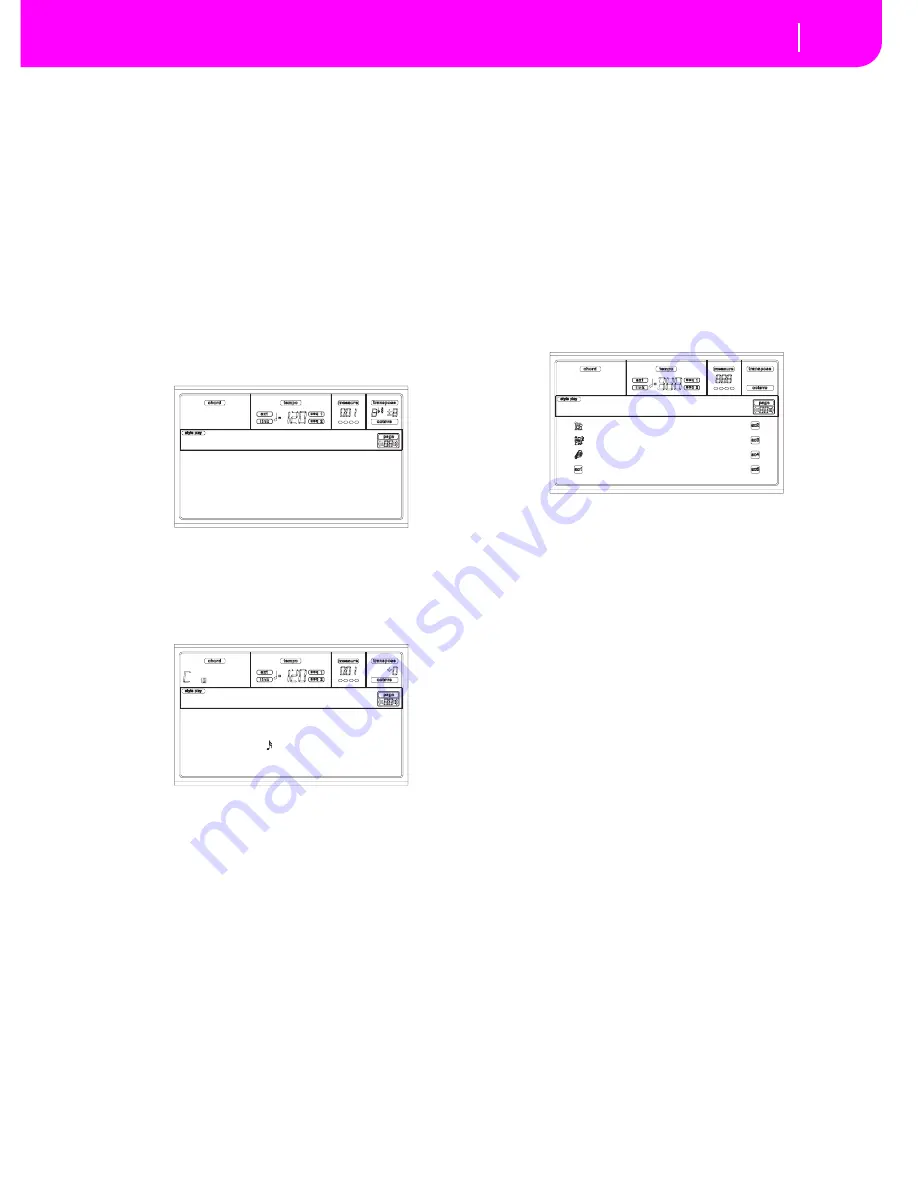
Press RECORD to enter the Style Record mode. You are
prompted to select either the Current Style, or a New
Style.
Select “Current Style” if you want to edit the current
Style, or make a new Style starting from an existing one.
Select “New Style” if you want to start from scratch with
an empty Style.
3.
After you select your preferred option, the Main page of
the Style Record mode will appear.
4.
Use the A VOLUME/VALUE buttons, and the F1 and F2
function keys to select the E (Style Element) and CV
(Chord Variation) parameter.
Note:
For more information on the Style Elements and
Chord Variations, and the Style structure in general, see
“The Style’s structure” on page 10-1.
5.
Use the RL (Recording Length) parameter to set the
length (in measures) of the pattern to step-record. Select
this parameter using the E VOLUME/VALUE buttons
and the F4 function key. Use the TEMPO/VALUE con-
trols to set the value.
6
.
Use the Meter parameter to set the Style’s meter. You can
edit this parameter only if you selected the New Style
option when entering the Record mode.
7.
Set the tempo. Keep the SHIFT button pressed, and use
the TEMPO/VALUE controls to change the tempo.
8.
At this point, if you want to do a Realtime Recording go
on reading “Realtime Record procedure” below. Other-
wise, if you prefer to do a Step Record, jump to “Step
Record procedure” on page 10-8.
Realtime Record procedure
1
.
When still in the Main page of the Style Record mode,
press one of the E VOLUME/VALUE buttons, to select
the “R” parameter. Use these buttons, or the TEMPO/
VALUE controls, to select the “RT” (Realtime) recording
mode.
2.
Press TRK SELECT to switch to the Style Tracks page.
Here you can assign the right Program to each Style
track. (For more details, see “Style Tracks page” on
page 10-5).
3.
If you like, you can set the tempo again from this page:
just use the TEMPO/VALUE controls.
4.
Assign a Program to each track, by using the PRO-
GRAM/PERFORMANCE section. You can’t select Digi-
tal Drawbars Programs.
5.
If needed, set the Octave Transpose for each track.
Note:
The Octave Transpose will affect only the notes coming
from the keyboard, and not from the arranger.
6
.
Select the track to put in record. Its status icon will
begin flashing.
Note: When entering the Record mode, the last selected
track is already in record. When you press START/
STOP after entering the Record mode, you can immedi-
ately start recording.
If you like, you can try your part before recording:
• Set the track in mute, by pressing both corresponding
VOLUME/VALUE buttons; the status icon disappears.
• Press START/STOP to play back the other tracks, if
already recorded, and practice on the keyboard.
• When you have finished practicing, press START/
STOP to stop the arranger, and unmute the track by
pressing both VOLUME/VALUE buttons; the track will
be in record again.
7.
While the status icon is flashing, press START/STOP to
begin recording. Depending on the “Metro” (metro-
nome) option you selected, a 1- or 2-bars precount may
play before the recording actually begins. When it
begins, play freely. The pattern will last for some mea-
sures, according to the RecLen value, then restart.
Since the recording will happen in overdub, you can add
notes on any following passage. This is very useful to
record different percussive instruments at any cycle on a
Drum or Percussion track.
Note:
While recording, the track’s
Keyboard Range
(see
page 10-17) is ignored, and the track can play over the
whole keyboard range. The
Local
parameter (see “Local”
Current Style
New Style
Record
e:v1 cv:cv1 R:RT RL:2
CV Len:16 Metro:On1
Resol: Meter:4/4
C maj7 NTT:5th
NewBossa |T:DR
R:RT
Brush 2 Piano01
Perc Kit Guitar01
*AcouBass StrngEns2
AcouPiano2 VoxPad1
NewBossa |V1-CV1
Summary of Contents for PA80
Page 1: ...USER S MANUAL ENGLISH Ver 3 06 MAN0001064 E ...
Page 10: ...TOC 6 ...
Page 11: ...INTRODUCTION ...
Page 12: ......
Page 28: ...4 4 Display and User Interface Grayed out non available parameters ...
Page 31: ...BASIC GUIDE ...
Page 32: ......
Page 38: ...6 6 Basic operations Shortcut to see the original bank for a Style Performance or Program ...
Page 46: ...7 8 Tutorial 6 The Arabic Scale ...
Page 51: ...REFERENCE GUIDE ...
Page 52: ......
Page 66: ...9 14 Style Play operating mode Page 25 Preferences controls ...
Page 150: ...15 10 Sampling operating mode The Write window ...
Page 181: ...APPENDIX ...
Page 182: ......
Page 218: ...19 32 Factory Data MIDI Setup ...
Page 270: ...20 52 Effects Mono Mono Chain ...
Page 274: ...21 4 Assignable parameters Scales ...
Page 280: ...23 4 Parameters ...
Page 288: ...25 6 Vocal Guitar Processor Board VHG1 Assembling the board without a HD drive installed ...
Page 292: ...26 4 Video Interface VIF1 Connections and setup ...
Page 300: ...28 6 Error messages Troubleshooting Troubleshooting ...
Page 302: ...29 2 Technical specifications ...
Page 306: ...30 4 Alphabetical Index ...
Page 307: ......


