6-5
Basic operations
Selecting a Single Touch Setting (STS)
S
ELECTIN
G
A
S
IN
G
LE TOUCH
S
ETTIN
G
(
S
T
S
)
A Single Touch Setting (STS) contains Realtime (Keyboard)
tracks’ settings. Four STS are included in each Style, and can
be recalled by pressing the SINGLE TOUCH SETTING (F1-
F4) buttons under the display.
Note:
You can select a STS only when you are in the main page
of the Style Play or Backing Sequence operating mode.
CHAN
G
IN
G
ALL KEYBOARD TRACK
S
AT ONCE
Select a Performance or a Single Touch Setting (F1-F4 but-
tons, when you are in the Style Play main page) to change
keyboard Programs and effects at the touch of a button.
PLAYIN
G
A
S
ON
G
FROM FLOPPY DI
S
K
1
.
Insert the floppy disk containing the Song into the
floppy disk drive.
2.
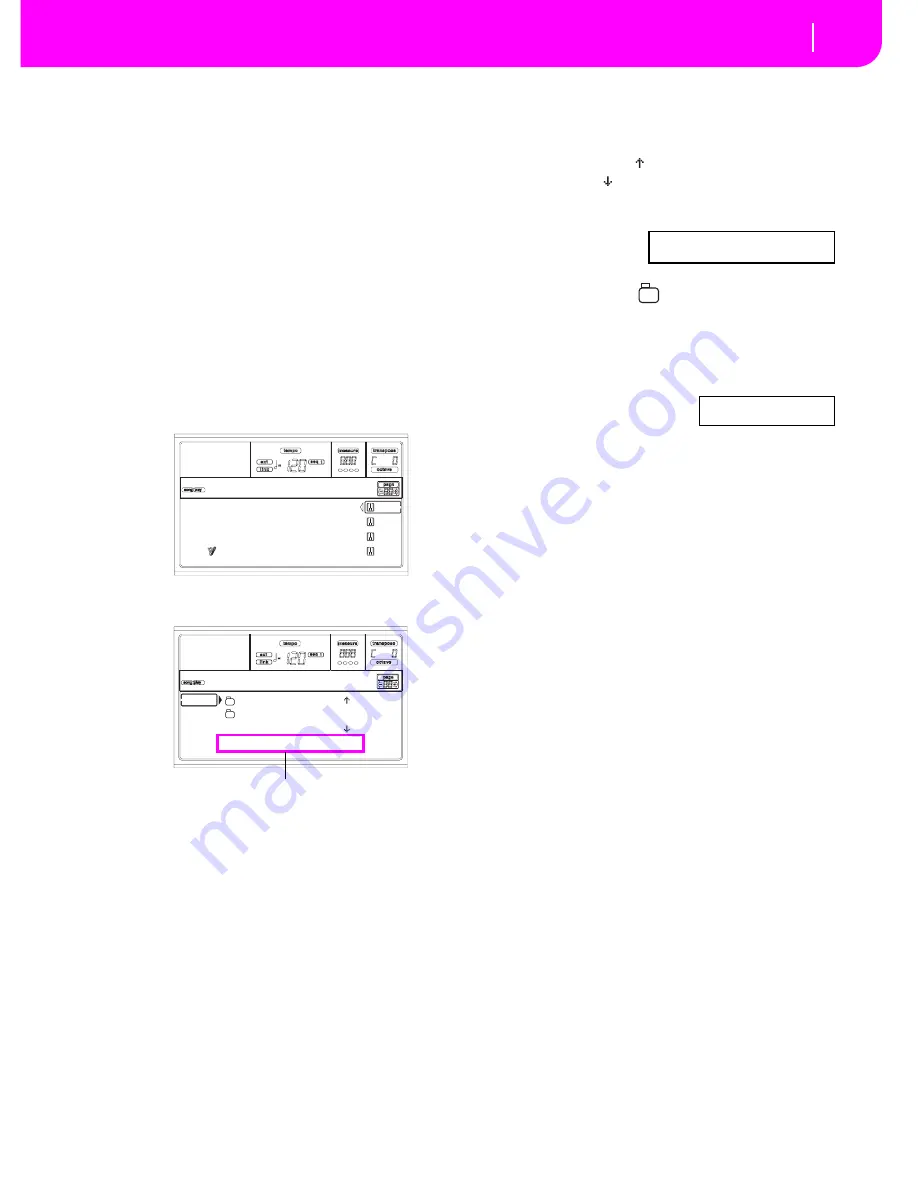
Press the SONG PLAY button to access the Song Play
mode.
3.
Press the A (S1:) VOLUME/VALUE button to open the
Song Select window.
Note:
You can access the Song Select window also by press-
ing the PAGE+ button from the main page. You can exit
this window either by pressing EXIT or PAGE-.
4.
Press the F1 button to select the floppy disk drive (FD).
The disk content appears.
5.
Use the TEMPO/VALUE controls, or the VOLUME/
VALUE (E-H) buttons to scroll the list. The E-F buttons
are the Scroll Up ( ), while the G-H buttons are the
Scroll Down ( ).
Move the file you are looking for to the
first line
of the
display.
6
.
If the file you are
looking for is in a
folder (a file whose
name begins with “
”), move the folder to the first
line in the display, then select the F3 (OPEN) command.
Select the F4 (CLOSE) command to close a folder and
go back to the upper level.
7.
When the file you are looking for is in the first line of the
display, press the F2 (SELECT) button.
8.
When the Song appears in
the S1 line on the main page
of the Song Play mode, press
the left (SEQ 1) PLAY/STOP button to start the play-
back.
Note: If the BALANCE slider is all the way to the right,
Sequencer 1 is at the minimum volume and can’t be
heard.
9.
If you wish to play a different Song on the Sequencer 2
at the same time, press the B (S2:) VOLUME/VALUE
button (press it twice if a Song is already selected for
Sequencer 2), and repeat the above procedure to select a
Song for Sequencer 2. Use the right (SEQ 2) PLAY/
STOP button to start/stop the second Song. Use the
BALANCE cursor to mix between Sequencer 1 and
Sequencer 2.
1
0.
Stop the Song(s) using the PLAY/STOP button for the
corresponding Sequencer.
S
HORTCUT TO
S
EE THE ORI
G
INAL BANK FOR A
S
TYLE, PERFORMANCE OR PRO
G
RAM
You can see the original bank where your Style, Performance
or Program came from. Just keep the SHIFT button pressed,
and press the lefmost button of the STYLE or PROGRAM/
PERFORMANCE section. A message window will appear,
showing the name of the original bank.
Release the SHIFT button to exit the window.
S1: Piano01
S2: Guitar01
Lyrics StrngEns2
AudioIn VoxPad1
No song
CLUB |
BALLADS
0001 MYSONG.MID |
FD SELECT OPEN CLOSE
Song Selection
Page commands
0001 MYSONG.MID
S1:MySong
Summary of Contents for PA80
Page 1: ...USER S MANUAL ENGLISH Ver 3 06 MAN0001064 E ...
Page 10: ...TOC 6 ...
Page 11: ...INTRODUCTION ...
Page 12: ......
Page 28: ...4 4 Display and User Interface Grayed out non available parameters ...
Page 31: ...BASIC GUIDE ...
Page 32: ......
Page 38: ...6 6 Basic operations Shortcut to see the original bank for a Style Performance or Program ...
Page 46: ...7 8 Tutorial 6 The Arabic Scale ...
Page 51: ...REFERENCE GUIDE ...
Page 52: ......
Page 66: ...9 14 Style Play operating mode Page 25 Preferences controls ...
Page 150: ...15 10 Sampling operating mode The Write window ...
Page 181: ...APPENDIX ...
Page 182: ......
Page 218: ...19 32 Factory Data MIDI Setup ...
Page 270: ...20 52 Effects Mono Mono Chain ...
Page 274: ...21 4 Assignable parameters Scales ...
Page 280: ...23 4 Parameters ...
Page 288: ...25 6 Vocal Guitar Processor Board VHG1 Assembling the board without a HD drive installed ...
Page 292: ...26 4 Video Interface VIF1 Connections and setup ...
Page 300: ...28 6 Error messages Troubleshooting Troubleshooting ...
Page 302: ...29 2 Technical specifications ...
Page 306: ...30 4 Alphabetical Index ...
Page 307: ......


