15-5
Sampling operating mode
Page 3 - Extend
A MIDI Groove with the original pattern will also be
generated. The screen will change.
4.
Test the generated sliced drum kit on the keyboard.
• To test the full pattern at different speed, play a note
from C2 (half speed) to C3 (original speed). See table
above.
• To test the single sliced samples, play notes from C#3
and above. If you play a full chromatic scale, the original
pattern will be sounded.
Hint:
If too many samples have been generated, and the
keyboard can’t fit them all, use the OCTAVE buttons to
transpose the keyboard, and listen to samples exceeding the
upper limit.
5.
If the Slice didn’t produce satisfactory results, adjust the
Release parameter. If this does not produces good
results, try adjusting the Thres (Threshold) parameter,
too. After adjusting the Release parameter, you must
execute the Time Slice again.
6
.
Since a tempo value rounding happens when making a
Time Slice operation, and the loop may not be accurate,
you may need to adjust both the “S (Start Sample)” and
“E (End Sample)” parameters of the “Record/Edit” page,
to make the groove loop flawlessly. After editing these
parameters, you must execute the Time Slice again.
Go on experimenting different settings! Editing an
audio groove is a pure matter of experimentation.
7.
When the Slice is completed, you can save the sliced
samples and the MIDI Groove into the Flash Card, or go
to the Extend page to do further editing.
• To save the sliced samples and MIDI Groove, press
WRITE. The Write Slices window will appear (see “The
Write window” on page 15-9). Assign a name to the new
Program, and save it into an User Program location into
the Flash Card. A MIDI Groove with the same name will
also be saved into the AUTOLOAD.SET folder. (After
saving, you will go back to the Slice page).
• To go on with further editing, press PAGE+ to go to the
Extend page (see “Page 3 - Extend” below).
8.
After saving, you may press RECORD to exit the Sam-
pling mode. The Write Sound page will appear. Press
one of the D VOLUME/VALUE buttons (Abort), then
ENTER to exit.
9.
After exiting the Sampling mode, you may load the
MIDI Groove data in the Style Record mode (see “Page
14 - Import GRV” on page 10-18 for more informa-
tion).
PA
G
E 3 - EXTEND
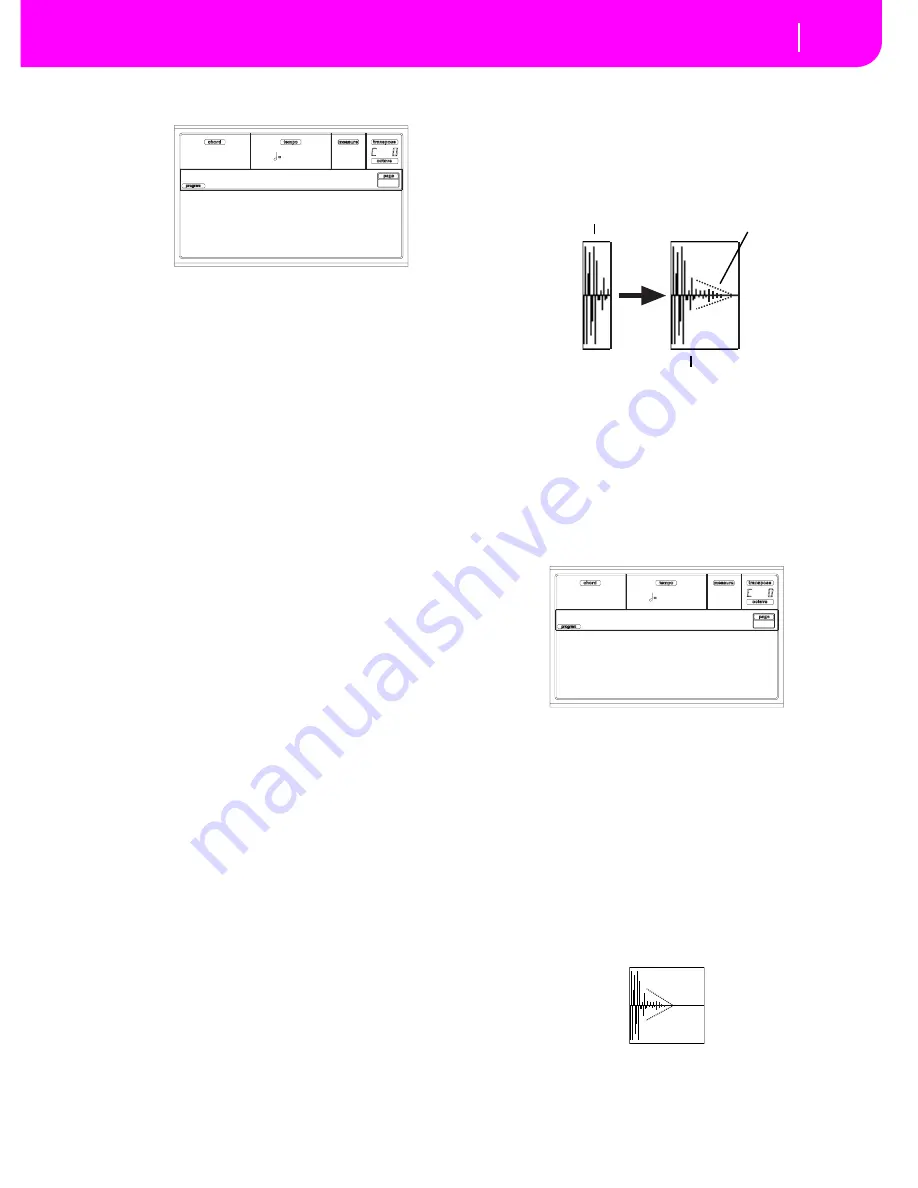
When using a sliced groove with a slow tempo, an annoying
gap may appear between a sample and the following one. The
Extend function allows you to fix this problem by adding a
“tail” to all samples, making their decay smoother and more
musical.
Note:
You can use the Extend function only after a Time Slice
operation.
Note:
The Extend function increases the original sample size.
You may not be able to extend the samples if low on memory.
The Extend page in detail
Here is the Extend page. The EXTEND command may
appear “ghosted” if and Extend operation has already been
executed.
By
Use this parameter to set the length of the “tail” added to the
samples. The higher this value, the greater the size of the
samples. A setting of 20-30% is usually suitable to most
grooves.
Note:
If Pa80 is very low on memory, you might not be allowed
to change this value.
Mode
This parameter specifies if the added “tail” must decay in a
linear way, or sustain for a longer time and then fall suddenly.
Short
This option is most suitable for percussive
sound with a short (but not immediate) decay.
The “tail” envelope is linear, and the level
decays fast.
Meter: 4/4
Meas: 2 BPM: 140
Release: 4 Attacks: 16
Thres: 5 Slices: 16
Time Slice
Before extending…
…and after extending…
Added “tail”
By: 0%
Mode: Short
EXTEND
Extend Slices
Summary of Contents for PA80
Page 1: ...USER S MANUAL ENGLISH Ver 3 06 MAN0001064 E ...
Page 10: ...TOC 6 ...
Page 11: ...INTRODUCTION ...
Page 12: ......
Page 28: ...4 4 Display and User Interface Grayed out non available parameters ...
Page 31: ...BASIC GUIDE ...
Page 32: ......
Page 38: ...6 6 Basic operations Shortcut to see the original bank for a Style Performance or Program ...
Page 46: ...7 8 Tutorial 6 The Arabic Scale ...
Page 51: ...REFERENCE GUIDE ...
Page 52: ......
Page 66: ...9 14 Style Play operating mode Page 25 Preferences controls ...
Page 150: ...15 10 Sampling operating mode The Write window ...
Page 181: ...APPENDIX ...
Page 182: ......
Page 218: ...19 32 Factory Data MIDI Setup ...
Page 270: ...20 52 Effects Mono Mono Chain ...
Page 274: ...21 4 Assignable parameters Scales ...
Page 280: ...23 4 Parameters ...
Page 288: ...25 6 Vocal Guitar Processor Board VHG1 Assembling the board without a HD drive installed ...
Page 292: ...26 4 Video Interface VIF1 Connections and setup ...
Page 300: ...28 6 Error messages Troubleshooting Troubleshooting ...
Page 302: ...29 2 Technical specifications ...
Page 306: ...30 4 Alphabetical Index ...
Page 307: ......


