3-7
Front panel
c
PRO
G
RAM
Press this button to use the PROGRAM/PERFORMANCE
section to select a Program, and assign it to the selected track.
d
PRO
G
RAM/PERFORMANCE section
Use these buttons to open the Program Select or Performance
Select window, and select a Program or a Performance. See
“Selecting a Program” on page 6-3, or “Selecting a Perfor-
mance” on page 6-2. For a list of available Programs, see
“Programs (Program Change order)” on page 19-11.
The leftmost button selects the upper or lower row of Pro-
gram or Performance banks, or the CARD Program banks.
Press it repeatedly to select one of the rows. (After both LEDs
have turned on, press the button again to turn them off).
UPPER LED ON
Upper row of Programs or Performances
selected.
LOWER LED ON
Lower row of Programs or Performances
selected.
BOTH LEDs ON
CARD Programs selected.
On the front panel,
Program banks
are identified by the
instrument names, while
Performance banks
are identified
by numbers (1-10; 0=bank 10).
A note about Program banks and names.
Programs from
“PIANO” to “SFX” are standard Programs, the user can’t
directly modify.
Programs “USER1” and “USER2” are locations where you
can load new Programs from disk.
“USER DK” is where you can load new drum kits.
Each Program bank contains various pages, each with up to 8
Programs. You can browse them using the PAGE buttons.
The CARD banks.
“CARD” banks are Programs directly
accessed from the Flash Card (only if the card is inserted).
Just insert a (optional) Korg FMC-8MB Flash Card into the
rear panel socket (see “FLASH CARD slot” on page 5-1), and
they will be automatically added to the other Programs.
Shortcut to see the original bank for a Performance or Pro-
gram.
You can see the original bank where a Performance or
Program is contained. Just keep the SHIFT button pressed,
and press the lefmost button of the PROGRAM/PERFOR-
MANCE section. A message window will appear, showing the
name of the original bank. Release the SHIFT button to exit
the window.
Shortcut to see all pages of the selected bank.
To cycle all
pages for a selected bank, repeatedly press the bank’s button.
e
PAD
S
(
1
-4,
S
TOP)
These programmable pads can be used to trigger a sound
effect. Use the STOP button to stop a cyclic sound. (See “List
of sounds assignable to the Pads” on page 21-2).
Each Pad corresponds to a dedicated Pad track.
f
TRAN
S
PO
S
E
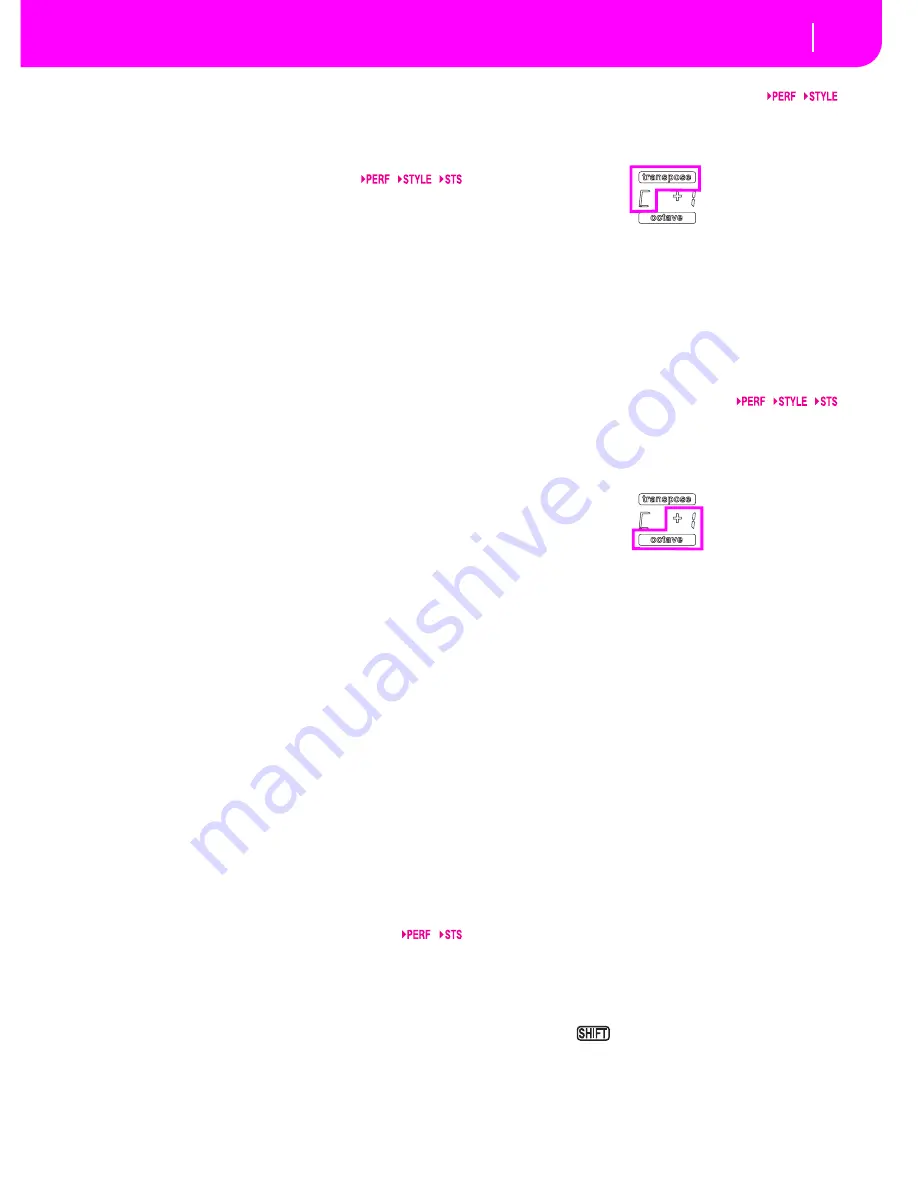
These buttons transpose the whole instrument in semitone
steps (Master Transpose). The transposition value is shown
(as a note name) on the top right of the display.
Press both buttons together, to reset the Master Transpose to
zero.
Note:
The Master Transpose has no effect on tracks set to Drum
mode (and, even if set in a different status, on the Drum and
Percussion tracks). See “Page 14 - Track: Mode” on page 9-8,
and “Page 7 - Track: Mode” on page 11-9.
Lowers the Master Transpose a semitone.
Raises the Master Transpose a semitone.
g
OCTAVE
These buttons transpose the selected track in steps of a whole
octave (12 semitones; max ±2 octaves). The transposition
value is shown (in octaves) on the top right area of the dis-
play.
Press both buttons together, to reset the Octave Transpose to
zero.
Note:
The Octave Transpose has no effect on tracks set to Drum
mode (and, even if set in a different status, on the Drum and
Percussion tracks).
–
Lowers the selected track an octave.
+
Raises the selected track an octave.
h
BALANCE slider
In Song Play mode, this slider balances the volume of the two
on-board sequencers. When fully on the left, only the
Sequencer 1 can be heard. When fully on the right, only the
Sequencer 2 can be heard. When in the middle, both
sequencers play at full volume.
i
S
EQUENCER TRAN
S
PORT CONTROL
S
-
S
EQ
1
and
S
EQ2
The instrument is equipped with two sequencers (Sequencer
1 and Sequencer 2), each with its own set of transport con-
trols.
<<
and
>>
Rewind and Fast Forward commands. If you
use them while the Song is in play, they make it
scroll back or forward.
When pressed once, these buttons move the
Song to the previous or following measure.
When kept pressed, they make the Song scroll-
ing continuously, until you release them.
In Jukebox mode (Sequencer 1), keep
the SHIFT button pressed, and press these but-
tons to scroll to the previous or next Song in
the Jukebox list (see “Page 9 - Jukebox” on
page 11-10).
Summary of Contents for PA80
Page 1: ...USER S MANUAL ENGLISH Ver 3 06 MAN0001064 E ...
Page 10: ...TOC 6 ...
Page 11: ...INTRODUCTION ...
Page 12: ......
Page 28: ...4 4 Display and User Interface Grayed out non available parameters ...
Page 31: ...BASIC GUIDE ...
Page 32: ......
Page 38: ...6 6 Basic operations Shortcut to see the original bank for a Style Performance or Program ...
Page 46: ...7 8 Tutorial 6 The Arabic Scale ...
Page 51: ...REFERENCE GUIDE ...
Page 52: ......
Page 66: ...9 14 Style Play operating mode Page 25 Preferences controls ...
Page 150: ...15 10 Sampling operating mode The Write window ...
Page 181: ...APPENDIX ...
Page 182: ......
Page 218: ...19 32 Factory Data MIDI Setup ...
Page 270: ...20 52 Effects Mono Mono Chain ...
Page 274: ...21 4 Assignable parameters Scales ...
Page 280: ...23 4 Parameters ...
Page 288: ...25 6 Vocal Guitar Processor Board VHG1 Assembling the board without a HD drive installed ...
Page 292: ...26 4 Video Interface VIF1 Connections and setup ...
Page 300: ...28 6 Error messages Troubleshooting Troubleshooting ...
Page 302: ...29 2 Technical specifications ...
Page 306: ...30 4 Alphabetical Index ...
Page 307: ......


