12-2
Backing Sequence operating mode
Chord/Acc Step recording
precount. Otherwise, the Style will start playing from
the next bar, following the one where you pressed
START/STOP.
Since you can use any Style control, you could start with
the usual combinations (INTRO, ENDING, FILL… see
“2 - Playing a Style” on page 7-2 for more information).
Note:
While in Backing Sequence mode, you can’t record
the SYNCHRO, FADE IN/OUT, TAP TEMPO/RESET,
ACCOMPANIMENT VOLUME controls.
8.
Play your music. You can even stop the Style by pressing
START/STOP. If you stop the Style while recording, start
it again with the START/STOP button.
9.
When finished recording your performance, press the
left PLAY/STOP button. The RECORD LED will turn
off, and you will go back to the Playback page (see “How
to playback a Song” before).
The recorded Song will be automatically converted to
the Standard MIDI File format.
1
0.
At this point, you can edit the Song in Song mode (see
“Song operating mode” on page 13-1), or save it on disk
(see “Save Song page” on page 12-3).
Warning:
The recorded Song is in RAM (Random Access
Memory), and will be deleted when turning the instru-
ment off, or entering Record again (either in Backing
Sequence or Song mode). Save the Song on disk, if you
wish to preserve it.
CHORD/ACC
S
TEP RECORDIN
G
While in the Backing Sequence operative mode, you can
enter the Chord/Acc Step Mode to create or edit the Style
(Chord/Acc) part of a Song. This mode lets you enter chords
even if you are not a keyboard player, or fix any error made
playing chords or selecting Style controls, during the Real-
time Recording mode.
You can edit only Songs created on the Pa80 (Backing
Sequence mode). When saving a Song created in Backing
Sequence mode, all Chord/Acc data is preserved, and can be
loaded later, to be edited using the Chord/Acc Step Mode.
Here is how to enter the Chord/Acc Step Mode, and execute
your editing:
1
.
Press B.SEQ to enter the Backing Sequence mode.
2.
Press RECORD. You will be prompted to select the Real-
time Recording mode or the Chord/Acc Step Mode.
3.
Press one of the B (Chord/Acc Step Mode) VOLUME/
VALUE buttons to enter the Step Mode. The Chord/Acc
Step mode page appears (see “Chord/Acc Step Record-
ing page” on page 12-4).
4.
Select the M(easure) parameter, and go to a different
position into the Song, using the TEMPO/VALUE con-
trols, or the A VOLUME/VALUE buttons. Alternatively,
you can move the locator using the < > and << >> but-
tons. See “Transport controls” on page 12-6.
5.
Select the parameter type to insert, edit or delete at the
current position. If an arrow (
) appears next to a
parameter, the shown event has been inserted at the cur-
rent position.
6
.
Use the TEMPO/VALUE controls to modify the selected
event. Delete it using the DELETE button. When editing
a parameter without the arrow (
) next to it, a new
event is inserted.
7.
Exit the Chord/Acc Step Mode by pressing the RECORD
button.
8.
Press START/STOP to listen to the results of your edit-
ing. If they are fine, save the Backing Sequence on a disk.
MAIN PA
G
E (BACKIN
G
S
EQUENCE PLAY)
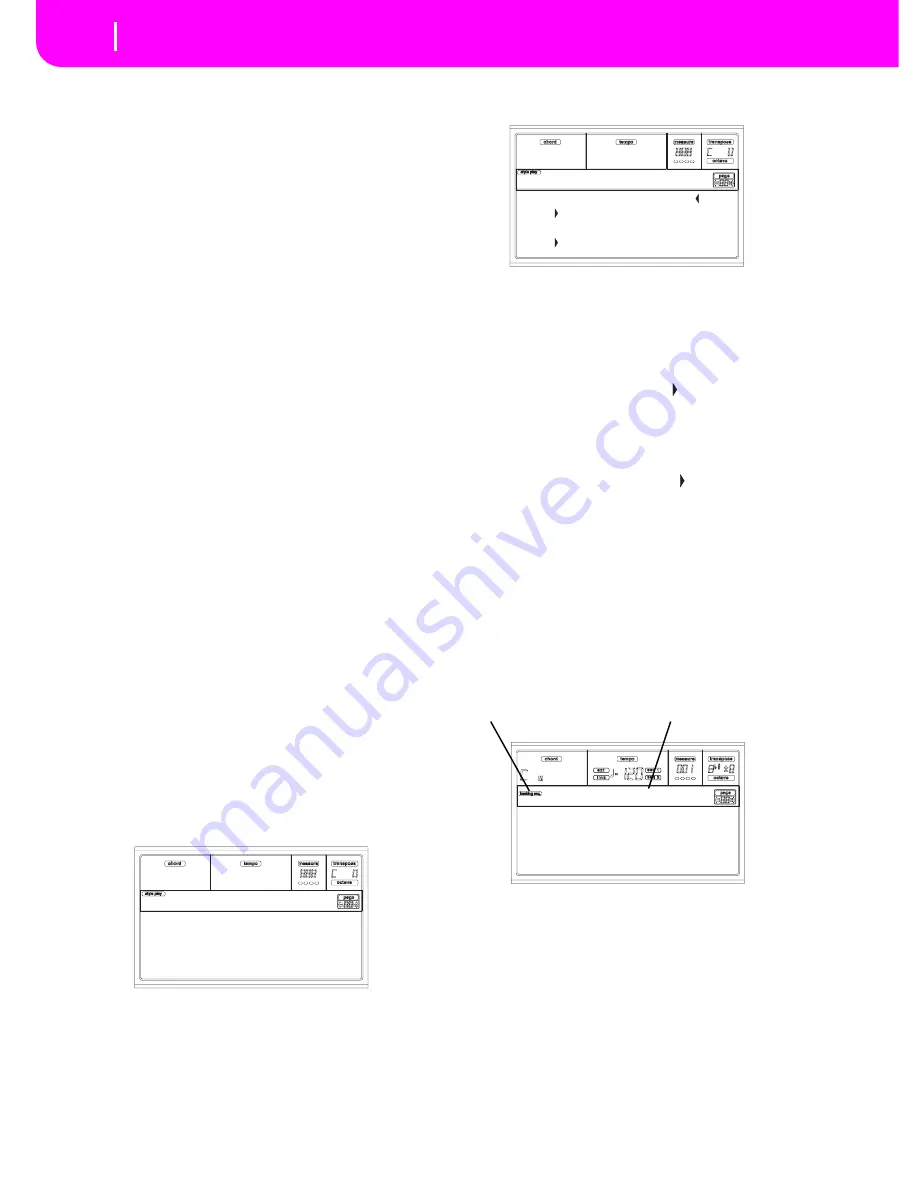
This is the main page of the Backing Sequence mode.
To access this page from another operating mode, press the
B.SEQ button.
Note:
When in this page, the keyboard doesn’t play.
Backing
S
equence icon
When on, this icon indicates that the instrument is in Back-
ing Sequence mode.
Page header
This header shows the name of the selected Song.
B (Load
S
ong)
Use these buttons to select a Song (i.e., a Standard MIDI
File). The Song Select page opens, and you can select a Song
(see below “Load Song page”).
C (
S
ave
S
ong)
This command saves the recorded Song as a Standard MIDI
File. The file is automatically added the “.MID” extension.
Realtime Recording
Chord/Acc Step Mode
Record
M001.01.000 Tempo:120
Style:Umpl_Bossa
Perf :01-1 SE:Off
C Maj - /C
Step Chord/Acc
Load Song Metro:Off
Save Song Meter:4/4
Sel.Tempo Tempo:Auto
BS:New Song
Backing Sequence icon
Page header
Summary of Contents for PA80
Page 1: ...USER S MANUAL ENGLISH Ver 3 06 MAN0001064 E ...
Page 10: ...TOC 6 ...
Page 11: ...INTRODUCTION ...
Page 12: ......
Page 28: ...4 4 Display and User Interface Grayed out non available parameters ...
Page 31: ...BASIC GUIDE ...
Page 32: ......
Page 38: ...6 6 Basic operations Shortcut to see the original bank for a Style Performance or Program ...
Page 46: ...7 8 Tutorial 6 The Arabic Scale ...
Page 51: ...REFERENCE GUIDE ...
Page 52: ......
Page 66: ...9 14 Style Play operating mode Page 25 Preferences controls ...
Page 150: ...15 10 Sampling operating mode The Write window ...
Page 181: ...APPENDIX ...
Page 182: ......
Page 218: ...19 32 Factory Data MIDI Setup ...
Page 270: ...20 52 Effects Mono Mono Chain ...
Page 274: ...21 4 Assignable parameters Scales ...
Page 280: ...23 4 Parameters ...
Page 288: ...25 6 Vocal Guitar Processor Board VHG1 Assembling the board without a HD drive installed ...
Page 292: ...26 4 Video Interface VIF1 Connections and setup ...
Page 300: ...28 6 Error messages Troubleshooting Troubleshooting ...
Page 302: ...29 2 Technical specifications ...
Page 306: ...30 4 Alphabetical Index ...
Page 307: ......


