7-3
Tutorial
3 - Playing a Song
6
S
elect other Variations.
There are four VARIATION buttons. These are four different
versions of the same Style. Try them all!
You can go to a Variation after a Fill. Just press a FILL button,
then, immediately after, a VARIATION button.
7
S
top it!
OK, you could say: “O, that’s easy, I know how to do it, I can
just press that big red START/STOP button again”.
Yes, you are perfectly right. But that’s only the easy way. Let
us suggest a different way:
PRESS ENDING1 OR ENDING2
An ending is instantaneously called, and will begin playing,
to led the Style to a colorful end. As usual, ENDING1 is pre-
programmed, while ENDING2 asks for your chord progres-
sion.
In Sync
A guy from the end of the classroom stands up asking:
“Huh, Sir, and what if I want to avoid all that START/STOP
thing? I mean, I prefer to have my hands free for music!”
Good point. The SYNCHRO button is there right for this.
1
While the Style is stopped, press the SYN-
CHRO button.
The SYNCHRO-START LED begins flashing on. The Syn-
chro Start function is enabled.
2
Play a chord on the keyboard.
You must play a chord for the chord recognition engine. Usu-
ally, it will be on the left of the split point, but it depends on
the CHORD SCANNING section.
The Style starts.
3
S
top the
S
tyle as you better prefer.
You know how to do, isn’t it?
Need more information?
Go to “Style Play operating mode” on page 9-1. The Refer-
ence Guide includes all the information you need.
3 - PLAYIN
G
A
S
ON
G
Nothing easier than playing a Song on the Pa80. You don’t
have even to load it from disk.
1
Move the BALANCE slider to the center.
This sets both onboard sequencers at the same level.
2
Insert the floppy disk containing the
S
ong into
the disk drive.
Make sure your disk is DOS formatted. This is the typical
Window format, and you can make a disk of this type also on
the Mac, by selecting the “DOS” option when initializing a
disk.
3
Press the
S
ON
G
PLAY button to access the
S
ong
Play mode.
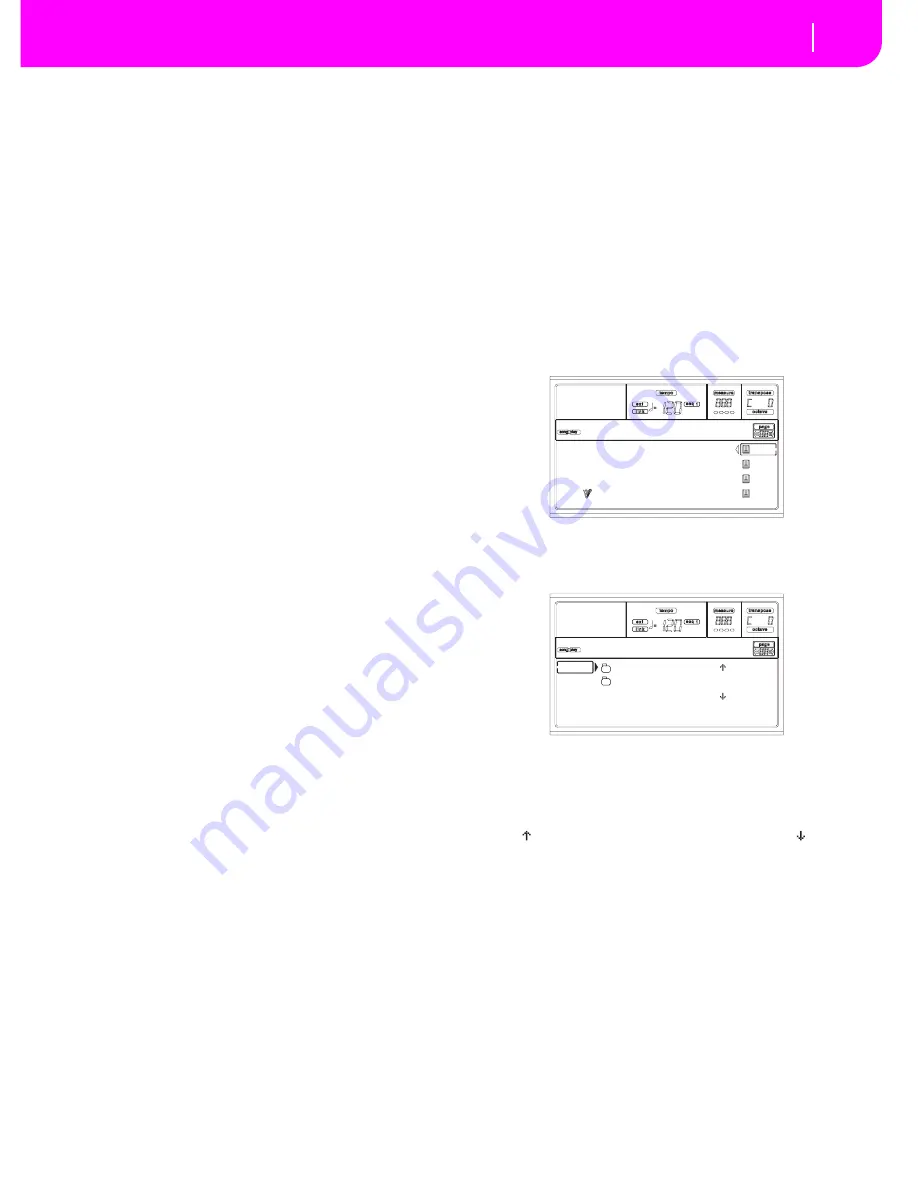
This is the display:
4
S
elect a
S
ong.
Another easy task. Press the A (S1:) VOLUME/VALUE button
to open the Song Select window.
Press the F1 button to select the floppy disk drive. The list of
files on disk appears. Songs are files with the “.MID” or
“.KAR” extension. Pa80 filters all other file types out for you.
Use the TEMPO/VALUE controls, or the VOLUME/VALUE
(E-H) buttons to scroll the list. The E-F buttons are the Scroll
Up ( ), while the G-H buttons are the Scroll Down ( ).
Move the Song to play to the first line of the display. Then
press the F2 (SELECT) button.
5
Press PLAY/
S
TOP (
S
EQ
1
).
The playback begins.
6
If you like, select a
S
ong for the
S
equencer 2.
Press the B (S2:) VOLUME/VALUE button, and repeat the
above procedure to select the Song for Sequencer 2. Use the
right (SEQ 2) PLAY/STOP button to start/stop the second
Song. Use the BALANCE cursor to mix between Sequencer 1
and Sequencer 2.
7
Take a pause.
Press PAUSE to stop the playback without going back to mea-
sure 1. The PAUSE LED begins flashing.
Press PAUSE again to resume the playback.
S1: Piano01
S2: Guitar01
Lyrics StrngEns2
AudioIn VoxPad1
No song
CLUB |
BALLADS
0001 MYSONG.MID |
FD SELECT OPEN CLOSE
Song Selection
Summary of Contents for PA80
Page 1: ...USER S MANUAL ENGLISH Ver 3 06 MAN0001064 E ...
Page 10: ...TOC 6 ...
Page 11: ...INTRODUCTION ...
Page 12: ......
Page 28: ...4 4 Display and User Interface Grayed out non available parameters ...
Page 31: ...BASIC GUIDE ...
Page 32: ......
Page 38: ...6 6 Basic operations Shortcut to see the original bank for a Style Performance or Program ...
Page 46: ...7 8 Tutorial 6 The Arabic Scale ...
Page 51: ...REFERENCE GUIDE ...
Page 52: ......
Page 66: ...9 14 Style Play operating mode Page 25 Preferences controls ...
Page 150: ...15 10 Sampling operating mode The Write window ...
Page 181: ...APPENDIX ...
Page 182: ......
Page 218: ...19 32 Factory Data MIDI Setup ...
Page 270: ...20 52 Effects Mono Mono Chain ...
Page 274: ...21 4 Assignable parameters Scales ...
Page 280: ...23 4 Parameters ...
Page 288: ...25 6 Vocal Guitar Processor Board VHG1 Assembling the board without a HD drive installed ...
Page 292: ...26 4 Video Interface VIF1 Connections and setup ...
Page 300: ...28 6 Error messages Troubleshooting Troubleshooting ...
Page 302: ...29 2 Technical specifications ...
Page 306: ...30 4 Alphabetical Index ...
Page 307: ......


