7-1
Tutorial
1 - Playing in realtime
7. TUTORIAL
This chapter is fully devoted to step-by-step instructions, that
we hope may be useful to learn the basics—on-field.
1
- PLAYIN
G
IN REALTIME
As soon as you turn your Pa80 on, it is in Style Play mode,
and you can play it in realtime. Please follow me…
1
Play on the keyboard.
When you turn the Pa80 on, Performance 1-1 (“Ste-
reoGrand”) is automatically selected. This sets the Realtime
(Keyboard) tracks for you. In this case (unless someone mod-
ified this Performance earlier) you get the Upper 1 track play-
ing on the full keyboard range, with the Grand Piano
Program selected.
You may know there are four available Realtime tracks:
Upper 1-3 and Lower. Upper Realtime tracks may play on the
full range of the keyboard (the selected KEYBOARD MODE
shall be FULL UPPER). Otherwise, the Lower track plays on
the left of the Split Point, and the Upper tracks on the right
(KEYBOARD MODE shall be SPLIT).
If you are not satisfied with this setting at startup, just select
another Performance. Or change the track’s settings—as you
will see in this tutorial—and save them into Performance 1-1.
You’ll soon see how to do it.
2
S
elect a different Performance.
Is the PERFORM. LED switched on?
If so, press one of the PROGRAM/PERFORMANCE buttons,
and select a Performance with the VOLUME/VALUE buttons
(on the side of the display).
Go on trying with the different Performances. We provided
160 of them for you.
3
S
elect Performance
1
-
1
(“
G
rand Piano”) again.
As above: press Performance bank 1, and use the A VOL-
UME/VALUE buttons to select Performance 1-1.
4
Unmute the Upper 2 track.
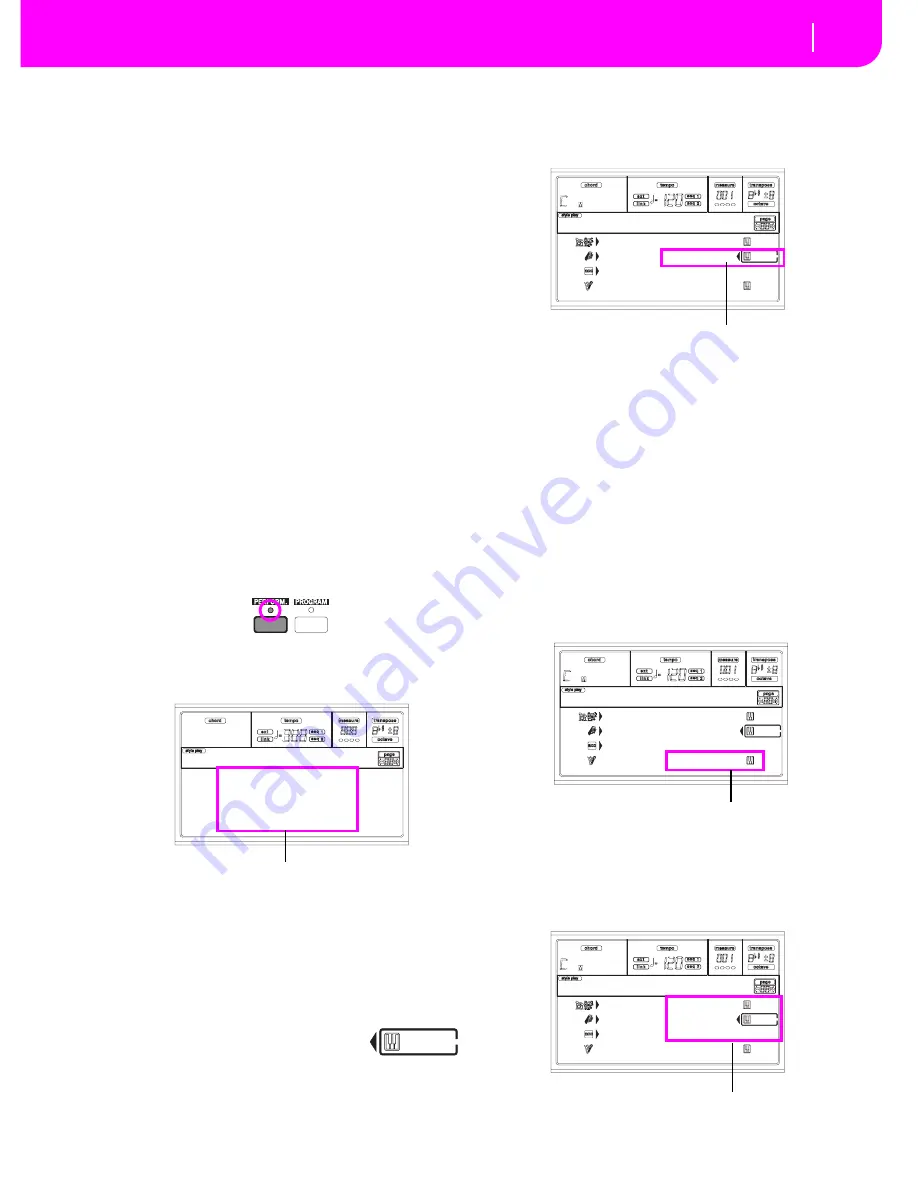
Press both F VOLUME/VALUE buttons.
The Upper 2 track will be selected and
unmuted. The Play icon will appear, sur-
rounded by the “selected track” frame and accompanied by
the pointing arrow. You will hear the Dark Pad Program play
together with the Grand Piano.
5
Press
S
PLIT on the KEYBOARD MODE section,
and play.
Now, the keyboard is split in two parts: the Lower part on the
left, and the Upper part on the right. The AnalogStr Program
is playing on the Lower part, while the Grand Piano and the
Dark Pad are playing on the Upper part.
6
S
et the split point.
Not happy with the current split point? Keep the SPLIT
POINT button held down, and play the new split point on
the keyboard. You can even save this setting in memory (see
“The Write window” on page 16-1).
7
Mute/unmute various tracks.
Press both H VOLUME/VALUE buttons. You will mute the
Lower track.
Press them again to unmute the Lower track.
Try also with the Upper tracks, using the E, F and G VOL-
UME/VALUE buttons. You will notice the sound becomes
more or less fuller-sounding, depending on the number of
tracks muted or unmuted.
StereoGrand Blue
ClupPiano Legend
ForrestStr MrJazz
ResonPads OxydBrass
StereoGrand
Select a Performance with the VOLUME/VALUE buttons
Drum/Perc GrandPiano
Bass01 DarkPad
Acc.1-5 StrngEns2
Audio In AnalogStr
SoftBeat |STS1
Press the F VOLUME/VALUE buttons
Drum/Perc GrandPiano
Bass01 DarkPad
Acc.1-5 StrngEns2
Audio In AnalogStr
SoftBeat |STS1
Press the H VOLUME/VALUE buttons
Drum/Perc GrandPiano
Bass01 DarkPad
Acc.1-5 StrngEns2
Audio In AnalogStr
SoftBeat |STS1
Press the E-G VOLUME/VALUE buttons
Summary of Contents for PA80
Page 1: ...USER S MANUAL ENGLISH Ver 3 06 MAN0001064 E ...
Page 10: ...TOC 6 ...
Page 11: ...INTRODUCTION ...
Page 12: ......
Page 28: ...4 4 Display and User Interface Grayed out non available parameters ...
Page 31: ...BASIC GUIDE ...
Page 32: ......
Page 38: ...6 6 Basic operations Shortcut to see the original bank for a Style Performance or Program ...
Page 46: ...7 8 Tutorial 6 The Arabic Scale ...
Page 51: ...REFERENCE GUIDE ...
Page 52: ......
Page 66: ...9 14 Style Play operating mode Page 25 Preferences controls ...
Page 150: ...15 10 Sampling operating mode The Write window ...
Page 181: ...APPENDIX ...
Page 182: ......
Page 218: ...19 32 Factory Data MIDI Setup ...
Page 270: ...20 52 Effects Mono Mono Chain ...
Page 274: ...21 4 Assignable parameters Scales ...
Page 280: ...23 4 Parameters ...
Page 288: ...25 6 Vocal Guitar Processor Board VHG1 Assembling the board without a HD drive installed ...
Page 292: ...26 4 Video Interface VIF1 Connections and setup ...
Page 300: ...28 6 Error messages Troubleshooting Troubleshooting ...
Page 302: ...29 2 Technical specifications ...
Page 306: ...30 4 Alphabetical Index ...
Page 307: ......


