


Editing Image Data Using PC (Image Edit) (continued)
10-25
6.
Press [
START
] to scan.
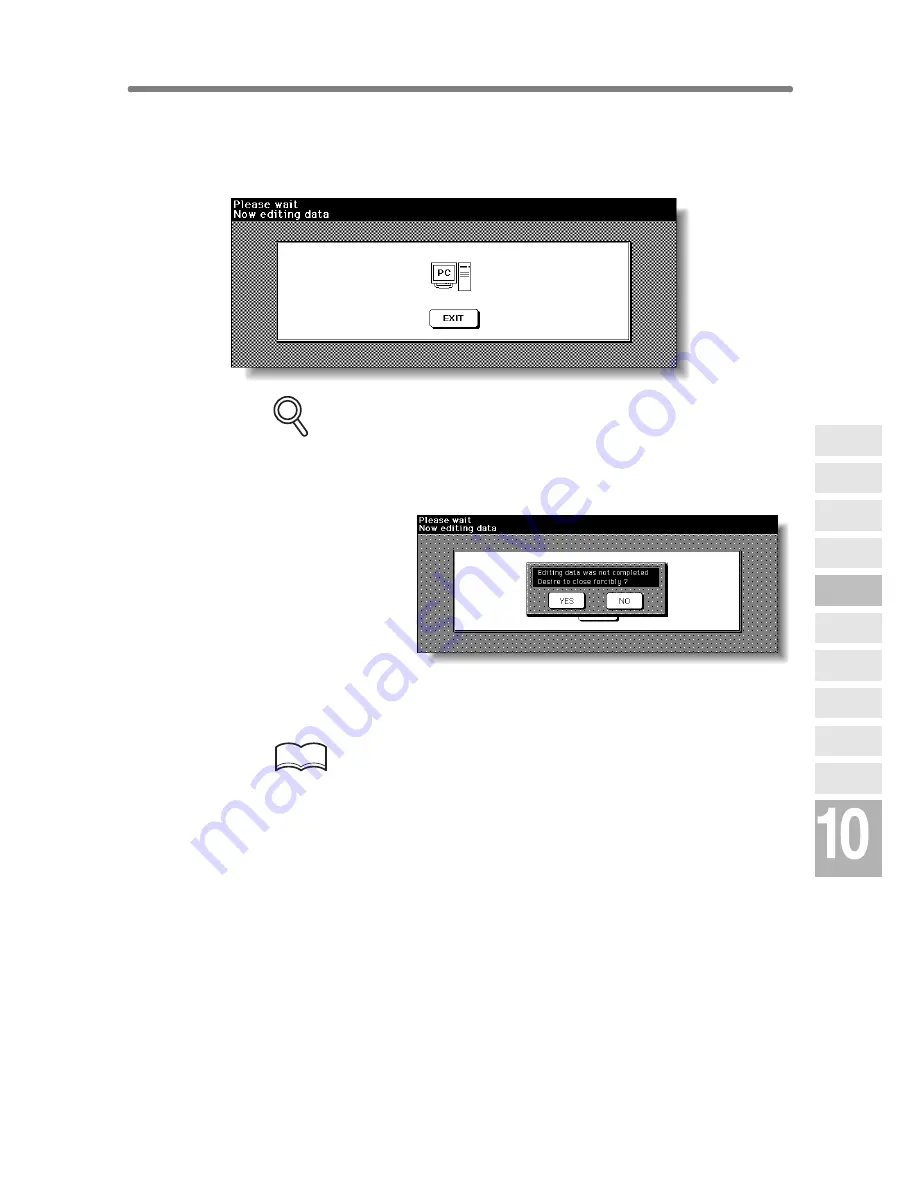
After scanning is completed, the Image Data Edit Screen will be displayed to
indicate that the scanned image data is ready for transmission.
FOR DETAILS
To stop the Image Edit operation while the Image Data Edit Screen is
displayed, touch
EXIT
. If the popup menu shown below is displayed,
touch
YES
to cancel the editing job and delete the image data, or touch
NO
to continue.
7.
Perform the data transmission procedure on PC, then edit the
image data as required.
HINT
For details, refer to the instruction manual for Image Edit mode.
When completed, make a setting on PC to return the edited data to DIMM.
The Basic Screen will be restored.
8.
Press [
START
].
The copier starts the printing job.
When printing is completed, edited data will be deleted automatically.
Network
Function
Job Status
Machine
Information
HDD Job
Information
Environment
Setup
To Use Web
Utilities
Image Edit
Image Recall
Image
Store&Output
Image
Store/Delete
Server
Functions
Summary of Contents for 7255
Page 1: ...Basic Advanced 7255 7272 INSTRUCTION MANUAL INSTRUCTION MANUAL...
Page 16: ...Features of the Konica 7255 7272 continued xiv...
Page 17: ......
Page 18: ...Features of the Konica 7255 7272 continued xvi...
Page 20: ......
Page 36: ......
Page 132: ......
Page 164: ......
Page 166: ......
Page 212: ......
Page 429: ...Index...
Page 430: ......
Page 435: ...56QN97350 00...


