GUARDS
• Guards are installed in the area of the engine to protect personnel from moving parts. These guards should
only be removed by Komatsu service engineer unless specific instructions are given in this manual.
END OF SERVICE LIFE
• For safe dismantling of the machine at the end of service life, please contact your Komatsu distributor.
STOP ENGINE BEFORE CARRYING OUT INSPECTION AND MAINTENANCE
If you are caught or pinched between the work equipment during operation, or exposed to high-temperature or
high-pressure liquids, it is dangerous and may cause serious personal injury or death. Always observe the fol-
lowing.
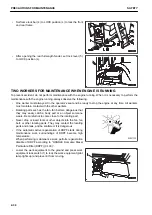
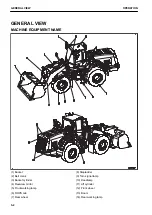
• Lower the work equipment to the ground and stop the en-
gine before performing any inspection and maintenance.
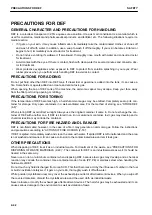
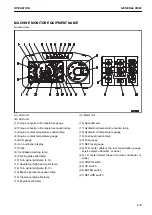
• After stopping the engine (work equipment is lowered to
the ground), turn the starting switch to ON position. Press
work equipment lock switch (2) to release the work equip-
ment lock, then operate work equipment control lever (1)
to RAISE and LOWER position fully 2 to 3 times to release
the remaining pressure in the hydraulic circuit. Then lock
the work equipment (pilot lamp lights up) by pressing work
equipment lock switch (2).
After releasing the remaining pressure in the hydraulic cir-
cuit, turn the starting switch to OFF position.
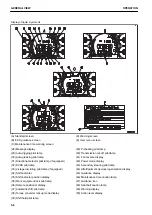
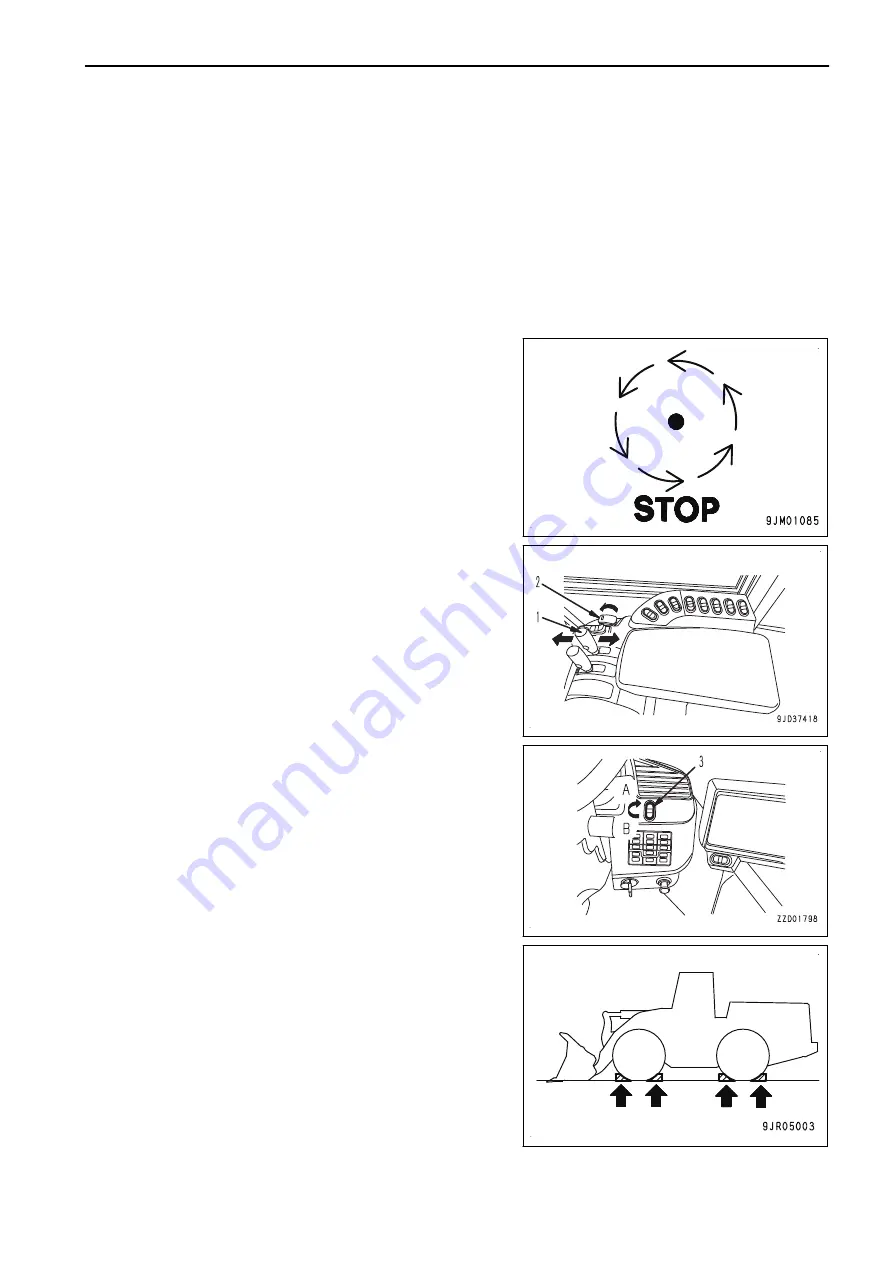
• Set parking brake switch (3) to ON (operation) position (A)
to apply the parking brake, then put blocks in front of and
behind the tires to prevent the machine from moving.
SAFETY
PRECAUTIONS FOR MAINTENANCE
2-33
Summary of Contents for WA480-8
Page 2: ......
Page 19: ...Distributor name Address Phone Fax Service personnel FOREWORD PRODUCT INFORMATION 1 17...
Page 29: ...LOCATION OF SAFETY LABELS SAFETY SAFETY LABELS 2 3...
Page 159: ...SWITCHES 1 ECSS switch 2 Front working lamp switch OPERATION EXPLANATION OF COMPONENTS 3 91...
Page 302: ...Securing position Fixing angle A 61 B 53 C 33 D 38 TRANSPORTATION OPERATION 3 234...
Page 324: ......
Page 397: ...Viewed from the rear side of the machine MAINTENANCE MAINTENANCE PROCEDURE 4 73...
Page 402: ......
Page 403: ...SPECIFICATIONS 5 1...
Page 406: ......
Page 422: ......
Page 423: ...REPLACEMENT PARTS 7 1...
Page 439: ......

