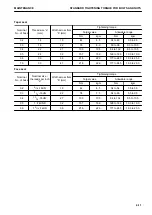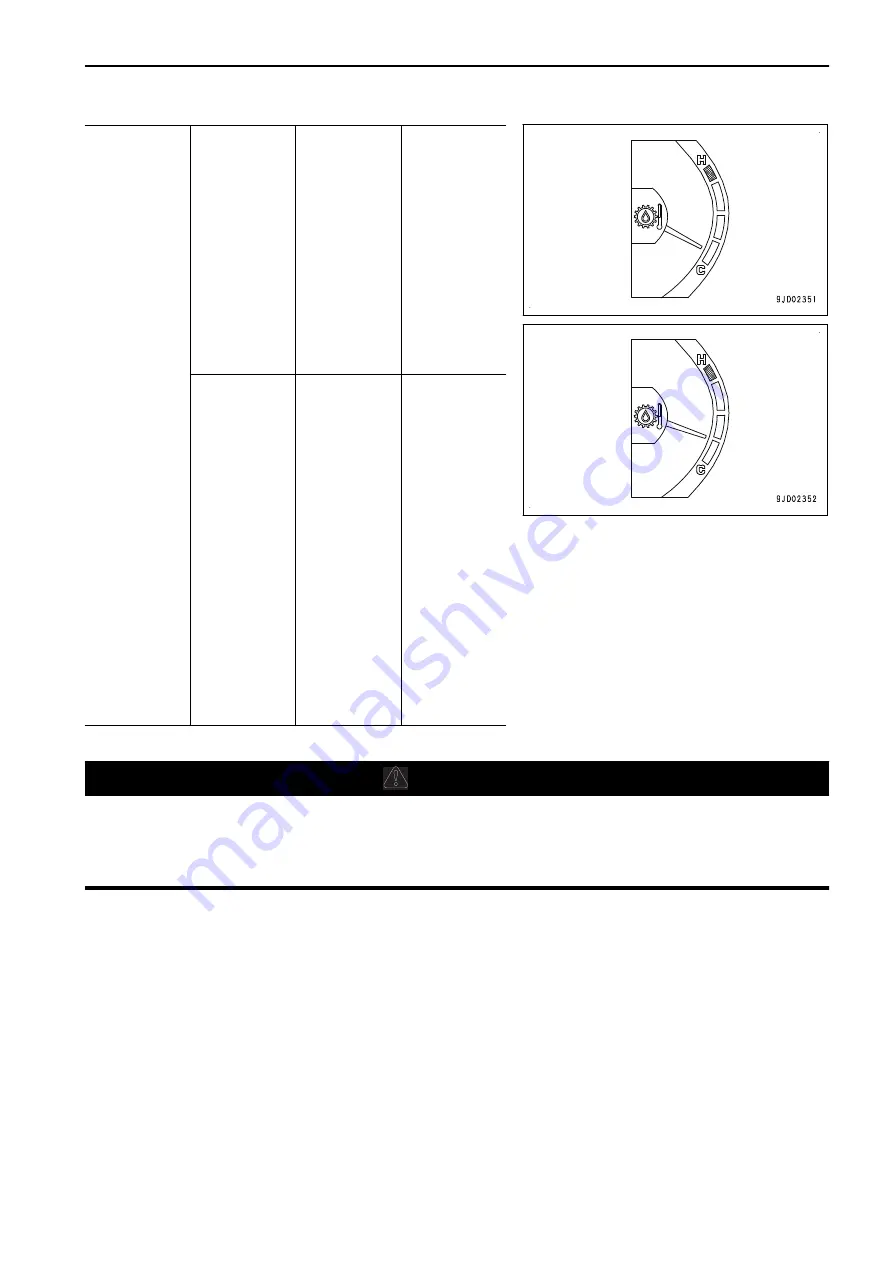
Check method
with engine
running at idle
(1) When
checking the
oil level after
leaving the en-
gine running at
idle (when the
entire trans-
mission is in
heat balance
like immediate-
ly after the ac-
tual operation)
User who op-
erates the ma-
chine continu-
ously (check
during lunch
time or check
at replace-
ment)
(1) Leave the
engine running
at idle for 15
minutes or
more and (2)
check the level
when the indi-
cation of the
torque convert-
er oil tempera-
ture gauge is
at the middle
point of the
lowest scale.
(2) When
checking after
the tempera-
ture is in-
creased at stall
When shipped
from plant, etc.
(1) While the
indication of
the torque con-
verter oil tem-
perature
gauge is at the
middle point
between the
lowest and the
second lowest
scales due to
temperature
increase in the
stall condition,
(2) Run the en-
gine at idle for
approximately
5 minutes and
check the oil
level.
METHOD FOR CHECKING OIL LEVEL IN AXLE CASE AND ADDING OIL
k
k
WARNING
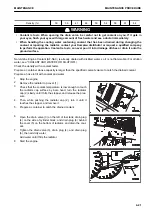
• When checking the oil level, apply the parking brake and fix the front and rear frames using the
frame lock bar.
• Immediately after the engine is stopped, parts and oil are still very hot. Wait for the temperature to
go down, and then start the work.
If ooze of oil is recognized on the axle case, perform the checks.
Place the machine on a level ground before starting the check.
(If the machine is inclined in the right or left, the oil level cannot be checked correctly.)
A: Front, B: Rear
MAINTENANCE
MAINTENANCE PROCEDURE
4-25
Summary of Contents for WA480-8
Page 2: ......
Page 19: ...Distributor name Address Phone Fax Service personnel FOREWORD PRODUCT INFORMATION 1 17...
Page 29: ...LOCATION OF SAFETY LABELS SAFETY SAFETY LABELS 2 3...
Page 159: ...SWITCHES 1 ECSS switch 2 Front working lamp switch OPERATION EXPLANATION OF COMPONENTS 3 91...
Page 302: ...Securing position Fixing angle A 61 B 53 C 33 D 38 TRANSPORTATION OPERATION 3 234...
Page 324: ......
Page 397: ...Viewed from the rear side of the machine MAINTENANCE MAINTENANCE PROCEDURE 4 73...
Page 402: ......
Page 403: ...SPECIFICATIONS 5 1...
Page 406: ......
Page 422: ......
Page 423: ...REPLACEMENT PARTS 7 1...
Page 439: ......

