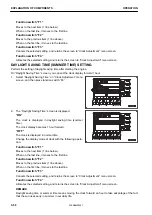
2.
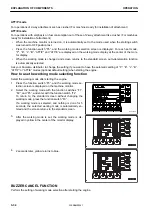
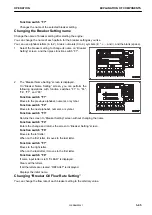
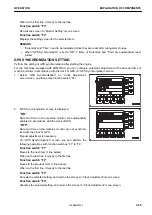
“Attachment Setting” screen is displayed.
Select proper setting matching to the installed attachment
on “Attachment Setting” screen, and then press function
switch “F4”.
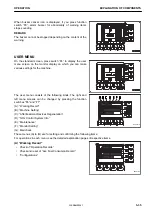
Setting of ATT/P and ATT/E mode is changed.
On “Attachment Setting” screen, you can perform the fol-
lowing operations with function switches “F1” to “F4”, “F6”,
and “F7”.
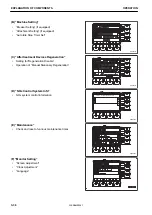
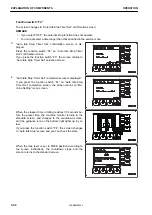
Function switch “F1”
Moves to the next item (1 line below).
When on the last line, it moves to the first line.
Function switch “F2”
Moves to the previous item (1 line above).
When on the first line, it moves to the last line.
Function switch “F3”
Cancels the selection and returns the screen to “Machine Setting” screen.
Function switch “F4”
Allocates the selected setting to that of ATT/P and ATT/E mode, or set it to the No Attachment.
Function switch “F6”
Changes the flow rate of the selected attachment setting.
Function switch “F7”
Changes the name of the selected attachment setting.
REMARK
When “No Attachment” is selected, ATT/P and ATT/E mode is cleared from “Working Mode” screen, and you
cannot select the mode.
Changing attachment setting name
Change the name of attachment setting after starting the engine.
You can change the name of each pattern for the attachment setting as you like.
You can use alphabet letters (A to Z), Arabic numerals (0 to 9), symbols (#, *, +, -, and /), and the blank (space).
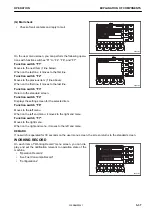
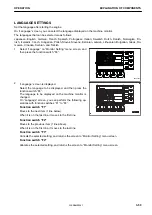
1.
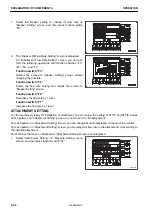
Select an attachment setting to change its name on “At-
tachment Setting” screen, and then press function switch
“F7”.
OPERATION
EXPLANATION OF COMPONENTS
3-47
WENAM00241
Summary of Contents for PC80MR-5E0
Page 2: ......
Page 12: ...Do not repeatedly handle and lift loads VIBRATION LEVELS FOREWORD 1 10 WENAM00241...
Page 70: ...GENERAL VIEW MACHINE EQUIPMENT NAME RKA67920 GENERAL VIEW OPERATION 3 2 WENAM00241...
Page 76: ...11 Fusible link 12 Ashtray if equipped 13 Tool boxes GENERAL VIEW OPERATION 3 8 WENAM00241...
Page 343: ...SPECIFICATIONS 5 1 WENAM00241...
Page 394: ...WENAM00241...
Page 395: ...REPLACEMENT PARTS 7 1 WENAM00241...
Page 411: ......
Page 412: ......


