KLARO GmbH
20
Original Operating Manual for KLARO Small Wastewater Treatment Plant V.15.07
Control KLbasic/KL24base
Control KLplus/KL24plus
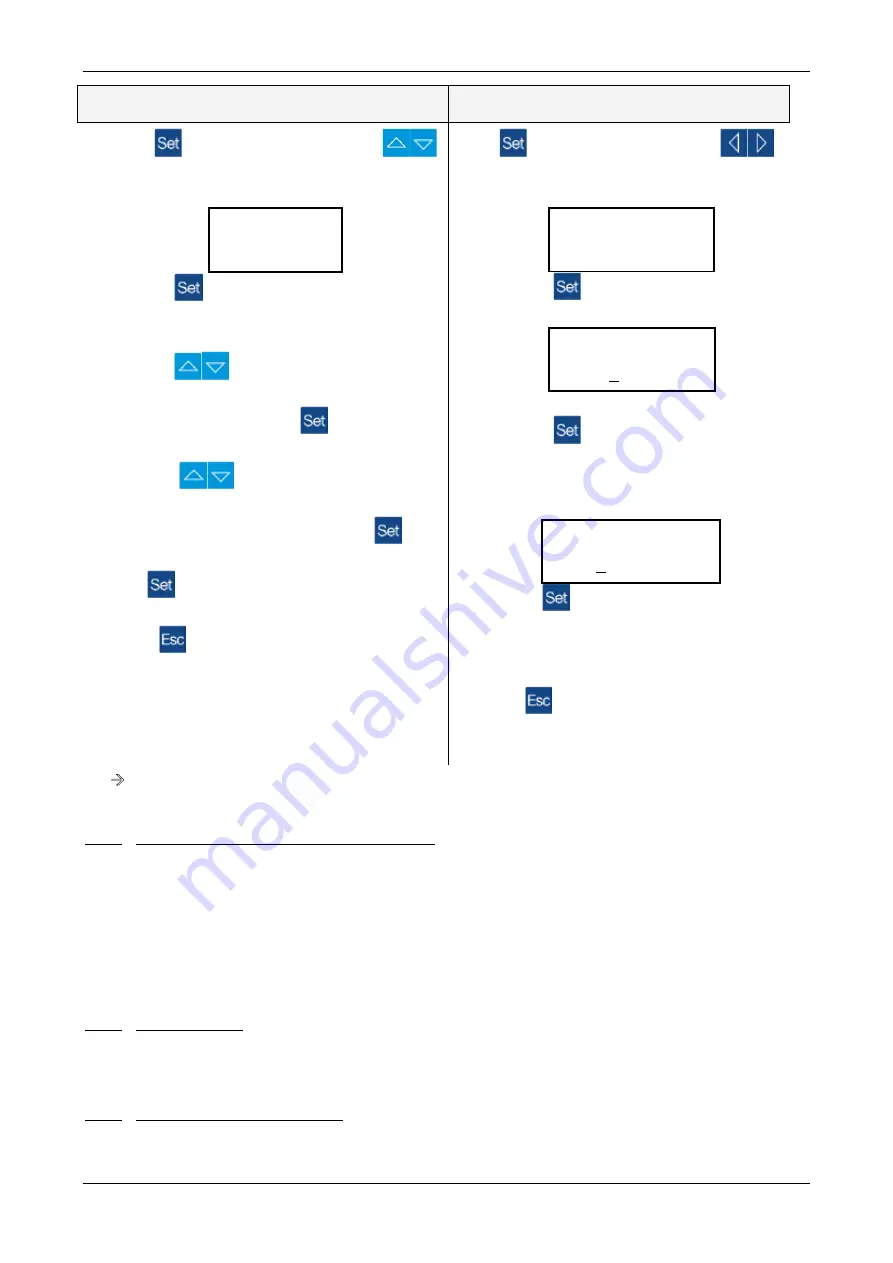
Use the arrow keys,
, to select the
individual valves. Press
once to return to the
"Manual Mode" display.
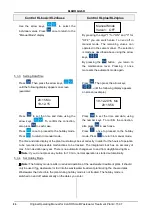
By pressing the digit "1" for "ON" and "0" for
"OFF," you can switch valve 1 on and off in
manual mode. The remaining valves can
operated in the same manner. The selection
is made as described above using the arrow
keys,
.
By pressing the
button, you return to
the maintenance level. Pressing it once
more sets the automatic mode again.
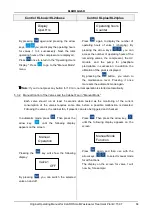
5.3.3. Setting Date/Time
Press
. Then press the arrow keys,
,
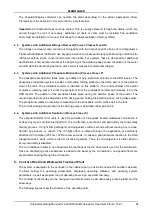
until the following display appears on screen
(example):
Press
to set the time and date, using the
arrow keys,
. To confirm the correction,
also press
in each case.
Press
once to proceed to the holiday mode.
Press
, to return to manual mode.
Press
. Then press the arrow keys,
, until the following display appears
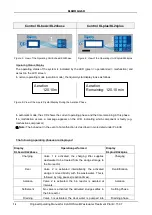
on screen (example):
Press
to set the time and date, using
the number keys. To confirm the correction,
also press
in each case.
Press
once to proceed to the holiday
mode. Press
to return to manual mode.
The time and date display of the plant must always be set correctly in order for the hours of operation
to be recorded and possible malfunctions to be tracked. The integrated clock has an accuracy of
max. 5 min deviation per year. There is no automatic changeover to and from daylight saving time.
Note:
If you do not press any button for 10 min., normal operation is started automatically.
5.3.4. Set Holiday Mode
Note:
The holiday mode results in reduced operation of the wastewater treatment plant. It should
only be used if no wastewater is fed into the wastewater treatment plant during the chosen dates.
Wastewater that is fed into the plant during holiday mode is not treated. The holiday mode is
switched on and off automatically on the dates you enter.
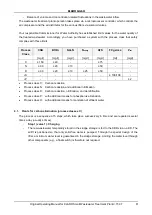
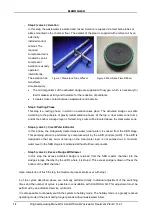
Manual Mode
Valve1: OFF
19-12-2015 Mo
20:15:56
20:15 Mo
19-12-15
KLARO GmbH
Original Operating Manual for KLARO Small Wastewater Treatment Plant V.15.07
21
Control KLbasic/KL24base
Control KLplus/KL24plus
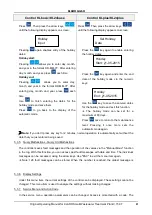
Press
. Then press the arrow keys,
,
until the following display appears on screen:
Pressing
again enables entry of the holiday
dates:
Holiday start:
Pressing
allows you to enter day, month,
and year in the format DD-MM-YY. After entering
day, month, and year, press
each time.
Holiday end:
Pressing
allows you to enter day,
month, and year in the format DD-MM-YY. After
entering day, month, and year, press
each
time.
Use
to finish entering the dates for the
holiday mode and save them.
Press
to go back to the display of the
automatic mode.
Press
. Then press the arrow keys,
until the following display appears on screen:
Press the
key again to enable entering
the holiday dates:
Press the
key again and enter the end
date of the holiday mode via the numeric
keys:
Use the
key to save the entered dates
for the holiday mode and exit this function.
The holiday mode can be set for a
maximum of 90 days.
Press
once to return to the maintenance
level. Pressing it once more sets the
automatic mode again.
Note:
If you don't press any key for 2 minutes, normal operation is automatically set without the
date that you just entered being saved.
5.3.5. Query Malfunctions - Query Old Malfunctions
The controller saves fault messages and the operation of the valves via the "Manual Mode" function
in the log. With this function, you can access past fault messages with date and time. The individual
messages can be accessed, using the arrow keys. Use "ESC" to exit the menu item again.
Note: 128 fault messages can be stored. When this number is reached, the oldest message is
deleted for each new message. The memory can be deleted by maintenance professionals in the
service menu with the command "Clear Log."
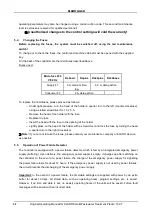
5.3.6. Display Settings
Under this menu item, the current settings of the control can be displayed. These settings cannot be
changed. This menu item is used to analyse the settings without making changes.
5.3.7. Service Menu and Action Code
In the service menu, operation parameters can be changed. Access is protected with a code. The
Holiday
Input
Holiday
End: 21-05-2015
Holiday
Start: 21-05-2015
Set Holiday
Date
KLARO GmbH
2
Original Operating Manual for KLARO Small Wastewater Treatment Plant V.15.07
IMPORTANT:
•
This Operating Manual contains information about the plant, from installation
to maintenance, and must therefore be read before commissioning of the
plant!
•
All safety instructions must be observed!
•
The Operating Manual must be kept readily available during the operation of
the plant!
Plant Specifications
For any questions in the course of the operation of the plant, the specifications of your plant should
be noted as follows. With the help of this information, our staff will be able to help you more quickly
in the event of a malfunction. The specifications can be found on the nameplate, which is located
on the outside of the cabinet door for indoor cabinets, and inside the cabinet for outdoor cabinets.
Small Wastewater Treatment
Plant
PT
Sludge storage
Buffer
SB-Reactor
Approval No.:
Process class:
Certified:
Cabinet:
Controller:
Compressor:
Denomination:
Serial No.:
Article No.:
Additional module:
Article No.:
El. Connected load:
KLARO GmbH
Original Operating Manual for KLARO Small Wastewater Treatment Plant V.15.07
3
CONTENTS
Page
1.
About this Operating Manual
6
1.1.
Original Language of Documentation
6
1.2.
Completeness
6
1.3.
Liability
7
2.
Safety
7
2.1.
Explanation of Warnings and Prohibitions
7
2.2.
Hazard statements
8
2.3.
Warnings
9
2.4.
Exclusion for Use
10
3.
Warranty
10
4.
Function of the SBR Plant
10
4.1.
Plants for carbon elimination (process classes C)
11
4.2.
Systems with Additional Nitrogen Removal (Process Classes N and D)
13
4.3.
Systems with Additional Phosphate Elimination (Process Class +P)
13
4.4.
Systems with Additional Sanitation (Process Class +S)
13
5.
Control of the Small Wastewater Treatment Plant
13
5.1.
Connections to the KL-controls (230V option for solenoid valves)
16
5.2.
Connections to the KL24 controller(24V option for stepper motor valves)
16
5.3.
Operating the Controller
18
5.3.1.
Querying Operating Hours
18
5.3.2.
Manual Control of the Valves and the Cabinet Fan in "Manual Mode"
19
5.3.3.
Setting Date/Time
20
5.3.4.
Set Holiday Mode
20
5.3.5.
Query Malfunctions - Query Old Malfunctions
21
5.3.6.
Display Settings
21
5.3.7.
Service Menu and Action Code
21
5.4.
Changing the Fuses
22
5.5.
Operation of Power Failure Detector
22
6.
Additional functions of the Controllers KLplus/ KL24plus and KLbasic/KL24base
23
6.1.
Underload detection (KLplus/KL24plus)
23
6.1.1.
Mode of Operation
24
6.1.2.
Commissioning
24
6.1.3.
Switching Off the Level Measurement
25
6.1.4.
Safety and Fault Messages
25
6.2.
Optional Functions
26
6.2.1.
Connection of an external alarm device
26
6.2.2.
Connection of a contactor for switching the compressor
26
6.2.3.
Connection of a UV reactor
26
6.2.4.
Phosphate precipitation with metering pump
26
7.
Maintenance, Repair and Operation
28
7.1.
Sludge Evacuation
28
7.2.
Operating Instructions
29
8.
Fault Messages and Troubleshooting
31
8.1.
Fault Message on the Display
32
8.2.
Unusual Water Levels - Troubleshooting
33
KLARO GmbH
2
Original Operating Manual for KLARO Small Wastewater Treatment Plant V.15.07
IMPORTANT:
•
This Operating Manual contains information about the plant, from installation
to maintenance, and must therefore be read before commissioning of the
plant!
•
All safety instructions must be observed!
•
The Operating Manual must be kept readily available during the operation of
the plant!
Plant Specifications
For any questions in the course of the operation of the plant, the specifications of your plant should
be noted as follows. With the help of this information, our staff will be able to help you more quickly
in the event of a malfunction. The specifications can be found on the nameplate, which is located
on the outside of the cabinet door for indoor cabinets, and inside the cabinet for outdoor cabinets.
Small Wastewater Treatment
Plant
PT
Sludge storage
Buffer
SB-Reactor
Approval No.:
Process class:
Certified:
Cabinet:
Controller:
Compressor:
Denomination:
Serial No.:
Article No.:
Additional module:
Article No.:
El. Connected load:
KLARO GmbH
Original Operating Manual for KLARO Small Wastewater Treatment Plant V.15.07
3
CONTENTS
Page
1.
About this Operating Manual
6
1.1.
Original Language of Documentation
6
1.2.
Completeness
6
1.3.
Liability
7
2.
Safety
7
2.1.
Explanation of Warnings and Prohibitions
7
2.2.
Hazard statements
8
2.3.
Warnings
9
2.4.
Exclusion for Use
10
3.
Warranty
10
4.
Function of the SBR Plant
10
4.1.
Plants for carbon elimination (process classes C)
11
4.2.
Systems with Additional Nitrogen Removal (Process Classes N and D)
13
4.3.
Systems with Additional Phosphate Elimination (Process Class +P)
13
4.4.
Systems with Additional Sanitation (Process Class +S)
13
5.
Control of the Small Wastewater Treatment Plant
13
5.1.
Connections to the KL-controls (230V option for solenoid valves)
16
5.2.
Connections to the KL24 controller(24V option for stepper motor valves)
16
5.3.
Operating the Controller
18
5.3.1.
Querying Operating Hours
18
5.3.2.
Manual Control of the Valves and the Cabinet Fan in "Manual Mode"
19
5.3.3.
Setting Date/Time
20
5.3.4.
Set Holiday Mode
20
5.3.5.
Query Malfunctions - Query Old Malfunctions
21
5.3.6.
Display Settings
21
5.3.7.
Service Menu and Action Code
21
5.4.
Changing the Fuses
22
5.5.
Operation of Power Failure Detector
22
6.
Additional functions of the Controllers KLplus/ KL24plus and KLbasic/KL24base
23
6.1.
Underload detection (KLplus/KL24plus)
23
6.1.1.
Mode of Operation
24
6.1.2.
Commissioning
24
6.1.3.
Switching Off the Level Measurement
25
6.1.4.
Safety and Fault Messages
25
6.2.
Optional Functions
26
6.2.1.
Connection of an external alarm device
26
6.2.2.
Connection of a contactor for switching the compressor
26
6.2.3.
Connection of a UV reactor
26
6.2.4.
Phosphate precipitation with metering pump
26
7.
Maintenance, Repair and Operation
28
7.1.
Sludge Evacuation
28
7.2.
Operating Instructions
29
8.
Fault Messages and Troubleshooting
31
8.1.
Fault Message on the Display
32
8.2.
Unusual Water Levels - Troubleshooting
33
21

