HD Intelligent Speed Dome Camera
User Manual
84
2)
Select “
Enable
”;
3)
Set motion detection area, the default being full area detection. Click “
Clear All
” and
then “
Edit
” and the image will be divided into 16 columns and 12 lines of small
squares. Click a square, drag toward lower
right and click “
Stop
”. Then the area is
the detected area and it turns purple red. A camera can support max 4 motion
detection areas at the same time. Draw an area toward upper left that contains the
defined area, or click the defined squares one by one
to clear setting, or click “Clear
All” to clear setting;
4)
Drag the slide bar to adjust the “
Sensitivity”
of motion detection. The higher the
sensitivity is, the easier it will trigger an alarm;
5)
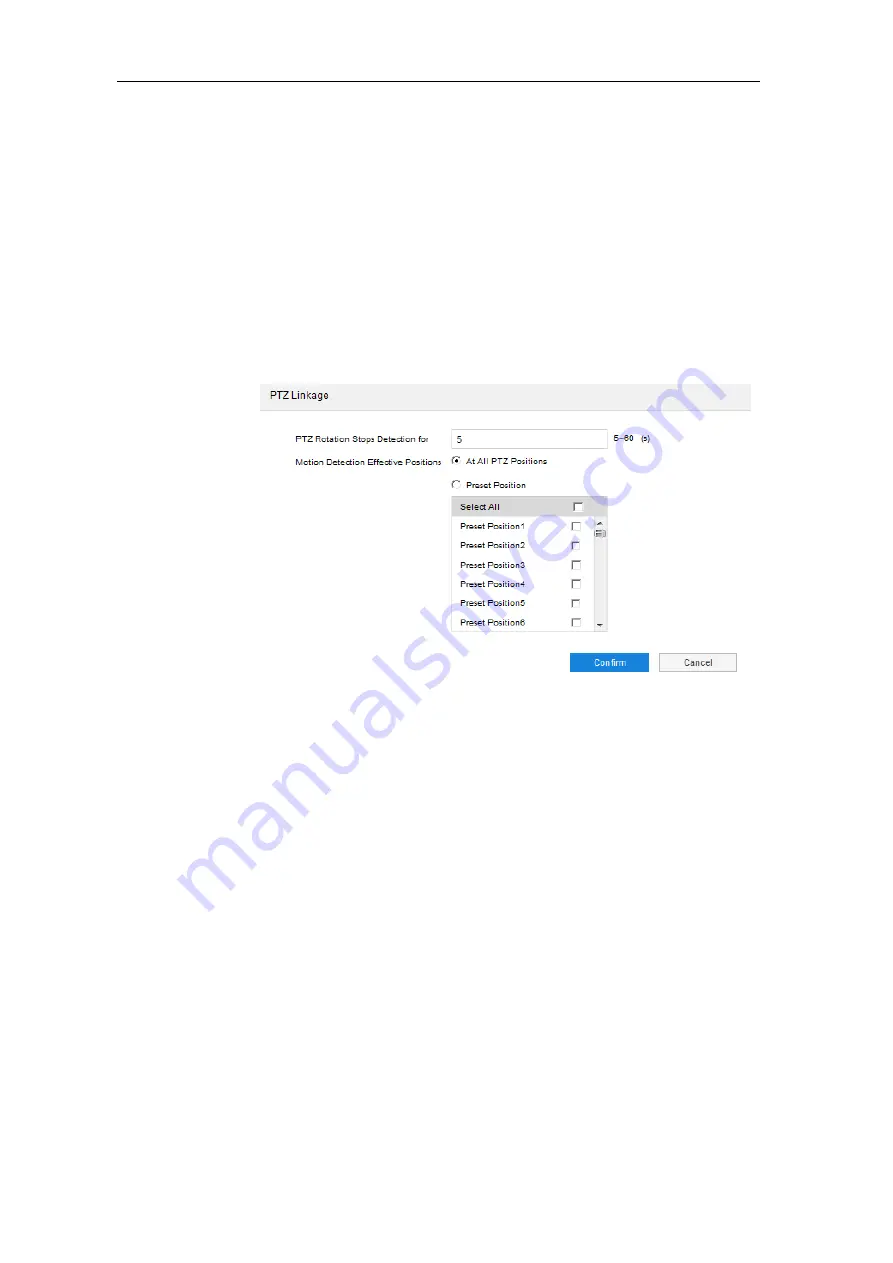
Click “Edit” and it will pop up a window for configuring PTZ linkage;
Picture 7-2 PTZ linkage
PTZ Rotation Stops Detection: Configure the waiting time after PTZ holder stops
moving, i.e. after the PTZ stops moving for the configured duration, it will start
detection.
Motion Detection Effective Positions: Configure the positions where motion
detection takes effect.
6) Select linkage type(s), which is/are the alarm output method(s) when motion
detection triggers an alarm;
7) Set arming duration: the default is 24 hours displaying in blue bar, or user can
customize durations; the maximum allowed number of durations is 10 on one day
and different durations cannot overlap with each other;


