


4 - 69
4.9.2 E-Mail Sending Function
E-Mail Sending Function is for informing stop/completion of the excitation. When the excitation
is stopped or completed, the system sends the event of test stop to the specified mail address by E-
Mail.
For example ; in the case that an operator started the excitation in the morning and left the
laboratory. In the evening, the operator went back to check the state of the excitation. However, the
excitation had stopped after 5 minutes from the excitation start because the pickup happened to be
dislocated. Such an accident in operation can be acknowledged by E-Mail Sending Function. The
operator can be saved from wasting of time and an efficient operation can be realized.
Also, E-Mails can be sent to the address of cellular phones.
LAN and the environment for sending E-Mails (Mail Server, Mail Address, Mailing Software)
are necessary to use this function.
<
Procedure (to set E-Mail Sending Function)
>
<
Step 1
>
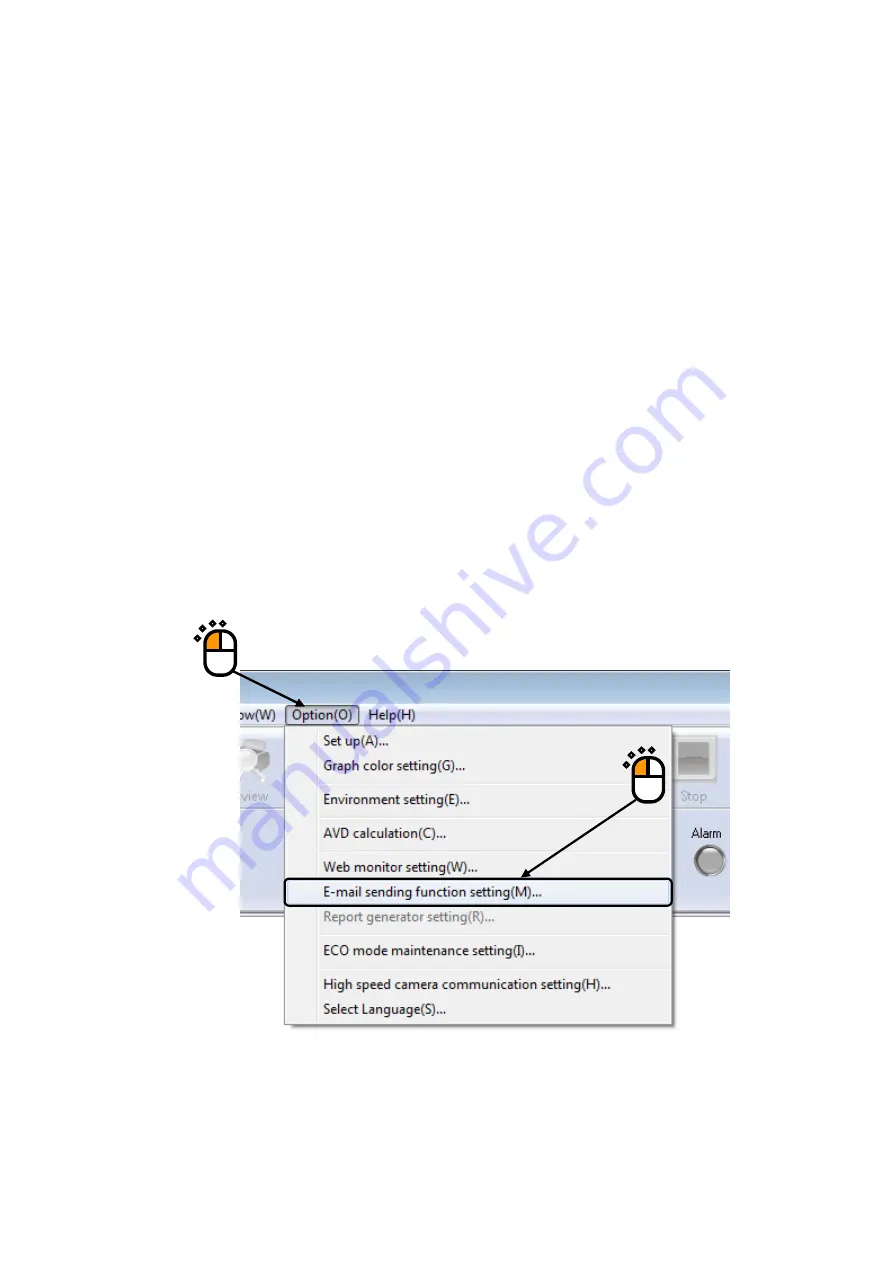
Select “Option” from the Menu Bar, and click the item of “E-mail Sending Function setting”.
①
②
Summary of Contents for K2-CE
Page 4: ......
Page 34: ...2 6 Step 2 The initial screen of installation appears Press the button of Next...
Page 38: ...2 10 Step 2 The initial screen of installation appears Press the button of Next...
Page 49: ...2 21 Step 2 The initial screen of installation appears Press the button of Next...
Page 55: ...2 27 Step 3 The screen displaying the message of Uninstall or change a program appears...
Page 58: ...2 30 Step 3 The screen displaying the message of Uninstall or change a program appears...
Page 81: ......
Page 82: ......
Page 92: ...4 3 4 2 2 Exit from Application 1 K2 Launcher Press the button Close on the screen...
Page 107: ...4 18 Step 3 A graph of the page displayed currently appears in the display...
Page 110: ...4 21 Step 3 Additional graph appears on the currently displayed page...
Page 121: ...4 32 Step3 Press the Mark button to mark the cursor data displayed in the list...
Page 141: ...4 52 Step 2 Press Yes when a dialog of message for assuring appears...
Page 149: ...4 60 Step 5 Press the OK button...
Page 170: ...4 81 Step 9 Press OK after completing of the necessary settings...
Page 172: ...4 83 Report of testing result generated by Report Generator...
Page 196: ...6 12 Step 3 Select desired data file Some files can be selected at a time...
Page 201: ...6 17 Step 3 Select desired data file Some files can be selected at a time...
Page 212: ...7 6 7 2 2 Standards Mode Procedures Step 1 Press the button of Standards...
Page 217: ...7 11 7 2 3 Test files mode Procedures Step 1 Press the button of Test files...


