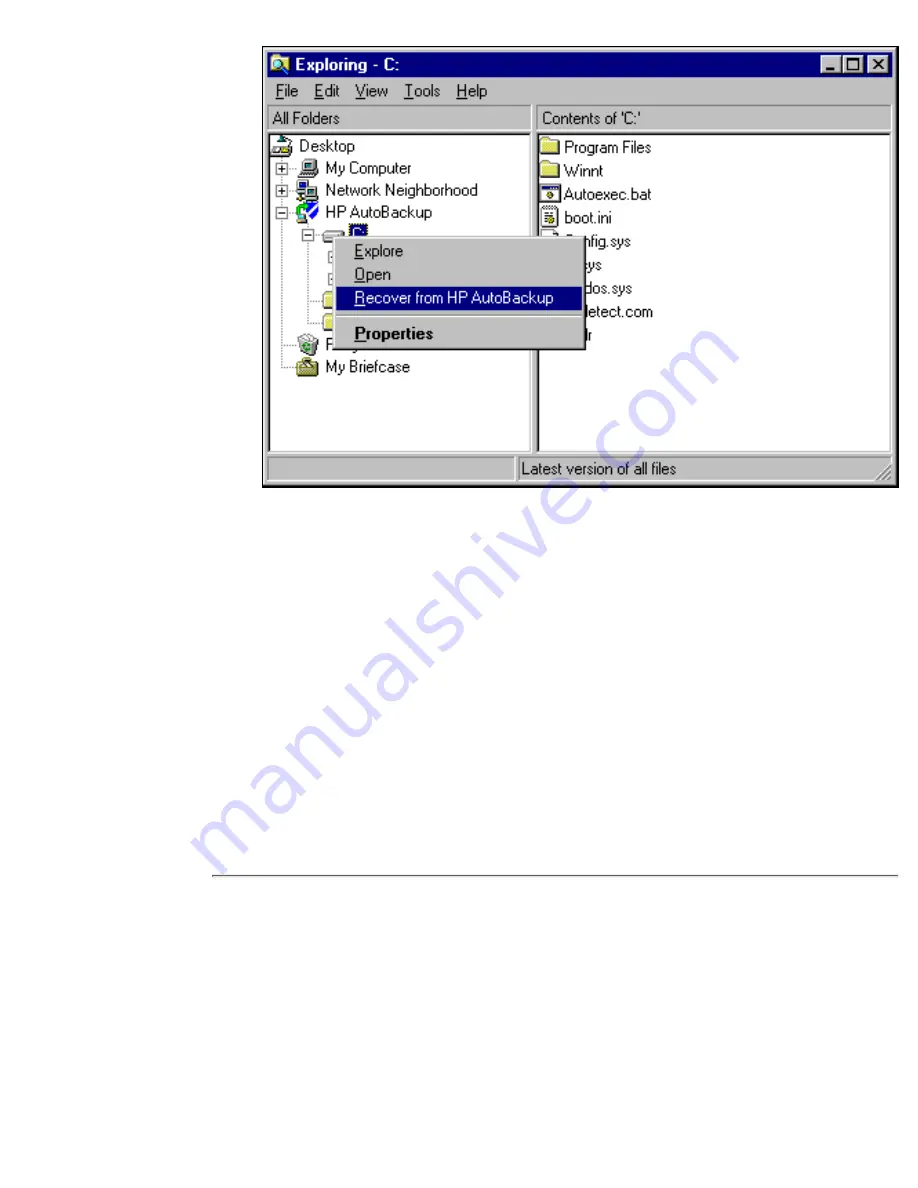
You will then see a window asking you to choose a destination for the recovered
files.( For volumes, click on the volume name to highlight it, then click on OK.)
The recovery of files from the appliance to your new computer will now begin.
Caution: Do not restore any operating system files or applications because these
may not be compatible with your new PC. If you restore volumes, make sure that
these only contain data files.
4.
As the recovery proceeds, you will see a Recovery Progress window.
Note: There will be an overlap for a short period (normally two months) when the
AutoBackup appliance contains operating system and configuration files for both
the previous and currently protected computers. After that the files for the
previous computer will be deleted. If the user carries out a roll back during this
period, all backups done on the previous computer will be highlighted in red.
5.
How to Use the CD-ROM
If you do not have a network connection to the AutoBackup appliance, you can use the
CD-ROM to restore data files and then Reinstall from the existing backup account the
next time you connect to the network. (You can also use this option if the connection is
too slow to be practical for data recovery, but you don't need to reinstall.)
You do not need to turn the computer off. (You do not want to boot from the
CD-ROM because you do not want to restore the operating system.)
1.
Replacing A PC Of A Different Specification
file:///D|/ADMIN_~1/eng/admin/diffspec.htm (4 of 5) [5/3/2000 3:32:41 PM]


