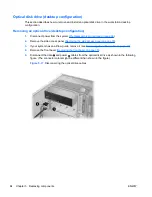
Installing an optical disk drive in the optical bay (mini-tower configuration)
To install an optical disk drive:
1.
Power down the workstation (see
Predisassembly procedures on page 69
).
2.
Disconnect power from the workstation (see
Predisassembly procedures on page 69
).
3.
Remove the side access panel (see
Removing the side access panel on page 72
).
4.
Remove the airflow guide (see
Removing the airflow guide on page 92
).
5.
Remove the front bezel (see
Removing the front bezel on page 75
).
6.
Remove the bezel blank where you want to add the drive.
7.
Install the four black metric M3 guide screws into the sides of the drive.
8.
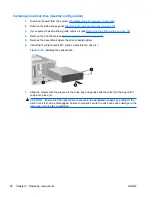
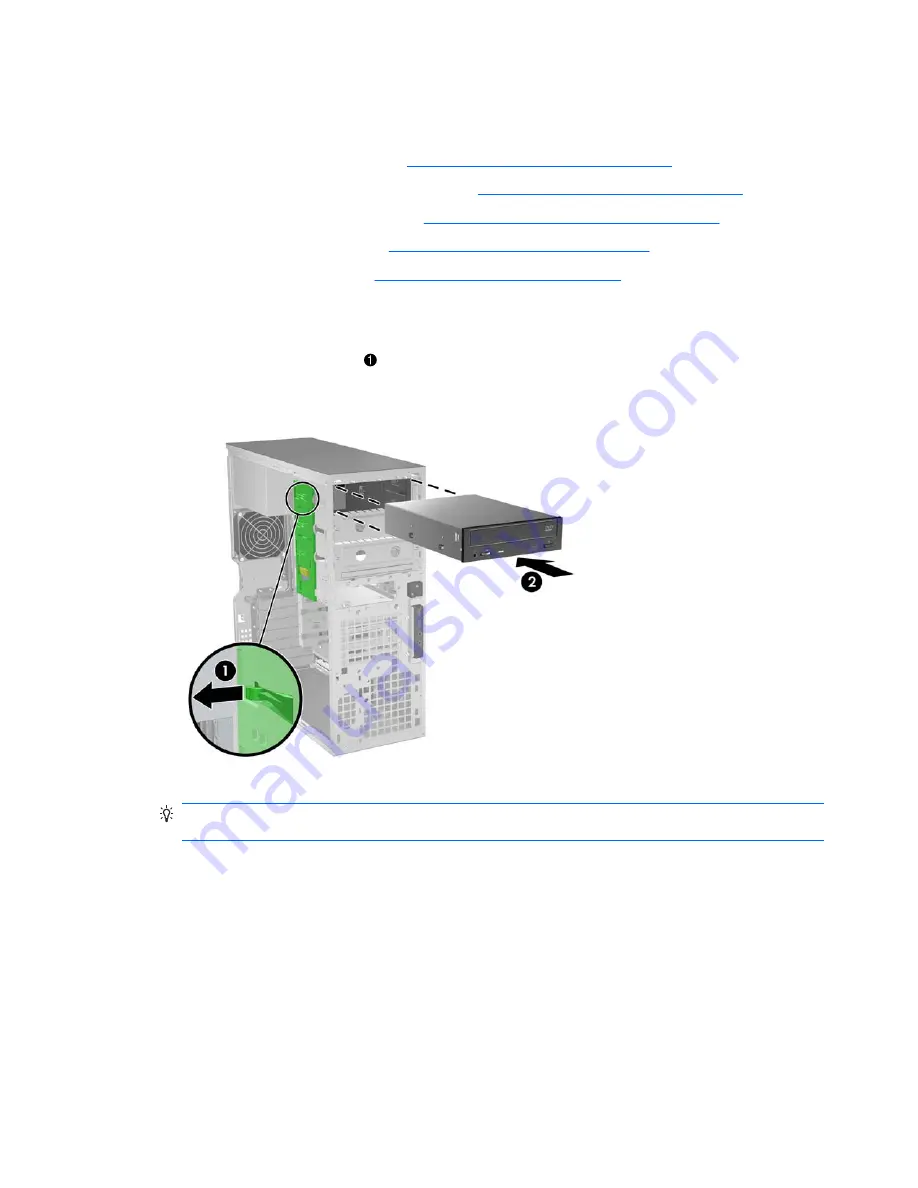
Lift the green release lever and slide the optical disk drive into the bay until it is stopped by the
release latch as shown in the figure below.
Figure 5-15
Installing the optical disk drive
9.
Release the latch and continue sliding the drive until the latch closes and engages the drive
2
.
TIP:
During installation, the adjacent drive or filler may move slightly. You may have to slide and
align both devices to get the release latch to close and engage both devices.
10.
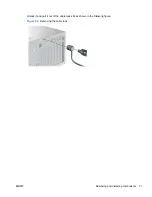
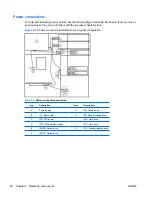
Connect the power and data cables to the drive as shown in the following figure. (See the service
label on the side access panel for component locations in your model of Z400.)
82
Chapter 5 Replacing components
ENWW


