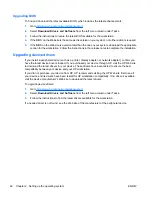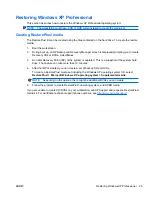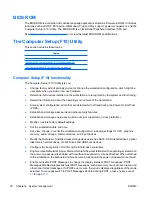
Heading
Option
Description
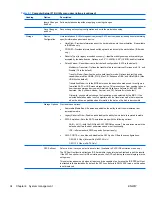
Boot Order
Lets you configure the boot order of diskette drive and hard disk drive by physically reordering the
menu entries. The menu presents the following default boot order:
●
Optical Drive
●
Diskette Drive
●
USB Device
●
Hard Drive
●
Embedded Ethernet controller
●
Embedded Ethernet controller (ASF) Second embedded LAN. (Not available in some
configurations.)
Press
Enter
to drag a device to a preferred place.
Press
F5
to remove the device from consideration as a bootable device.
MS-DOS drive lettering assignments might not apply after an operating system other than MS-
DOS has started.
Boot devices can be disabled in the boot order process. These order changes are stored in the
physical ROM when the F10 Setup changes are confirmed with File>Save Changes and Exit.
You can temporarily override the boot order. To start one time from a device other than the default
device specified in Boot Order, restart the workstation and press
F9
when the F9=Boot Menu
message appears on the screen. After POST completes, a list of bootable devices is displayed.
Use the arrow keys to select the preferred bootable device and press
Enter.
The workstation then
starts from the selected nondefault device for this one time.
Security
Setup Password Enables you to set and enable a setup password for the administrator.
If you create a setup password, you must use it to change workstation setup options, to flash the
ROM, and to make changes to certain Plug and Play settings under Windows.
Power-On
Password
Enables you to set and enable the power-on password.
Password
Options
This option becomes available when you create a setup and/or power-on password. It provides
these options:
●
Lock Legacy Resources—Prevents the operating system from changing resources to serial,
parallel, or diskette controller.
●
Network Server Mode—Enables network server mode.
●
Password Prompt on Warm Boot—Enables a password prompt on a warm boot.
●
Setup Browse Mode—Enables read-only functionality for password info.
Smart Cover
Lets you enable and disable the cover removal sensor, or notify you if the sensor is activated.
Table 4-1
Computer Setup (F10) Utility menu descriptions (continued)
ENWW
The Computer Setup (F10) Utility
35


