5–4
Company confidential. Pelican User’s Guide, Ed 1, Final. Freeze Status: frozen
This is the cyan on page 5–4 (seq: 96)
This is the black on page 5–4 (seq: 96)
2
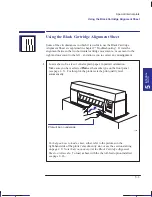
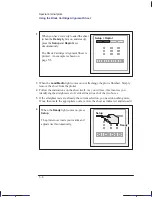
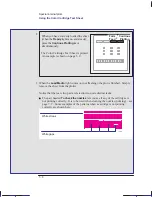
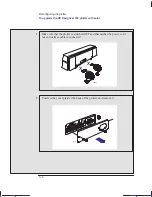
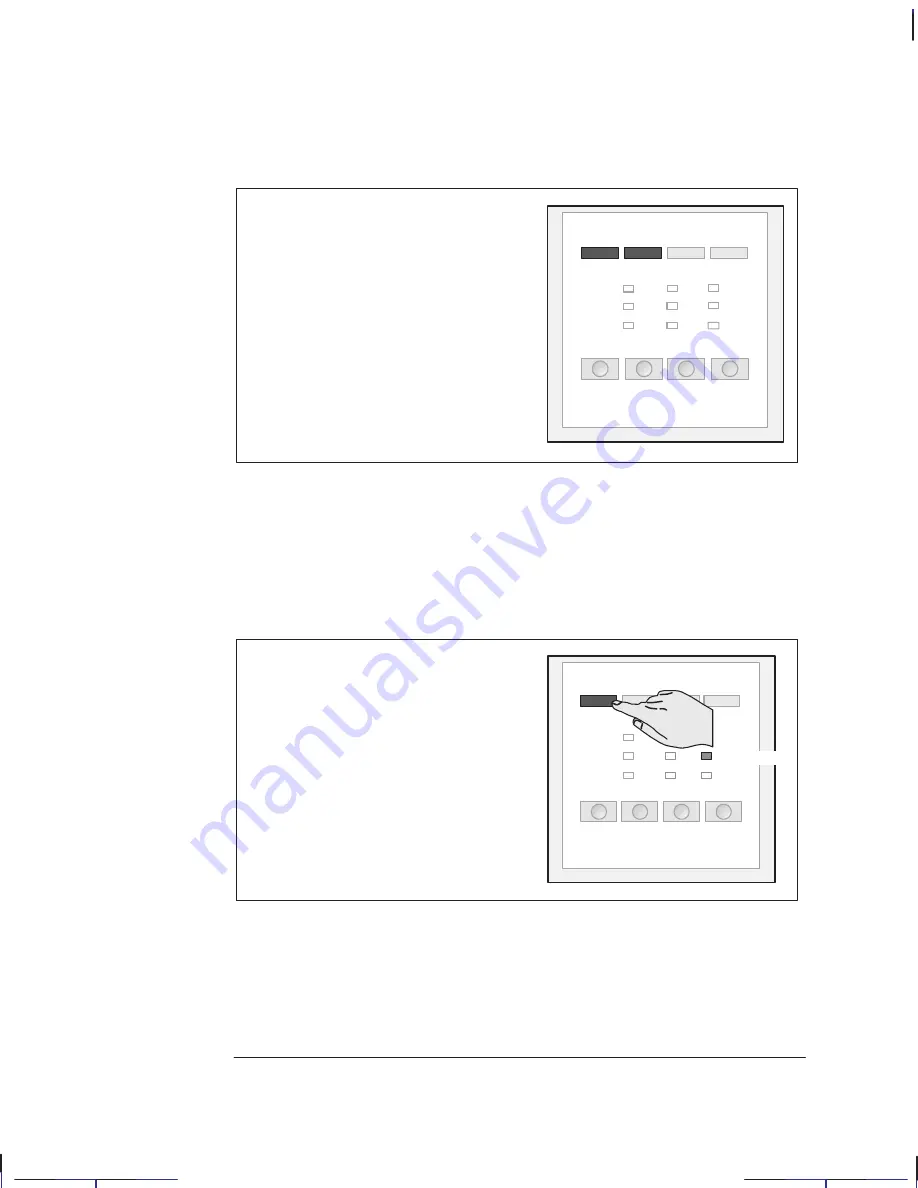
When you have correctly loaded the sheet
(when the
Ready
light is on and steady),
press the
Setup
and
Replot
keys
simultaneously.
The Black Cartridge Alignment Sheet is
printed. An example is shown on
page 5–5.
Setup + Replot
3
When the
Load Media
light comes on (not flashing), the plot is finished. Simply
remove the sheet from the plotter.
4
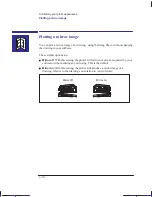
Follow the instructions on the sheet itself. As you will see, this involves you
identifying the straightest set of vertical lines in each of the two boxes.
5
If the straightest sets are already the current selection, you need do nothing more.
If not, then mark the appropriate ovals, reverse the sheet as indicated, and reload it.
6
When the
Ready
light comes on, press
Setup
.
The plotter now reads your marks and
adjusts itself automatically.
Setup
Ready
Special internal plots
Using the Black Cartridge Alignment Sheet
Localization Note. .Treat as new.
Summary of Contents for Designjet 330
Page 1: ...C4699 90031 English HP DesignJet 330 and 350C Plotters User s Guide ...
Page 4: ...iv ...
Page 14: ...xiv ...
Page 92: ...4 4 ...
Page 114: ...6 12 ...
Page 124: ...7 10 ...
Page 125: ...8 1 FRONT PANEL 8 LIGHTS Front panel lights 8 ...
Page 150: ...9 20 ...
Page 170: ...10 20 ...
Page 171: ...11 1 GLOSSARY 11 Glossary 11 ...
Page 180: ......

