Page 9-3
In RPN mode, you can enter a vector in the stack by opening a set of brackets
and typing the vector components or elements separated by either commas
(
‚í
) or spaces (
#
). Notice that after pressing
`
, in either mode,
the calculator shows the vector elements separated by spaces.
Storing vectors into variables
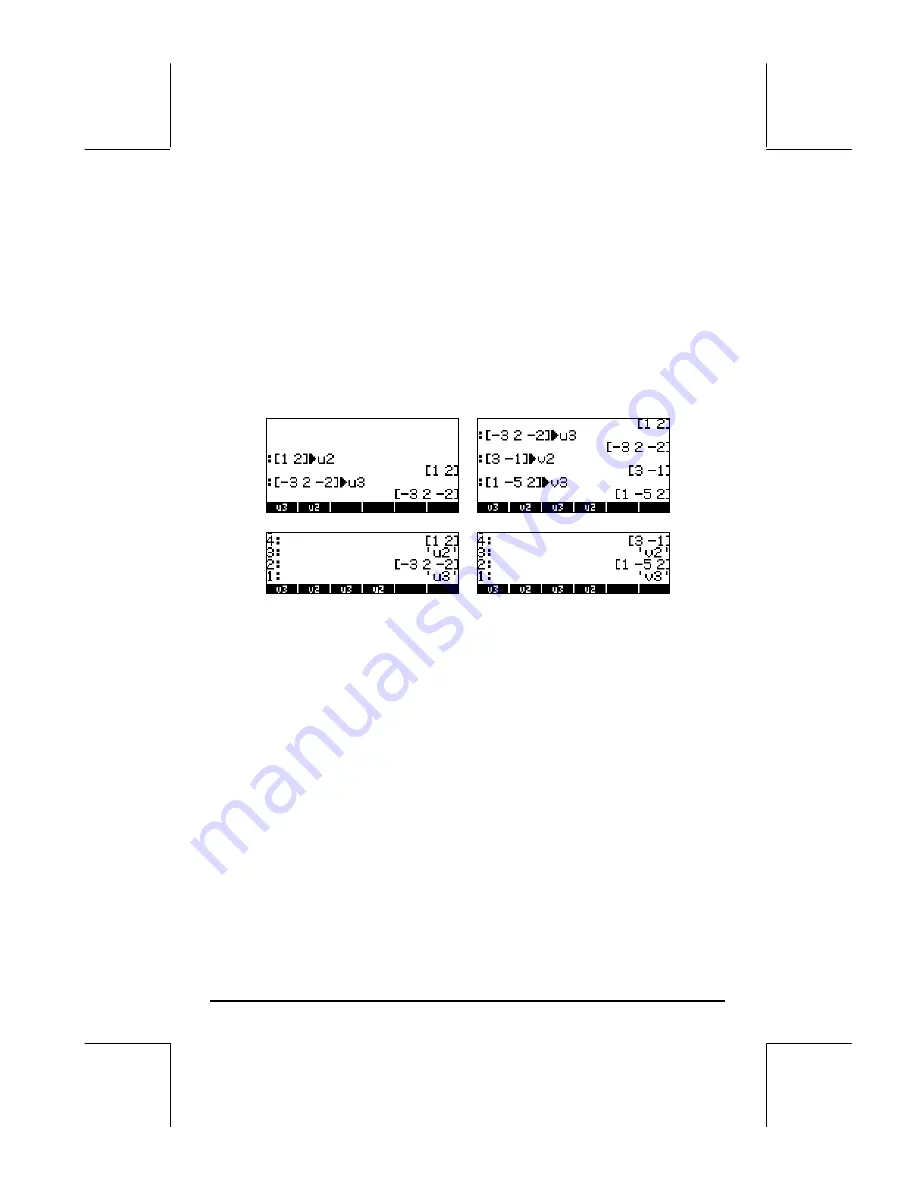
Vectors can be stored into variables. The screen shots below show the vectors
u
2
=
[1, 2]
,
u
3
=
[-3, 2, -2]
,
v
2
=
[3,-1]
,
v
3
=
[1, -5, 2]
stored into variables
@@@u2@@
,
@@@u3@@
,
@@@v2@@
, and
@@@v3@@
, respectively. First, in ALG
mode:
Then, in RPN mode (before pressing
K
, repeatedly):
Using the Matrix Writer (MTRW) to enter vectors
Vectors can also be entered by using the Matrix Writer
„²
(third key in
the fourth row of keys from the top of the keyboard). This command generates
a species of spreadsheet corresponding to rows and columns of a matrix
(Details on using the Matrix Writer to enter matrices will be presented in a
subsequent chapter). For a vector we are interested in filling only elements in
the top row. By default, the cell in the top row and first column is selected.
At the bottom of the spreadsheet you will find the following soft menu keys:
@EDIT! @VEC
←
WID @WID
→
@GO
→
@GO
↓
The
@EDIT
key is used to edit the contents of a selected cell in the
Matrix Writer.
The
@VEC@@
key, when selected, will produce a vector, as opposite to a
matrix of one row and many columns.


