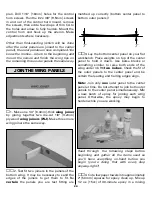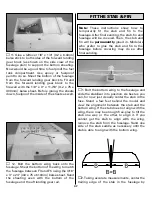
of the bottom wing panel on the leading edge
and the center of the fuselage at former F3.
Center the wing in the fuselage, aligning the marks.
❏
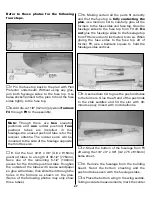
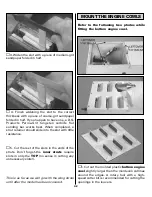
15. Using the holes in F3 as a guide, use a
3/16" [4.8mm] brass tube sharpened on the end
to cut holes through the balsa leading edge of
the wing for the wing dowels. (To sharpen the
end of a brass tube, use a rotary tool with a
cutoff wheel or a file to bevel the outside of the
tube, and use a #11 hobby knife to bevel the
inside of the tube.)
❏
16. Remove the wing from the fuselage. Use
the brass tube or a 3/16" [4.8mm] drill to drill
holes the rest of the way through the wing and
into the shear webs inside.
❏
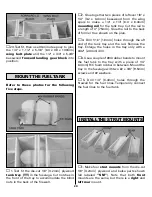
17. Round one end of both 3/16" [4.8mm]
wing dowels. Without using any glue, fit the
dowels into the wing, then test fit the wing to
the fuse.
Do not
glue the dowels into the wing
until instructed to do so.
❏
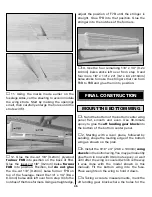
18. Glue both die-cut 1/8" [3.2mm] plywood
formers F2
together. From now on this
assembly will be referred to as the
firewall
.
❏
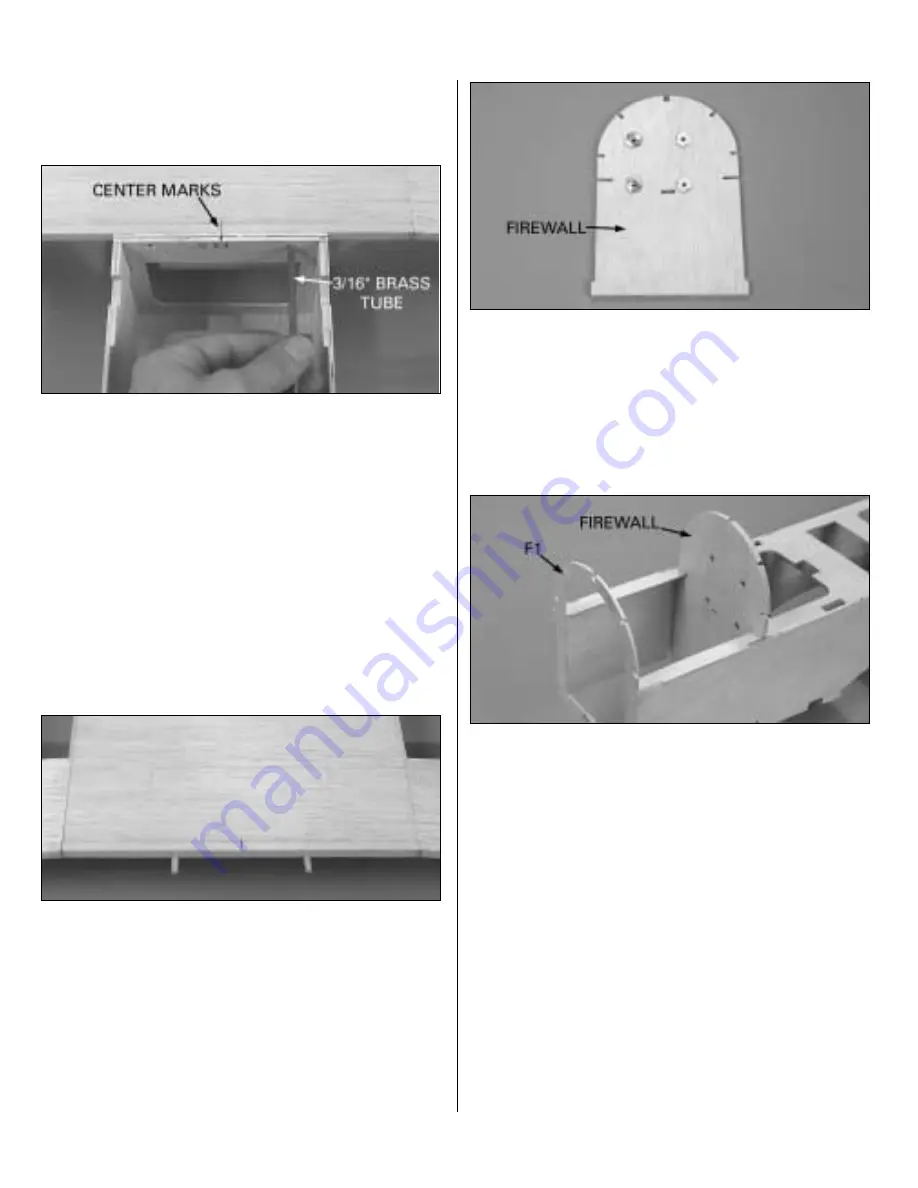
19. Drill 13/64" [5.2mm] holes through the
four punchmarks in the front of the firewall.
Insert four 8-32 blind nuts into the holes in the
back of the firewall and lightly tap them in with
a hammer. Carefully add a few drops of thin CA
around the nuts to permanently hold them in.
❏
20. Glue the die-cut 1/8" [3.2mm] plywood
former F1
to the front of the fuselage.
❏
21. Fit the firewall into position. Note the
angle on the front of the fuse top where it
contacts the firewall to provide the correct
amount of right thrust. Glue the firewall into the
fuselage with 30-minute epoxy using clamps
where necessary to securely hold it into position.
❏
22. Sand the bottom of former F3 and the
firewall even with the bottom of the fuse sides.
Glue the fuselage top to the fuselage sides from
F3 forward.
28
Summary of Contents for Dynaflite S.E.5a
Page 9: ...9 Die Drawing...
Page 10: ...10 Die Drawing...


