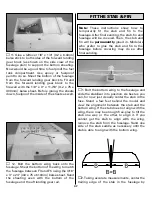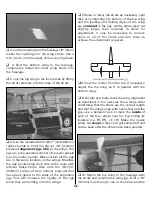
strut retainer. Temporarily install a 4-40 x 1/2"
[13mm] screw into the strut and strut retainer.
Hint:
When threading in the 4-40 x 1/2" screws,
a Great Planes long-handle 3/32" hex driver ball
wrench (GPMR8002) is indispensable.
❏
11. Confirm that the wing alignment has not
shifted. Adjust if necessary. One at a time drill a
hole through the remaining three struts and
strut retainers, inserting a screw and checking
the wing alignment between each.
❏
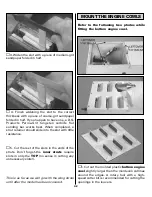
12. Mark the struts near the bottom where
they go into the fuselage. When it’s time to paint
the struts, paint them only 1/8" [3mm] below
the line so the epoxy will adhere.
❏
13. Reposition the wing jigs farther out on the
wings–1" [25mm] inboard from the ends of the
ailerons. Without using any glue, insert the
remaining eight strut retainers into the slots in
the wings. Test fit, trim as necessary, then test fit
again and trim the outer struts until they fit the
wing. As you proceed, be certain the wings
remain centered in the wing jigs and that the
leading edges of the wings remain parallel with
each other.
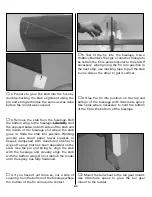
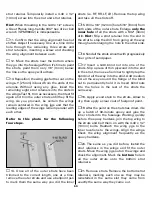
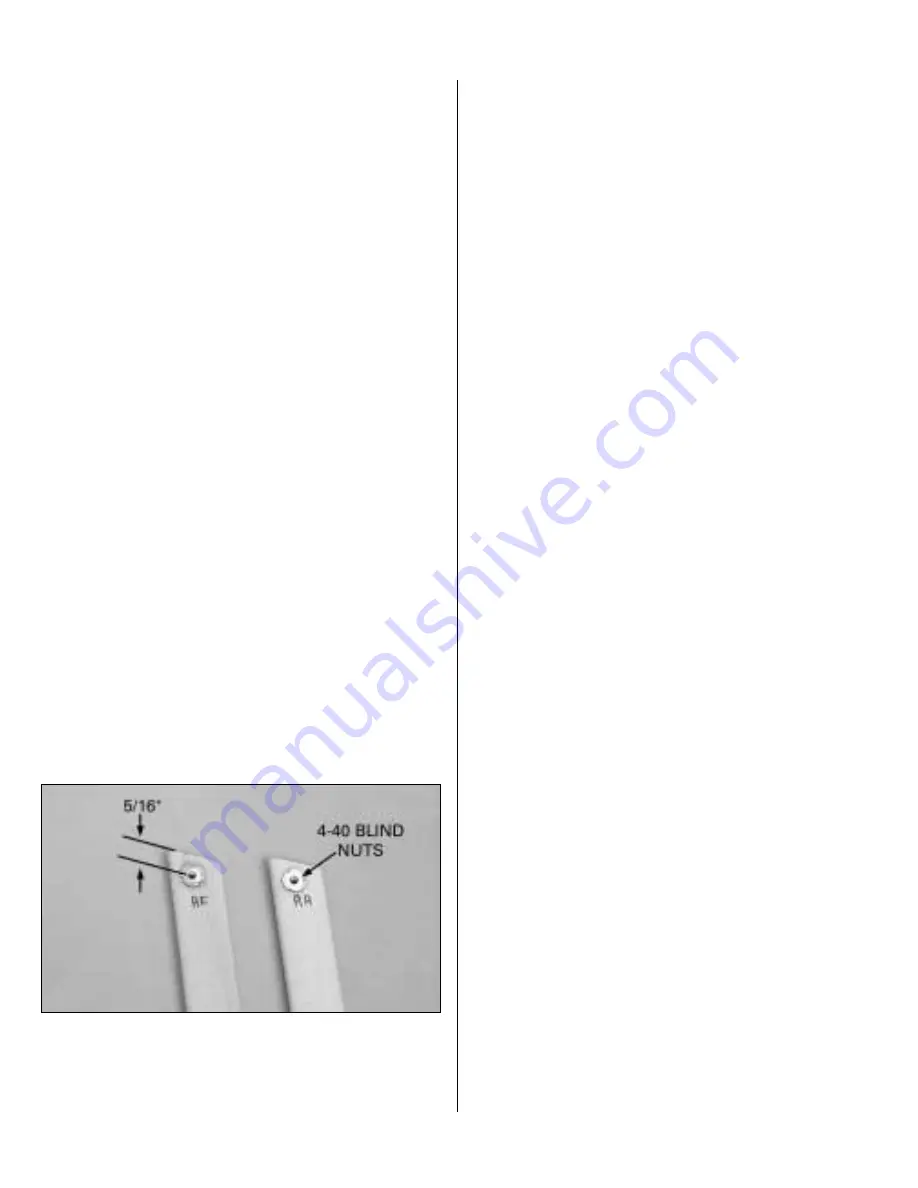
Refer to this photo for the following
four steps.
❏
14. Once all of the outer struts have been
trimmed to the correct length, one at a time,
remove the outer struts and use a ballpoint pen
to mark them the same way you did the inner
struts (i.e. RF, RR, LF, LR). Remove the top wing
and take all the struts off.
❏
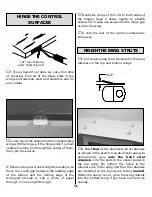
15. Drill a 1/8" [3.2mm] hole 5/16" [8mm] from
both ends of the outer struts. Enlarge
only the
inner hole
of all the struts with a 5/32" [4mm]
drill.
Hint:
Slip a strut retainer into the slot in
the strut to stop the drill from going all the way
through and enlarging the hole in the other side.
❏
16. Sand all the struts smooth with progressively
finer grits of sandpaper.
❏
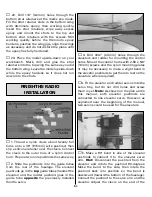
17. Insert a 4-40 blind nut into one of the
struts. Slip a piece of thin plywood into the slot
in the strut, then use a hammer to lightly tap the
blind nut all the way into the strut. Add medium
CA all the way around the flange of the blind
nut to permanently hold it in. Insert blind nuts
into the holes in the rest of the struts the
same way.
❏
18. Apply wood stain to the struts. Allow to
dry, then apply a clear coat of fuelproof paint.
❏
19. After the paint on the struts has dried, mix
up a batch of 30-minute epoxy and glue the
inner struts into the fuselage. Working quickly
before the epoxy hardens, join the top wing to
the struts and bolt them on with the 4-40 x 1/2"
[13mm] bolts. Reattach the wing jigs to the
inner locations to the wings. Align the wings.
Check the wing alignment frequently as the
epoxy hardens.
❏
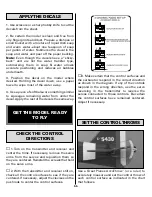
20. The same as you did before, install the
strut retainers in the wings and fit the outer
struts. Move the wing jigs out on the wings and
check the alignment. Mark the
bottom
hole in
all the outer struts onto the bottom strut
retainers.
❏
21. Remove struts. Remove the bottom strut
retainers, marking each one so they may be
reinstalled in the same slot they came from
exactly the same way they came out.
50
Summary of Contents for Dynaflite S.E.5a
Page 9: ...9 Die Drawing...
Page 10: ...10 Die Drawing...


