


[3.2mm] balsa to the fuse top 3/32" [2.4mm]
from the edge between formers F1 and the
firewall and between the firewall and the front
strut mounts. Also glue 1/8" [3.2mm] strips of
balsa to the fuselage top between F3A and the
aft strut mount. These strips will support the
bottom of the sheeting when gluing it into
position.
❏
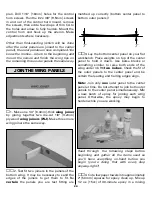
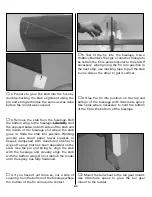
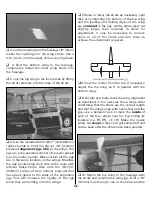
7. Sheet the left side first. Wet the outside of
one of the skins with a few squirts of window
cleaner or water, then position it on the fuse.
Bend the skin into position, then use a ballpoint
pen to mark the top of the skin where it is to be
cut over the center of the 1/4" x 1/4" [6.4 x
6.4mm] stringer on the top of the formers. Cut
the skin at the marks, then test fit and continue
to cut as necessary to get it to fit well. Glue the
skin into position with medium CA. Use tape
and clamps to hold it down until the glue
hardens.
❏
8. Glue the right skin into position the same
way. Sheet the cockpit area with the remaining
balsa sheeting left over from step 5.
❏
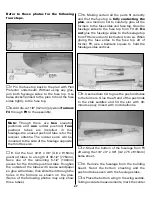
9. Before doing any sanding, use balsa filler
where required to fill any gaps in the sheeting.
Allow the filler to dry, then sand the sheeting
smooth and even.
❏
10. Use the
cockpit opening pattern
provided
on the plan to trace the outline of the cockpit
opening onto the fuse sheeting. Cut out the
opening.
34
Summary of Contents for Dynaflite S.E.5a
Page 9: ...9 Die Drawing...
Page 10: ...10 Die Drawing...


