cup. Use an epoxy brush to apply a film of
epoxy to the joining ribs on the end of the
bottom left panel
and the
bottom center
panel
. Set the panels on-end so the epoxy will
not run. Coat the joiner with epoxy as well. Add
milled glass fibers or microballoons to the
remainder of the epoxy mixture. Use a piece of
wire to apply the epoxy and microballoons
mixture inside both panels between the spars
where the joiner fits. Insert the joiner in one of
the panels. Use the wire to wipe away excess
epoxy that squeezes out, then join the center
panel again, wiping away excess epoxy. Immediately
proceed to the next step.
❏ ❏
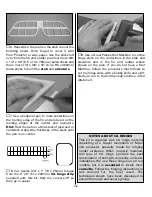
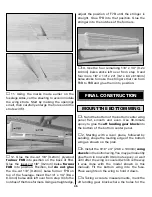
5. Lay the joined panels on top of your
building board covered with wax paper. Place
weights on top of the center panel to hold it
down (small plastic bags containing lead shot
work well for this). Use a balsa block or
something similar to prop up the end of the
wing under rib R6 2" [51mm]. Use large balsa
sticks T-pinned to the building board (indicated
by arrows in the top photo) to
tightly
squeeze
the panels together. Use a few paper towel
squares dampened with alcohol to wipe away
any more epoxy that squeezes out of the joint.
Make certain the leading and trailing edges of
the joining panels align. Do not disturb the
wing until the epoxy has fully hardened.
❏ ❏
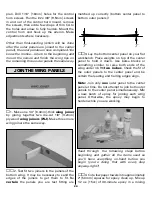
6. Proceed and join the top left panel to the
top center panel. After the epoxy joining the left
panels has hardened, join the right panels.
One last thing before moving onto the
fuselage…
❏ ❏
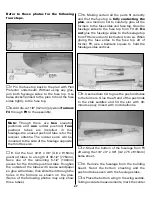
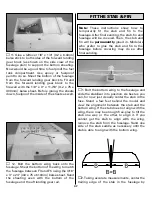
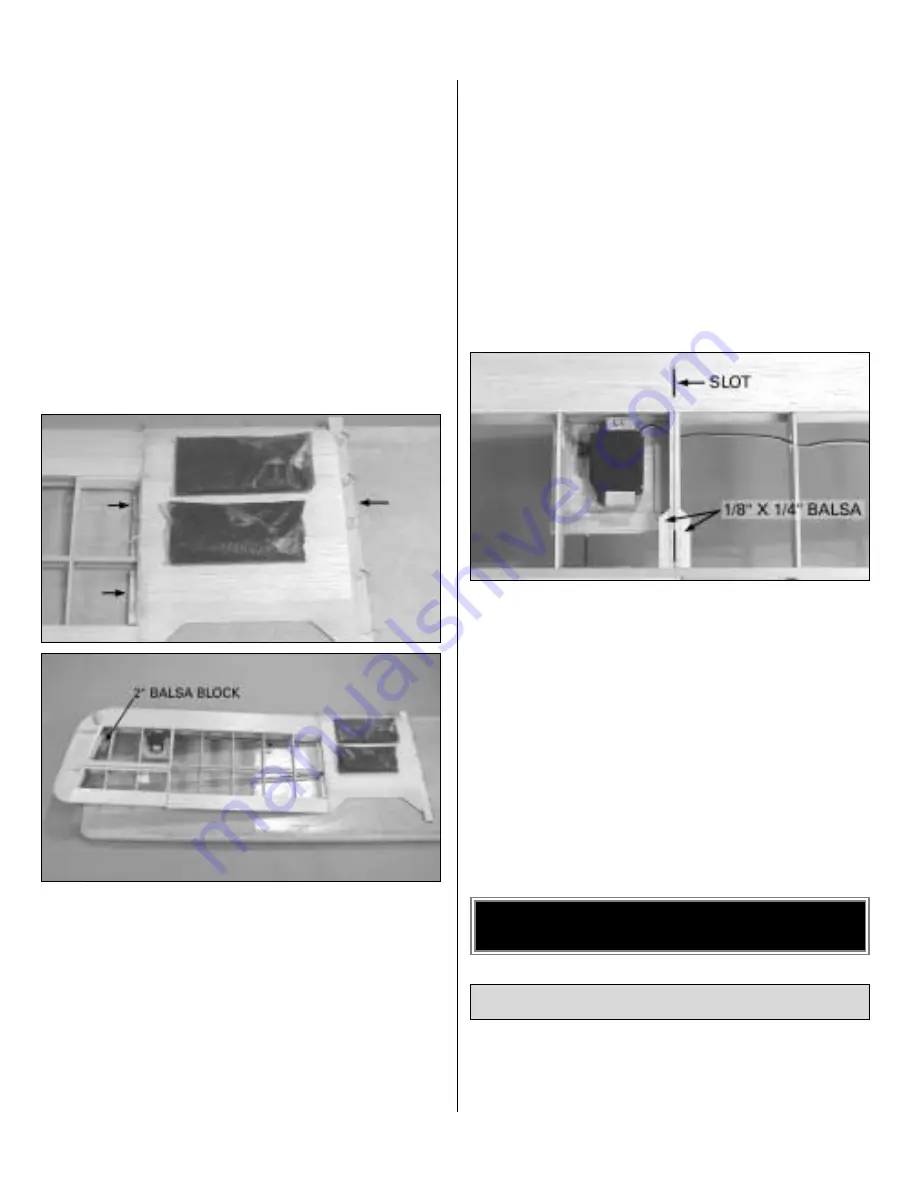
7. In the bottom wing, cut slots in the top
of the sheeting over the openings for the
forward strut retainers
. Glue pieces of
leftover 1/8" x 1/4" [3.2 x 6.4mm] balsa to both
sides of the ribs to support the covering around
the
aft strut retainers
. Repeat the same
procedure on the bottom of the top wing. Cut
the slots for the strut retainers in the center
panel of the top wing.
Now that the wings are framed-up and joined
we’ll get started on the fuse. The wings will be
completed and finish-sanded later.
❏
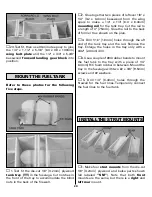
1. Place the side view of the fuselage plan
over your flat building board and cover it with
Plan Protector or wax paper.
BUILD THE FUSELAGE SIDES
BUILD THE FUSELAGE
25
Summary of Contents for Dynaflite S.E.5a
Page 9: ...9 Die Drawing...
Page 10: ...10 Die Drawing...


