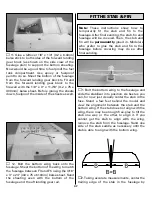
wing bolts are to be drilled (the holes are 4"
[100mm] apart–2" [50mm] both sides of center).
❏
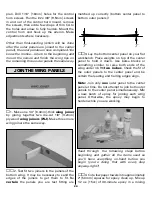
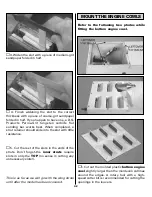
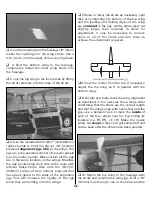
5. Stick a T-pin into the center of the bottom
sheeting near the aft end of the fuselage. Tie a
small loop in one end of an approximately 50"
[1.3m] piece of non-elastic string such as K & S
#801 Kevlar thread (K+SR4575). Slip the loop in
the string over the T-pin.
❏
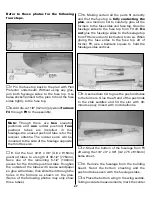
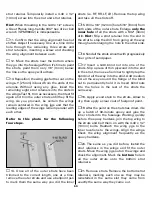
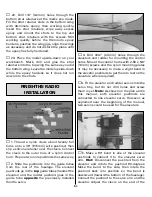
6. Fold a piece of masking tape over the other
end of the string and draw an arrow on it. Slide
the tape along the string and align the arrow
with one end of the wing as shown in the photo.
Swing the string over to the same position on
the other end of the wing. Adjust the wing and
slide the tape along the string until the wing is
centered (as shown in A = A in the sketch) and
the arrow aligns with both sides of the wing.
❏
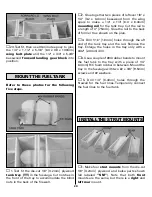
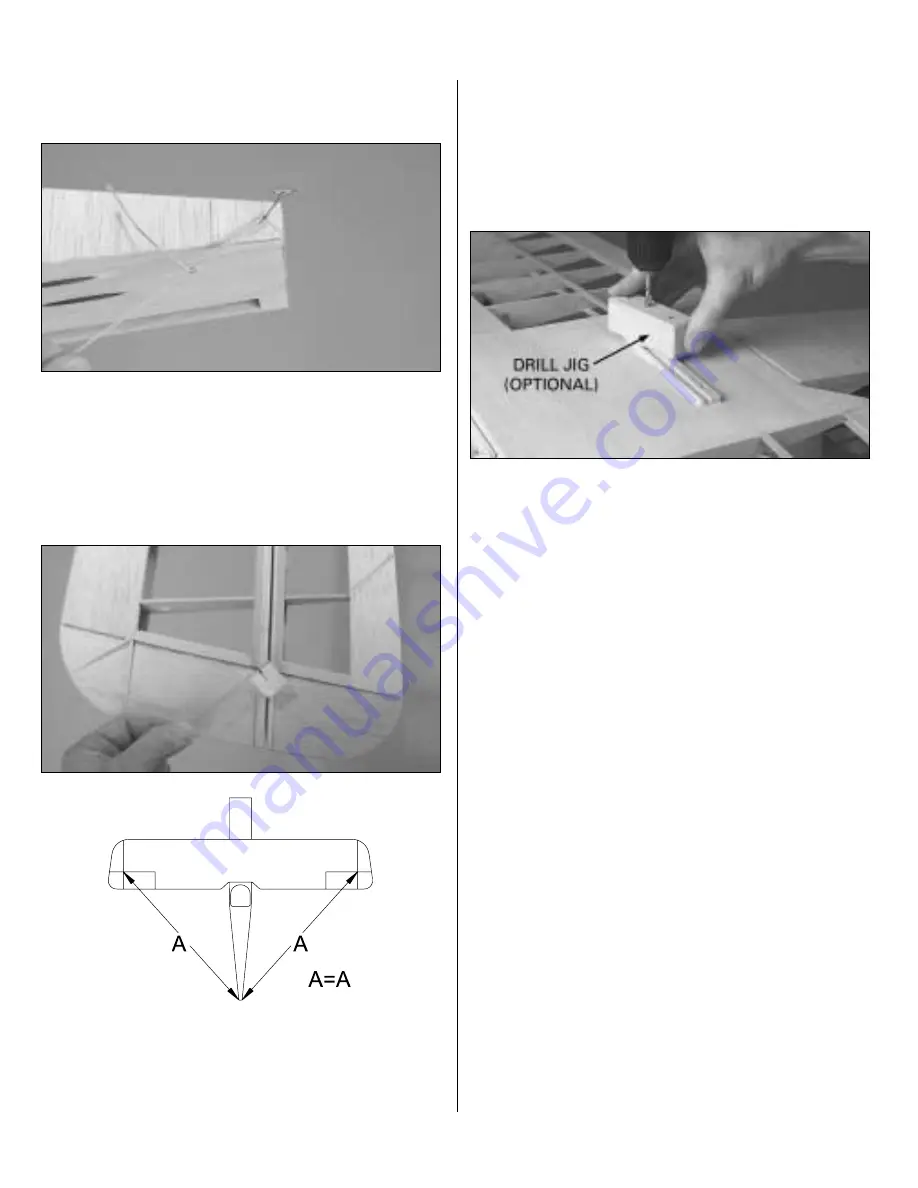
7. With the wing in alignment, drill #7 (or
13/64") holes through the aft landing gear block
and the wing bolt plate inside the fuse at the
marks made in step 4.
Hint:
Make a
drill jig
by
using a drill press to drill the hole through a
hardwood block. Setup the drill press so the
hole will be perpendicular. This will ensure that
the holes you drill through the wing go straight
through.
❏
8. Remove the wing from the fuse. Use a 1/4-
20 tap to tap threads into the wing bolt plate.
Enlarge the holes
in the wing only
with a
17/64" (or 1/4" [6.4mm]) drill.
❏
9. Harden the threads in the wing bolt plate
by adding a few drops of thin CA or epoxy and
allowing to fully harden. Re-tap the threads.
❏
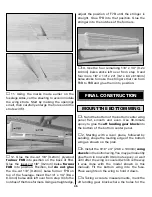
10. Test mount the wing to the fuse with the
1/4-20 x 2" [50mm] nylon wing bolts.
Note:
When mounting the wing at the flying field,
don’t forget to use a 1/4" washer under each
bolt to help secure the main landing gear.
While we’ve got the plane upside-down,
let’s go ahead and finish the bottom of
the fuse…
36
Summary of Contents for Dynaflite S.E.5a
Page 9: ...9 Die Drawing...
Page 10: ...10 Die Drawing...


