❏
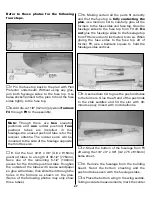
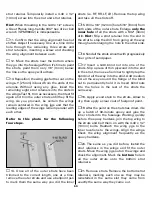
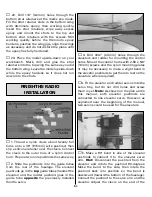
8. Again, using care not to get any glue on the
fin, glue the other tail block to the fuselage.
Remove the fin. Use a razor plane to roughly
shape the tail blocks to match the fuselage, then
use sandpaper to finish the job. Just for fun,
reinstall the fin and stab to see how it all looks!
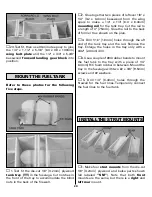
Refer to this photo for the following
four steps.
❏
1. Drill 9/64" (or 1/8" [3.2mm]) holes through
the punchmarks in both die-cut 1/16" [1.6mm]
plywood
tail gear mounts (TGM)
. Fit a 4-40 blind
nut in the inside of both mounts, then use a
hammer to securely tap the blind nuts all the
way into the wood (do this over a piece of wood
so the blind nut can go all the way through).
Use a few drops of thin CA to secure the blind nuts.
❏
2. File the protruding portions of the blind
nuts even with the outside of the tail gear mounts.
❏
3. Position the
right
mount over its location
on the plan. Mark the bottom of the rudder on
the tail gear mount.
❏
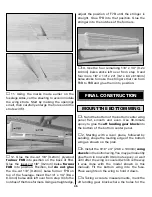
4. Cut pieces of leftover 3/8" x 1/2" [9.5 x
12.7mm] balsa as shown and glue them into
position.
❏
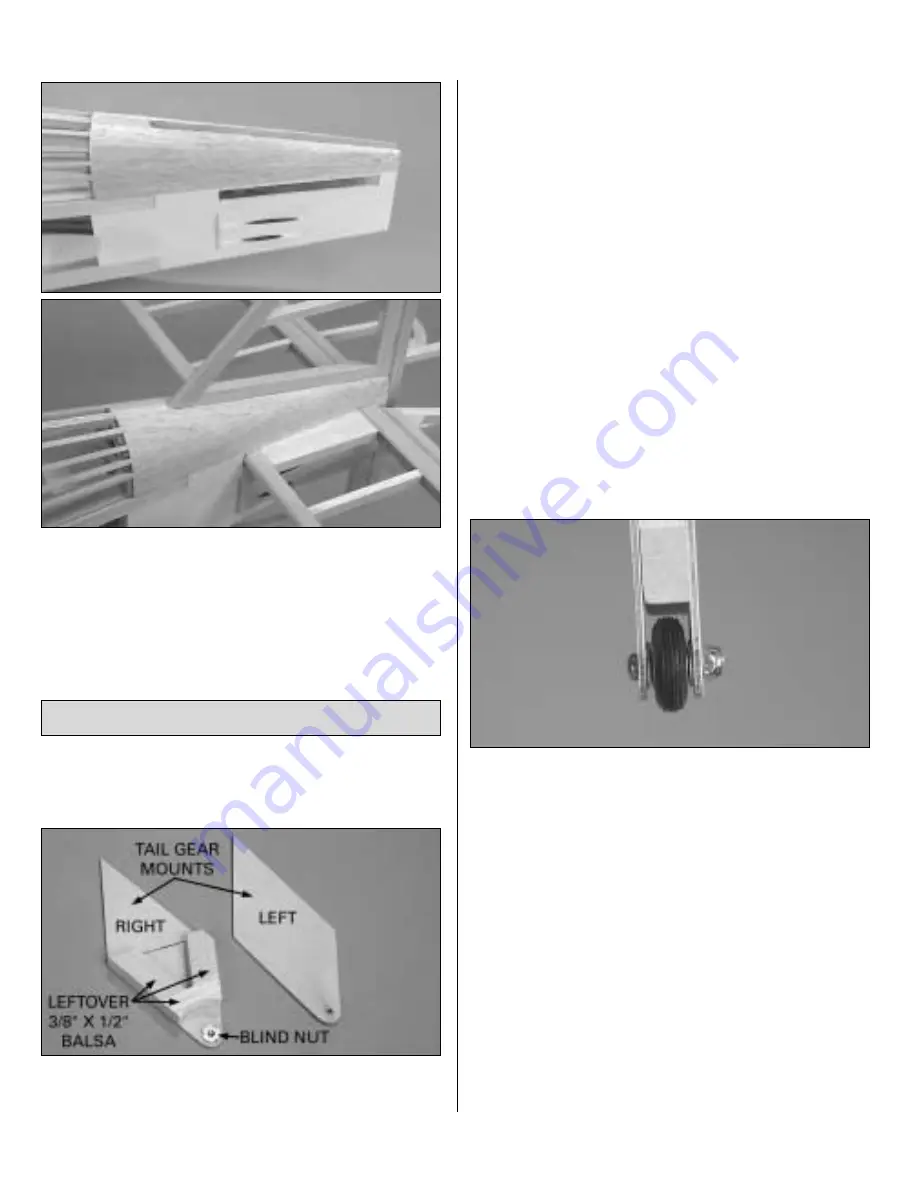
5. Enlarge the hole in the 3/4" [19mm] tail
wheel with a #34 (or 7/64" [2.8mm]) drill. Put the
assembly together with the wheel and a 4-40 x
5/8" [16mm] Phillips-head screw and a 4-40 lock
nut, but
do not
glue it together.
❏
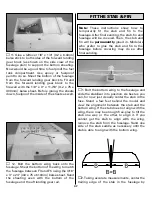
6. Test fit the tail wheel assembly to the
rudder. If necessary, sand the balsa framework
of the tail wheel assembly to match the
thickness of the sanded rudder. After a good fit
has been achieved, permanently glue the left
tail gear mount to the assembly (leave the
wheel attached so the left and right mounts
remain in alignment). Set aside until it’s time to
finish the model.
MAKE THE TAIL GEAR MOUNT
39
Summary of Contents for Dynaflite S.E.5a
Page 9: ...9 Die Drawing...
Page 10: ...10 Die Drawing...


