follow these instructions exactly, or simply use
them as a guideline while applying your own
covering techniques. However you decide to
finish your S.E.5a,
do not forget to install
the “Y” connectors in the wings before
covering them.
❏
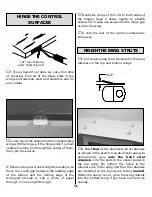
1. Remove the engine and any hardware in
the model that would interfere with sanding
and covering.
❏
2. Apply balsa filler where needed, allow to
dry, then final-sand all parts of the model using
progressively finer grits of sandpaper finishing
with 400-grit.
❏
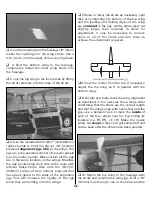
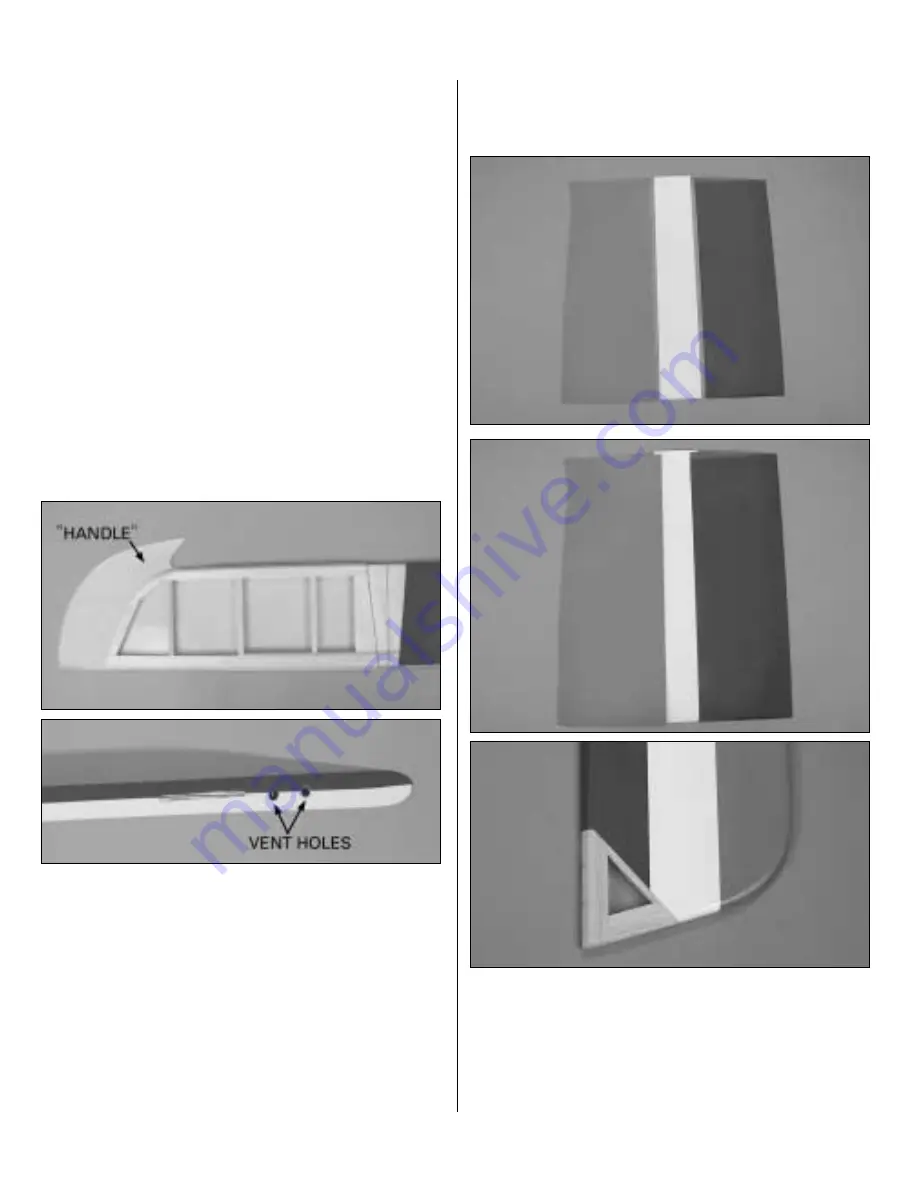
3. Cover the stab up to the lines marked
earlier indicating the sides of the fuselage. First
apply the cream to the bottom, followed by the
olive drab on top. Cover the top and bottom of
the elevators the same way. Don’t forget to cut
the covering from the small vent holes to allow
air to escape while tightening the covering.
Hint:
Pre-cut the leading and trailing edges of
the covering on the workbench before ironing it
down. Leave excess material around the tip that
can be used as a “handle” to pull the covering
tight around the tips. After the covering has
been ironed around the tips, trim off the excess
“handle.”
❏
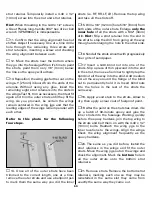
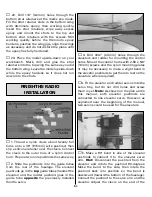
4. Cover the fin, then the rudder. For the
rudder, pieces of dark red, white and sky blue
MonoKote were first scuffed with 600-grit
sandpaper to give it a matt appearance. Then,
the pieces were cut into strips and ironed
together off the model over a piece of glass. A
44
Summary of Contents for Dynaflite S.E.5a
Page 9: ...9 Die Drawing...
Page 10: ...10 Die Drawing...


