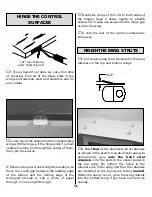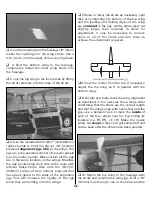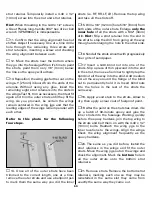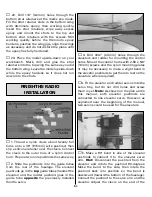
❏
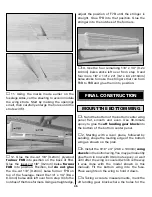
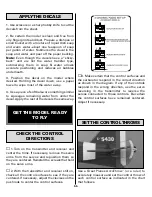
2. Prepare to glue the stab into the fuse by
double-checking the stab alignment using the
pin and string technique the same as was done
before the model was covered.
❏
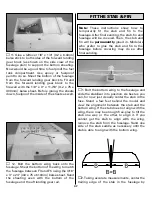
3. Remove the stab from the fuselage. Bolt
the bottom wing to the fuselage.
Liberally
coat
the exposed balsa on both sides of the stab and
the inside of the fuselage slot where the stab
goes in. Slide the stab into position. Working
quickly, use small paper towel squares or
tissues dampened with denatured alcohol to
wipe off epoxy that has been deposited on the
stab. Use the pin and string to align the stab
with the fuselage and visually align the stab
with the bottom wing. Do not disturb the model
until the epoxy has fully hardened.
❏
4. If you haven’t yet done so, cut a strip of
covering from the bottom of the fuselage where
the bottom of the fin comes into contact.
❏
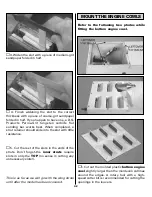
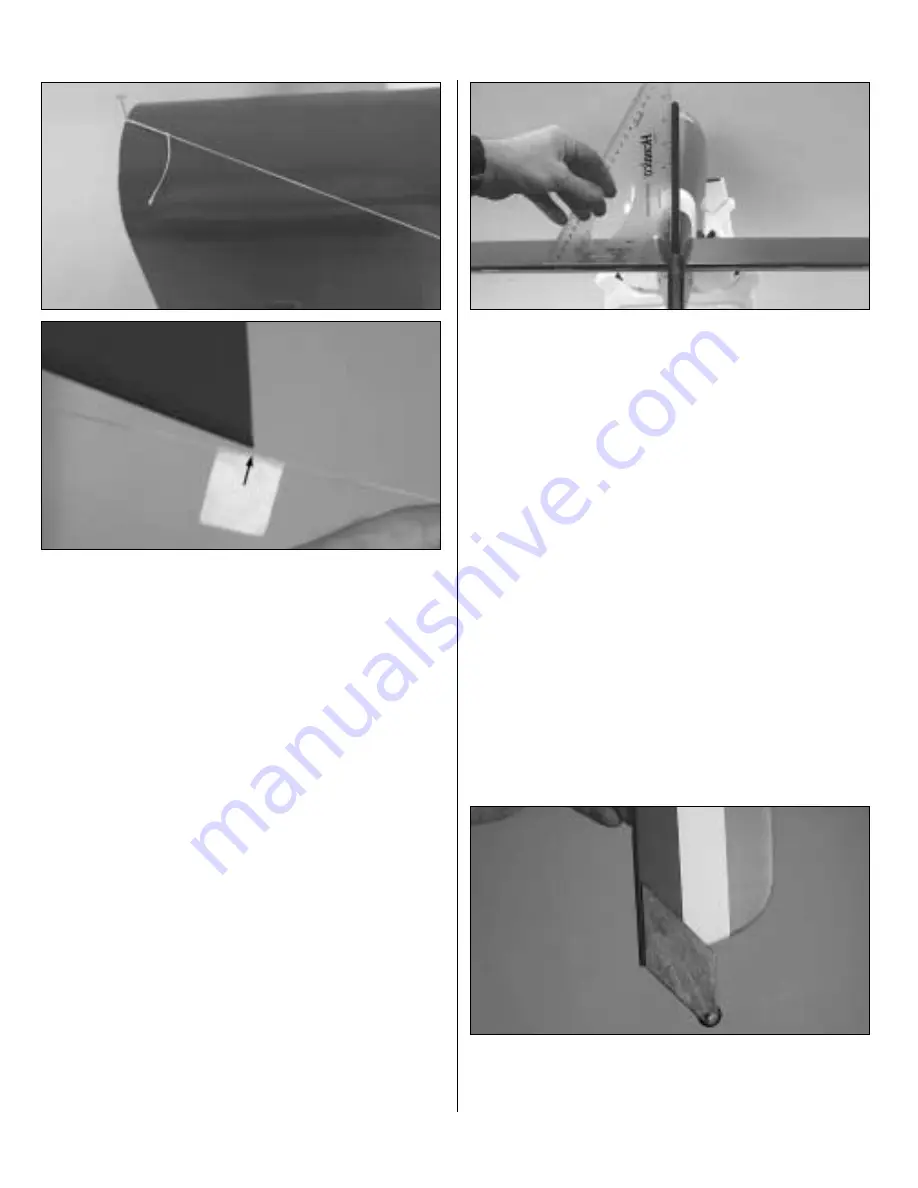
5. Test fit the fin into the fuselage. Use a
Hobbico Builder’s Triangle or another triangle to
be certain the fin is perpendicular to the stab. If
necessary, when gluing the fin into position in
the next step, use masking tape to pull the stab
to one side or the other to get it vertical.
❏
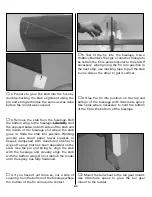
6. Glue the fin into position on the top and
bottom of the fuselage with 30-minute epoxy.
Use T-pins where necessary to hold the bottom
of the fin to the bottom of the fuselage.
❏
7. Mount the tail wheel to the tail gear mount.
Use 30-minute epoxy to glue the tail gear
mount to the rudder.
47
Summary of Contents for Dynaflite S.E.5a
Page 9: ...9 Die Drawing...
Page 10: ...10 Die Drawing...


