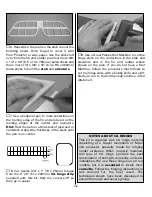
❏ ❏ ❏ ❏
24. Repeat the same steps to build the
left top panel
, then switch to the other plan
and build both right panels.
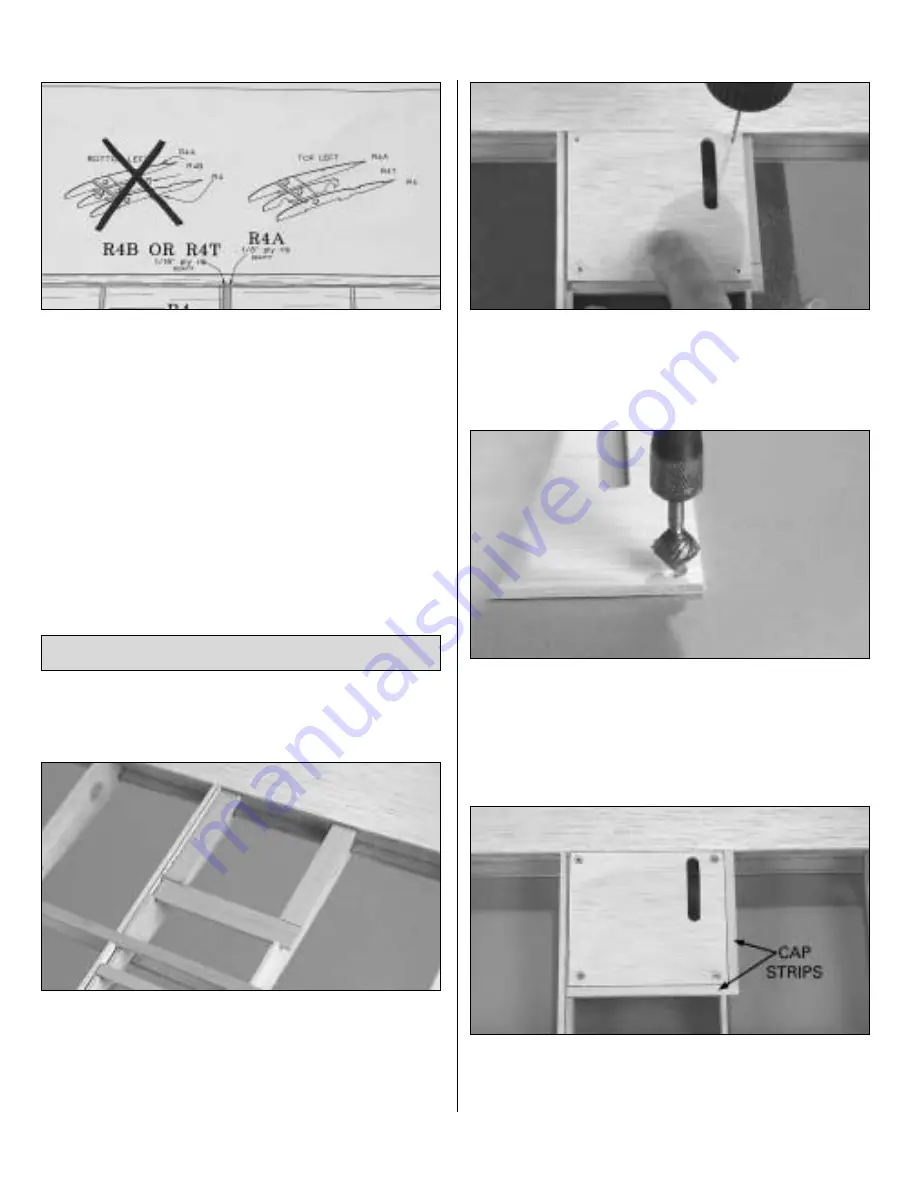
Be certain to
refer to the illustrations depicting which
R4 assemblies to use for the panel you are
working on. Hint:
Use a thick magic marker to
put a bold
“X”
through the illustration of the
R4 rib assembly already completed, so you do
not inadvertently build the same one.
The same as we’ve been doing all along, start
with the left, bottom outer panel.
❏ ❏ ❏ ❏
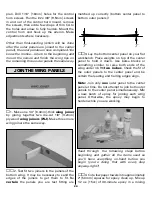
1. Cut the
servo hatch rails
as
shown on the plan from the 1/8" x 1/2" x 18" [3.2
x 12.7 x 460mm] basswood stick, then glue
them into position. Save the remainder of the
stick for the servo hatch rails for the top panel.
❏ ❏ ❏ ❏
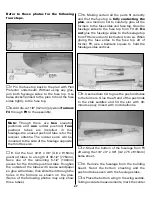
2. Place a die-cut 1/8" [3.2mm] plywood
servo hatch (HC)
over the rails as shown on
the plan. Drill 1/16" [1.6mm] holes through the
hatch and the rails.
❏ ❏ ❏ ❏
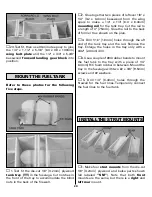
3. Enlarge the holes
in the hatch
only
with a 3/32" [2.4mm] drill. Use a small
countersink bit or Dremel #178 cutting bit to
countersink the holes in the hatch for the #2 x
3/8" [9.5mm] flat-head screws.
❏ ❏ ❏ ❏
4. Mount the hatch with four #2 x 3/8"
[9.5mm] flat-head screws. Cut the
cap strips
for the edges of the hatch from a 3/32" x 3/16" x
MOUNT THE AILERON SERVOS
20
Summary of Contents for Dynaflite S.E.5a
Page 9: ...9 Die Drawing...
Page 10: ...10 Die Drawing...


