48
1
2
3
4
5
6
7
8
9
10
11
12
6 Cash Register Operation
This chapter presents examples of cash register operation and shows example receipts.
6.1 Before Operating Your Cash Register
Before operating your cash register, you must do the following:
Make sure all the programming you need to do is complete. For various programming
instructions, see Chapter 4 and 5, “P1 Programming”and “P2 Programming.”
Make sure that the paper roll is set in the correct positions.
See section 2.3, “Installing and Removing a Paper Roll.”
To select the “Register mode,” insert the owner key, the manager’s key
or operator’s key into the control lock and turn it to the “R” position.
For more information about the control lock, see the “Control Lock” in
section 1.3, “Part Names and Functions”.
If the clerk ID function has been enabled, enter the ID using the
numeric keys and press the
ID
Key. If you don’t, an error code will appear.
If an error code appears during operation, press the
CLEAR
Key to clear it and start the
operation again. If the cash register hangs (won’t accept any key presses), reset the cash
register computer system as described in section 2.1, “Installing the Cash Register.”
6.2 Basic Operation
This section shows how basic cash register operation are performed: selling a single item,
multiple item sales, etc.
Single Item Entries
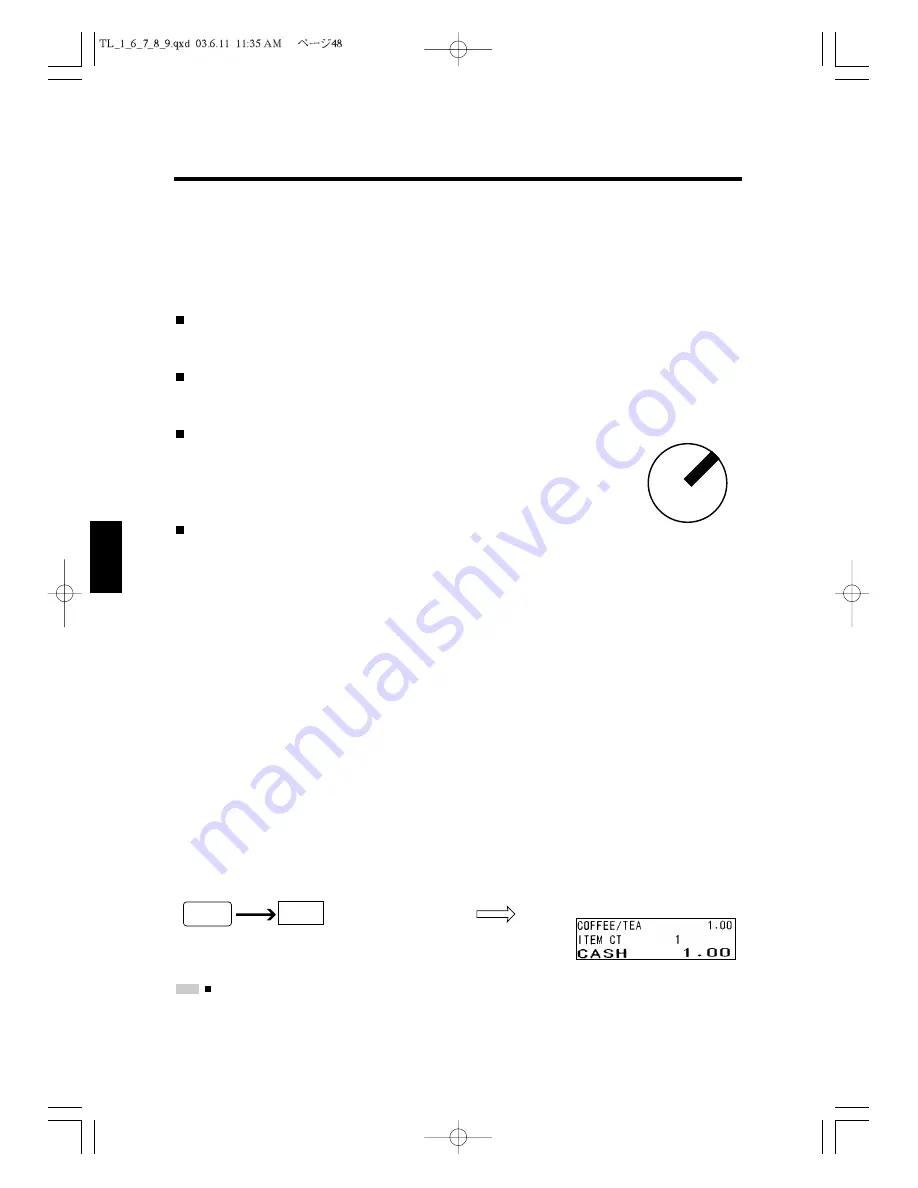
When you are registering a department item, press the department key or enter the price
and then press the department key. If the preset unit price for the department is the correct
price for the item, you do not need to enter the price. The following example shows that
you are selling a Department 1 item for the unit price of $1.00.
:
When you want to register items for Departments 7 to 12 (F/K), 11 to 20 (R/K), press the
DEPT SHFT
Key before pressing the Department Key you need.
NOTE
Unitprice : $1.00
CASH
1
L
R
V
P1
X
P2
Z


