Chapter 8 - Replacement Procedures
8-77
D
IRECTION
5771498-100, R
EVISION
6
V
ENUE
™ S
ERVICE
M
ANUAL
P R E L I M I N A R Y
8-5-5-5
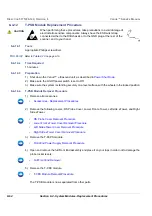
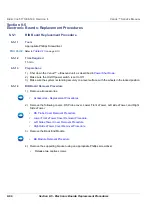
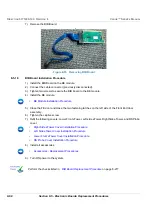
TRx Module Installation Procedure
NOTE:
This procedure applies to replacement of one or more of the defective modules (TRX32).
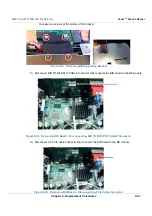
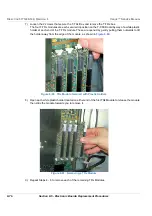
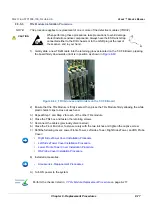
1) Gently slide a new TRx Module into the retaining grooves located on the T-CFE Board, pressing
the board firmly downwards until it is in position as shown in
.
2) Ensure that the TRx Module is firmly seated, then press the TRx Module firmly allowing the white
plastic holder clips to close at each end.
3.) Repeat Step 1 and Step 2 for each of the other TRx module.
4.) Close the TRx box and fasten the retaining screws.
5.) Reconnect the cables (previously disconnected).
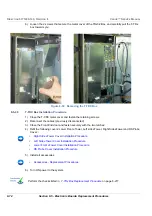
6.) Close the Front End door, fasten securely with the two latches and tighten the captive screw:
7.) Refit the following covers: Lower Front eTower, Left side eTower, Right Side eTower, and RS Probe
Cover:
:
8) Install all accessories.
9.) Turn ON power to the system.
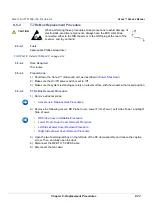
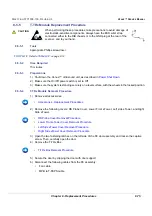
CAUTION
When performing these procedures, take precautions to avoid damage
of electrostatic-sensitive components. Always have the ESD wrist strap
connected either to the DIB chassis or to the GND plug at the rear of
the scanner, and to your hand.
Figure 8-62 TRX Grooves and Holders on the T-CFE Board
•
Right Side eTower Cover Installation Procedure
•
Left Side eTower Cover Installation Procedure
•
Lower Front eTower Cover Installation Procedure
•
RS Probe Cover Installation Procedure
•
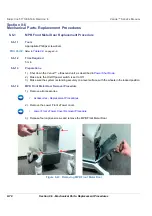
Accessories - Replacement Procedures
Summary of Contents for Venue R1
Page 477: ......


