D
IRECTION
5771498-100, R
EVISION
6
V
ENUE
™ S
ERVICE
M
ANUAL
3-38
Section 3-6 - Configuration
P R E L I M I N A R Y
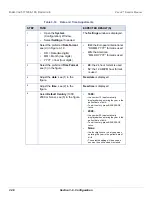
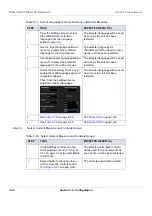
Table 3-16 Date and Time Adjustments
STEP
TASK
EXPECTED RESULT(S)
1.
•
Open the
System
(Configuration) Window,
•
Select
Settings
, if needed.
The
Settings
window is displayed.
2.
Select the preferred
Date Format
,
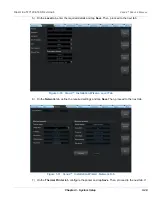
see (d) in Figure 3-19.
•
DD = Date (two digits)
•
MM = Month (two digits)
•
YYYY = Year (four digits)
•
EU
: the European/International
“DD.MM.YYYY” format is used
•
US
: the American
“MM.DD.YYYY” format is used
3.
Select the preferred
Time Format
,
see (3) in the figure.
•
24
: the 24 hour format is used
•
12
: the 12 AM/PM hour format
is used
4.
Adjust the
date
, see (1) in the
figure.
New date
is displayed
5.
Adjust the
time
, see (2) in the
figure.
New time
is displayed
6.
Select
Default Century
(1900,
2000 or None), see (5) in the figure.
•
1900:
• the number 19 is automatically
displayed when entering the year in the
patient date of birth.
• To edit century, press BACKSPACE
twice.
•
2000
:
• the number 20 is automatically
displayed when entering the year in the
patient date of birth.
• To edit century, press BACKSPACE
twice.
•
None
:
• the four digits have to be typed when
entering the year in the patient date of
birth.
• The selected setting will be used as
soon as the unit has been restarted.
Summary of Contents for Venue R1
Page 477: ......

